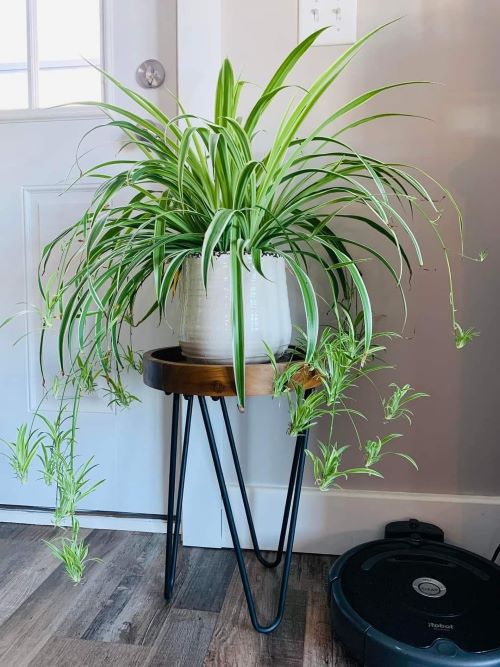
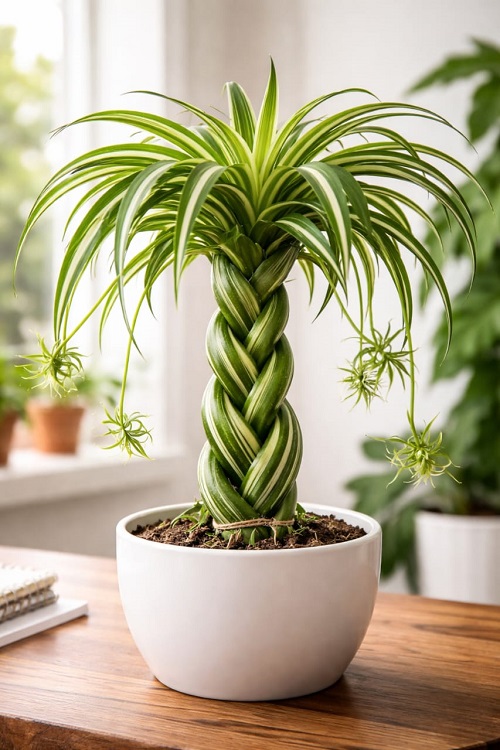
Want to give your spider plant a braid look? Explore these amazing tricks to turn fountain growth into a braided look.
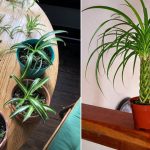
Spider plants usually grow in fountain-like clumps, but you can train them to grow into a structured, braided, or tree-like appearance in a creative way. Thinking how? Let’s discover!
How to grow a braided spider plant?
1. Selecting the Right Plant
Spider plants have a mind of their own, so if you make a mistake in choosing the wrong plant, you may end up creating a jungle rather than a braided look. Therefore, select the right plant wisely before braiding.
So, to create a beautiful, natural braided spider plant, you need a young plant with high flexibility. It’s better to choose pups rather than aged ones. Moreover, check for the symmetry of the plants. If the leaves look too bulky, avoid it and choose the single-crown plant only.
2. Repot The Plant
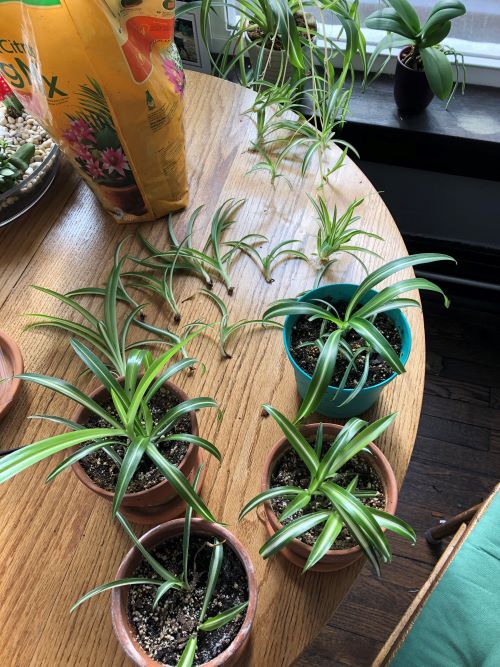
To give the spider plant a clean, professional braid pattern, it is necessary to repot them in a large pot so that the plant grows closer together and stands naturally. Additionally, the fresh soil used during repotting provides a nitrogen boost that is required for rapid leaf production.
How to repot the plant?
- Choose 3 healthy pups and a pot that is 1-2 inches wider than the combined root balls of these plants.
- Use a well-draining potting mix that contains 70% soil and 30% perlite.
- Check the roots of the selected pups and place them in a new pot so that they form a tight triangle in the center.
- Now, fill the gaps around the root balls with freshly prepared soil mix.
- Water the plant until it drains out from the holes. This process will eliminate excess air pockets in the soil and lock the roots in a new position.
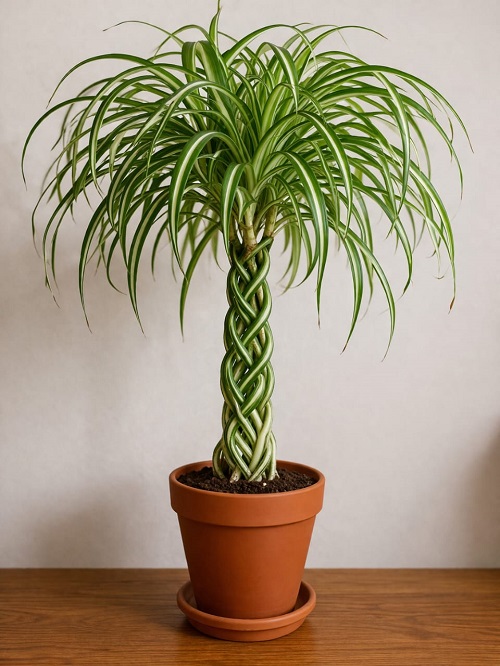
3. Braid the Plant Leaves
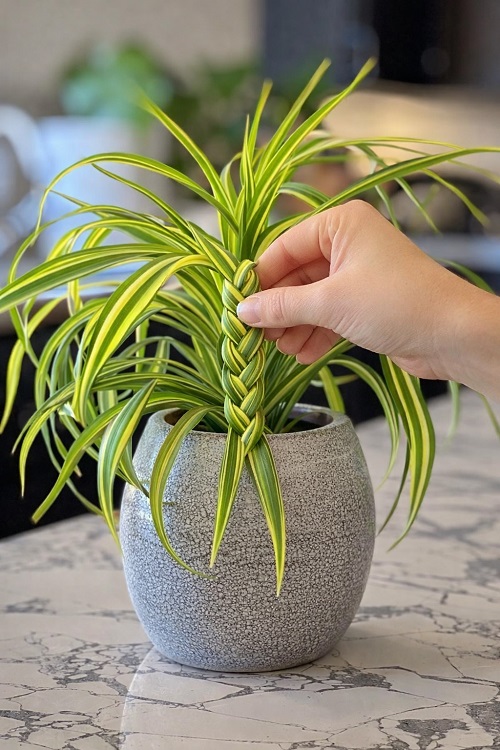
If you want to make your spider plant look naturally braided, follow the steps:
Firstly, the leaves become more flexible right after the plant gets settled, therefore, we should make the first braid immediately or withing 24 hours.
Secondly, the roots stay in a stabilization phase for 2-3 weeks; therefore, avoid moving or shaking the pot during this period.
Lastly, do not fertilizin frequently. Wait for at least 4 weeks.
4. Secure the plant

Spiral plant pups are very delicate. Therefore, securing them with a soft, wide material such as a cotton twine or a plant tie is crucial to keep the braids structured.
Additionally, you can insert a thin bamboo stake into the center of the pot and tie the braided spider plant to provide a vertical support. Also, keep checking the tension every week to prevent strangling and keep the braided structure clean and healthy.
5. Maintain the look
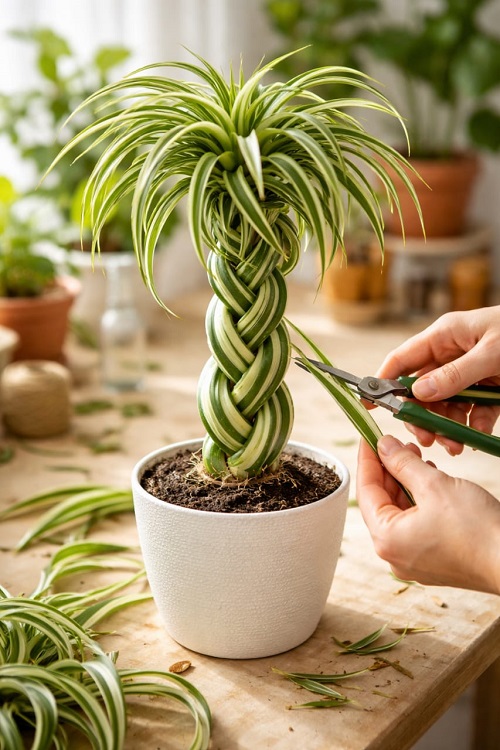
As the braided spider plant matures, it is essential to manage its growth by active integration and selective pruning.
Active integration: Check the center part of the braided leaves every 2-4 weeks. If you find any new leaf growing more than 3-5 inches, guide it into the path of the nearest braid strand. You can tie the leaves with a thin thread until they turn into a thick trunk over time.
Selective pruning: If you find your plant growing at an awkward angle or becoming too rigid, you can gently remove the leaf from the very base of the crown. This will help shape the plant and process the growth in the right direction.
Pro Tip!
- Spider plants thrive in bright, indirect sunlight. Therefore, keep them indoors at 60°F-75°F only.
- Keep soil lightly moist to avoid root rot and brown tips.
- Regularly remove the dead leaves and fertilize only during spring and summer to support growth.
Try these amazing tricks to get your spider plant blooming in braids. If you have any other queries regarding the techniques, share them below, and we’ll cover them in our next article.