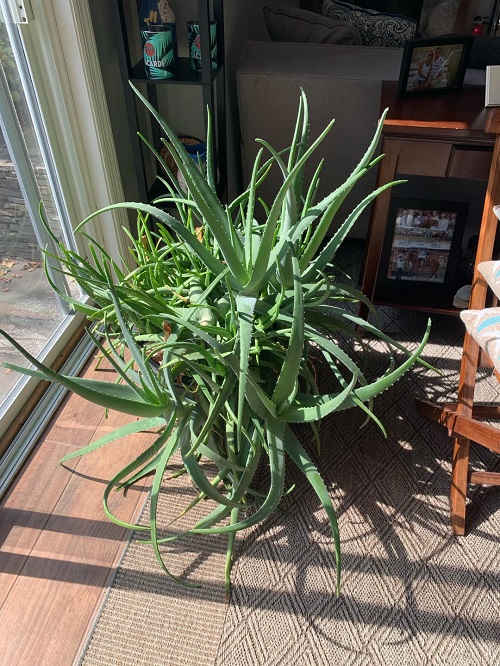
Get ready to make some room in your garden as this article will teach you how to grow Aloe vera plants big and lots of pups!
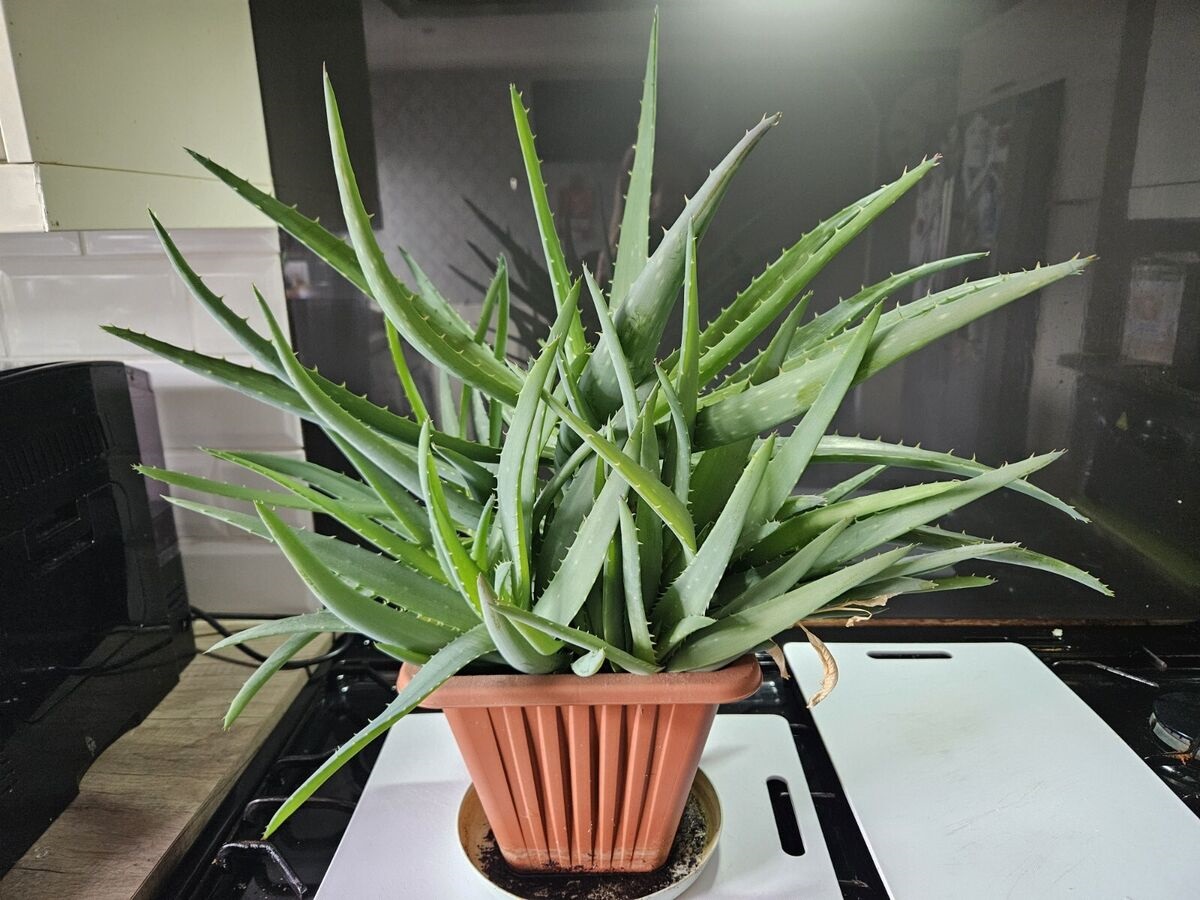
The phrase “Go big or go home” fits well for succulent lovers who wish to grow huge aloe vera plants and multiple pups! If you are one of them, then read on to learn the secret tricks to have your very own aloe vera on steroids and enough pups to fill all your pots!
Ways to Grow Grow Aloe Vera Plants Big with So Many Pups!
1. Perfect Sunlight Exposure
Sunlight plays a key role in boosting the size of any plant through photosynthesis and also encourages it to reproduce. In the case of aloe vera, this succulent loves full sunlight for at least 6 hours a day. In fact, outdoors, it grows only in USDA zones 10 and higher due to the warmth and sunlight exposure.
While growing this plant indoors, you must choose the right location to place the pot. A south-facing window sill is considered best as it allows the most sunlight to get through (in the northern hemisphere). You can also use artificial grow lights for 14 hours daily in low-light rooms.
Pro Tip: Rotate the pot every couple of weeks so your aloe grows straight and doesn’t lean like it’s chasing the sun. If the leaves start looking orange or brown, that’s a red flag for sunburn. Ease it into direct sunlight slowly to avoid stressing it out.
2. Soil Type Matters
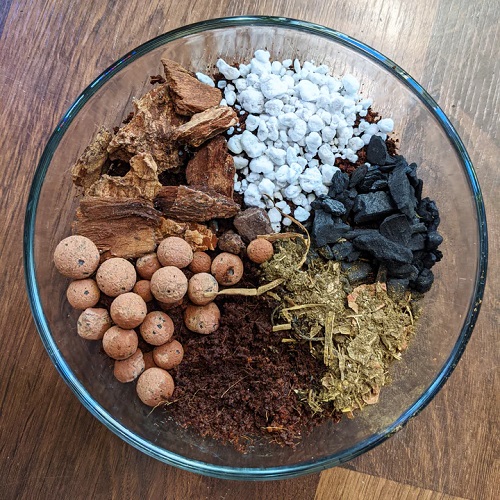
Aloe vera is a resilient plant that can survive in extreme drought-like conditions. In the wild, it is found in desert-like environments and hence thrives in sandy soil textures. The best way to force an aloe vera plant to grow to a large size and produce more pups is to mimic its natural growing medium.
While choosing the potting mix, make sure it is well-draining and porous. This allows water to dry out quickly and not remain soggy. You can also create a DIY potting mix by mixing equal parts of regular potting mix, sand, and perlite or pumice.
Note: Avoid soggy soil at all costs—it’s a one-way ticket to root rot. A smart move? Add a layer of gravel or coarse sand at the bottom of the pot to boost drainage.
3. Optimal Watering Cycle For Size
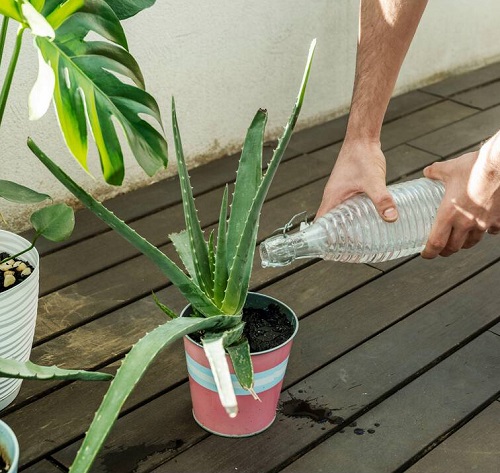
This one can be a bit tricky! While focusing on increasing the size of your aloe vera plant, you must water it deeply but then allow the soil to completely dry. A simple test to confirm if you need to repeat the watering process is to stick your thumb into the soil. If it’s dry, irrigate it again.
One cycle usually takes about 2-3 weeks in the active growing season (spring and summer). You will need to slow it down to 4-5 weeks in the winter.
Pro Tip: Although aloe vera plants don’t mind regular tap water, for best results, use distilled or filtered water.
4. Optimal Watering Frequency for Maximum Pups
Once your plant’s a good size and you’re after pups, it’s time for some tough love. Like many plants, aloe vera reproduces more when it thinks it’s under threat.
Reduce watering to once every 3–4 weeks in the warmer months and even less in winter—say, every 5–6 weeks. But pay attention to your plant’s cues. If the leaves start looking wrinkled or deflated, it’s asking—no, begging—for water.
Tip: Keep an eye on the plant’s color and firmness during this stress period. If the leaves begin to wrinkle excessively or lose their plumpness, it’s time to water again.
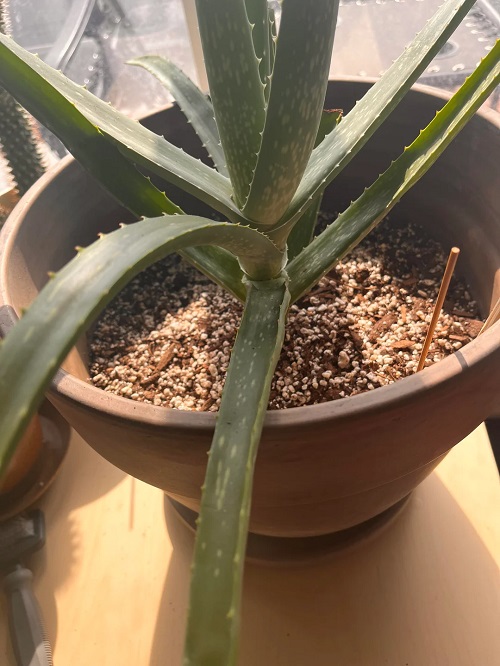
5. Choosing the Right Pot
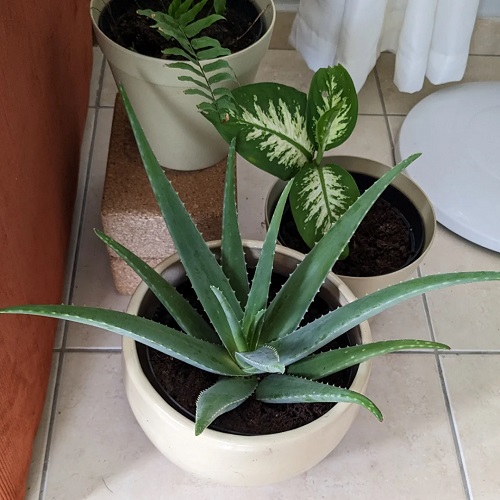
Did you know that the pot size and shape greatly affect the form and pup production ability of an aloe vera plant? This succulent usually has a fibrous and shallow root system that grows horizontally, closer to the surface of the soil.
Deep pots allow the soil to remain saturated for a longer time, increasing the risk of root rot. Instead, use a wide-mouthed pot that extends to a depth of only 3-6 inches.
Pro Tip: Use a terracotta pot with drainage holes. It allows excess water to escape and keeps roots well-aerated. Skip plastic pots—they tend to trap heat and moisture, which isn’t ideal in hot climates.
6. Nutritional Supplements are Key
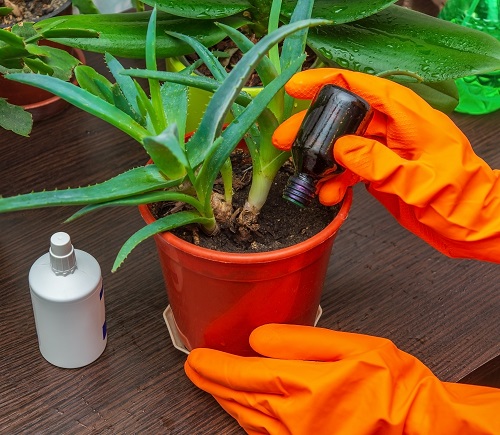
Sometimes the nutrients present in a regular potting mix are insufficient to grow a large aloe vera plant or to produce multiple pups. Therefore, using external fertilizers eliminates this issue.
Phosphorus is the nutrient responsible for pup production. So, using a fertilizer with an NPK ratio of 5-10-5 or 10-20-10 will do the trick. Before applying the fertilizer, dilute it to half its strength and use it once a month during the plant’s growing season. You can also use less potent but organic homemade fertilizers, such as seaweed extract, for the same purpose.
Pro Tip: Always water your plant before fertilizing—it’s like applying sunscreen before hitting the beach. It prevents root burn. Also, don’t overdo it—too much nitrogen makes aloe leggy and slows down pup production.
7. Don’t Repot as Often
Most people rush to repot their aloe vera once it starts growing large. But if your motive is to force it to produce more pups, then adding a bit of stress by keeping it slightly root-bound is the way to go. Do not repot your plant often. This leads to transplant shock and diverts all the energy that could have been used for pup formation into acclimatizing.
Only repot when roots are spilling out of the drainage holes and the plant looks truly cramped. When you do, go just a size up—an inch or two bigger—and use fresh potting mix to avoid salt buildup or lingering pests.
Use fresh potting mix while repotting to replenish nutrients and prevent old soil-related issues like salt buildup or fungal spores.
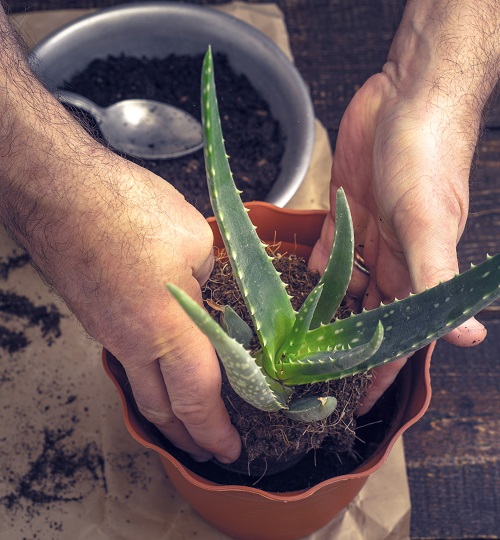
8. Proper Removal of Pups
Aloe vera pups form at the base of the mother plant. Therefore, you must constantly keep the area clean to allow the pups to emerge freely.
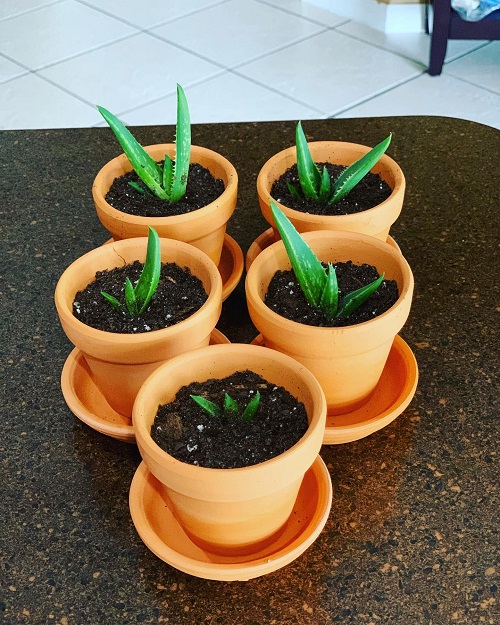
Once a pup hits the 3-inch mark, it’s ready for independence. Gently remove the whole plant from the pot, brush away the soil, and locate where the pup connects to the mother. Use sterilized scissors to separate them.
When you find the connection point, use sterile scissors to detach the two. Place the mother plant back in the pot and continue care as usual. As for the pup, allow it to callus. Once it is safe from infections, it can be planted into a container of its own.
Put the mother back in her pot and let the pup callus over for a few days. Once the wound heals, plant the pup in its own pot and let it settle in before watering.
Note: Don’t water the pup right away. Give it 5–7 days to adjust and avoid root rot.
Now that you know the secrets of a large, pup-producing aloe vera, don’t forget to experiment and observe what works best in your unique setup—because no two growing environments are the same! Tell us in the comment section which other plant would you like if it were a lot larger?