Learn the secrets to growing Burro’s Tail from leaves with a few easy steps, and make your succulent thrive and let it cascade freely.
Burro’s Tail or Sedum morganianum cascades like a waterfall with thick, small, and plump minty-green beaded leaves. But here is the catch—they can fall even with gentle handling. But who said that we cannot turn it into an opportunity? Grab those leaves and let’s propagate and grow a new Burro’s Tail with a few easy steps.
Your Guide to Grow Burro’s Tail from Leaves
Know your Burro’s Tail enough
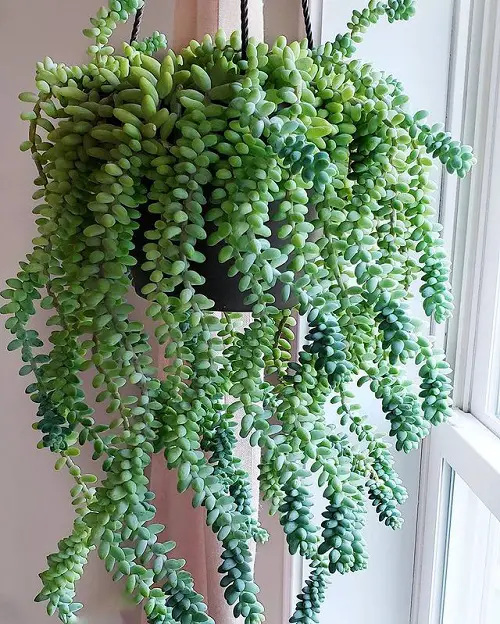
Burro’s Tail is loved by plant enthusiasts. Call it Donkey’s Tail, Horse’s Tail, or Lamb’s Tail—it’ll still love you through thick and thin. Propagate it in summer or early fall, or anytime under suitable conditions.
Protect its leaves from cold weather, heavy rain, and sudden temperature dips for successful propagation. Keep it in bright light and see how it grows up to a meter long.
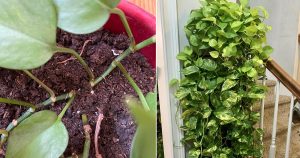
Collect those Leaves
This plant naturally drops leaves from time to time, which is your perfect chance to propagate. You can also gently twist off healthy ones from the stems.
You can use only full, undamaged leaves—roots form from the base where tiny meristem cells live. Because the leaves are thick and juicy, let them dry for 3–5 days until the cut ends callus over. In humid areas, give them a day or two extra, skipping this step often causes rot before roots form.
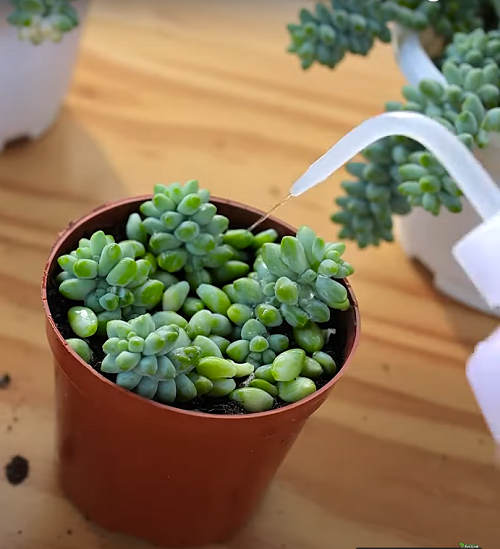
Prepare the Soil
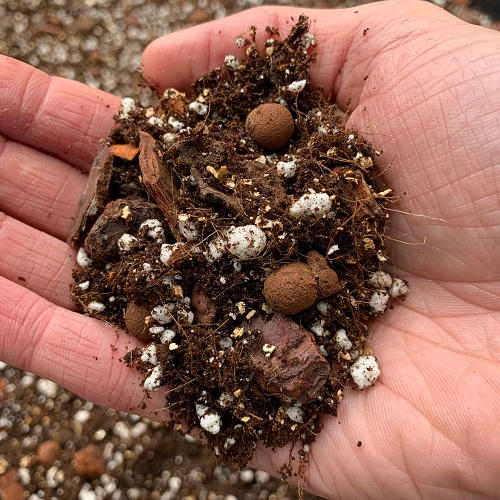
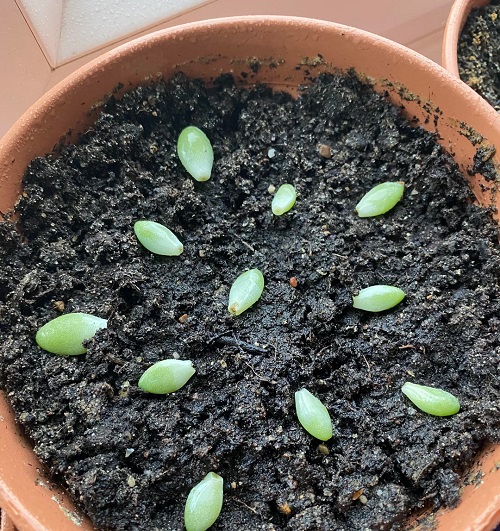
Take a tray or a small pot to plant your cuttings. Pick a free-draining planter and choose a succulent or cactus mix. Or use 1 part sand: 1.5 parts perlite: 1.5 parts soil to make your own. Gently press the soil and water it.
Lay your leaves and let them rest. They prefer lying flat with their callused ends just touching the soil surface. Burying them means burying their growth, they need air contact to grow. Then place the tray/planter in bright, indirect sunlight.
If you are propagating indoors, keep the tray near an east-facing window where it gets soft morning sunlight. You can also use a grow light for 8–10 hours a day if natural light is limited.
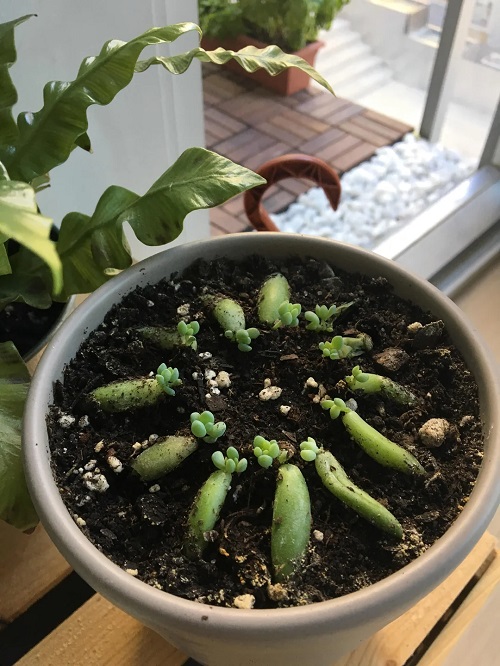
Rooting the Leaves of your New Green Friends
Avoid watering again right after planting, as the soil already has moisture. Let it dry slightly but never completely. If it feels bone dry after a week, mist lightly. In warm spots, fallen leaves might already have tiny roots. Otherwise, roots appear in about two weeks.
Once you see small pinkish or white roots, cover them gently with a bit of soil to anchor them. Water sparingly and let the mix dry out between waterings.
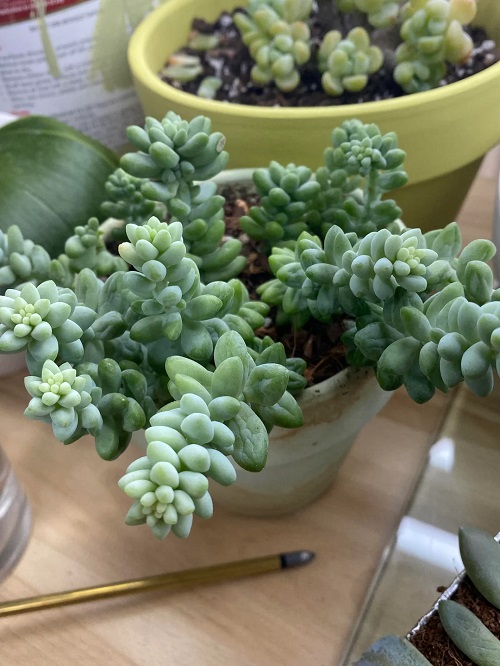
Overwatering at this stage can undo your progress. If mold appears, increase airflow and remove affected leaves. With time and patience, you’ll spot a tiny new rosette growing at the tip—your new Burro’s Tail baby.
Repotting the Grown Burro’s
When you see significant growth, you can repot your cuttings and provide them with normal care. The mother leaves will naturally shrivel up and die, so there’s no need to remove them. If a mother leaf remains, you can gently remove it, but only after it’s dry and is no longer a plump and fleshy.
Choose small containers with excellent drainage and the same succulent mix you used previously. Carefully lift the tiny plants with either a spoon or a chopstick since they are very delicate. Give each of them enough space to spread. Later, plant them in bigger pots to see them cascade on or around your walls.
Caring for your Young Burro’s
Young plants need a little extra attention. Water only when the soil feels dry, and increase sunlight gradually as they grow stronger. During spring and summer, feed them with a diluted succulent fertilizer every 4–6 weeks to boost growth. Skip feeding in winter when the plant rests.
Soft, translucent leaves mean too much water or poor airflow. In that case, water less and improve ventilation. Rotate the pot every few weeks to ensure even light exposure and avoid one-sided growth. If the stems stretch or fade, move the plant to a brighter spot—but do it slowly to prevent sunburn.
Burro’s Tail is that plant that requires care, but won’t keep asking for it unless you take care of everything it needs all at once. Follow these instructions and propagate those new baby Burros, and let us know how it went for you in the comments below.