Want to fill your home with holiday plants? Here’s an easy step-by-step guide to grow unlimited Christmas cacti from leaves.
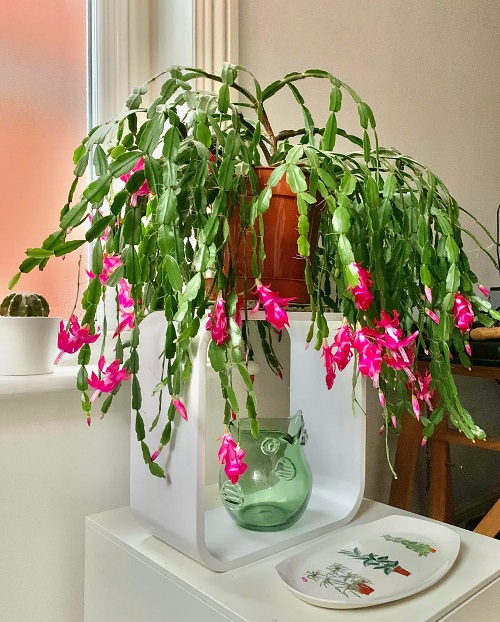
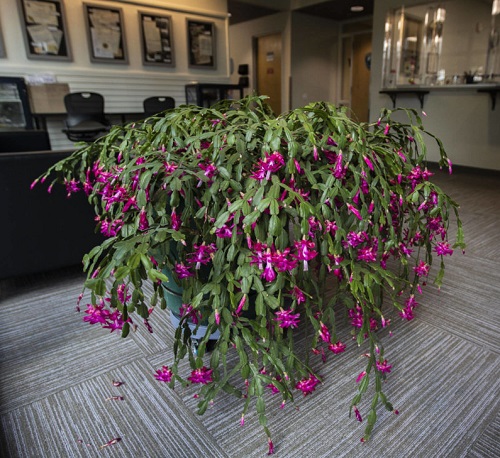
Known for its unique physical appearance and large, attractive blooms, the Christmas cactus stands out from most succulents, especially in the festive season. And let’s be honest—you can’t stop at just one! So, here’s how to grow a whole army of them with ease.
What You’ll Need to Get Started
1. Picking the Right Pot

The right pot choice plays a crucial role in propagating your succulent. It is like the foundation of a building, often ignored but of utmost importance. Hunt for a container with drainage holes that allow excess water to flow.
Note: If you want to start the propagation process in water, choose a suitable container with enough space for each leaf cutting.
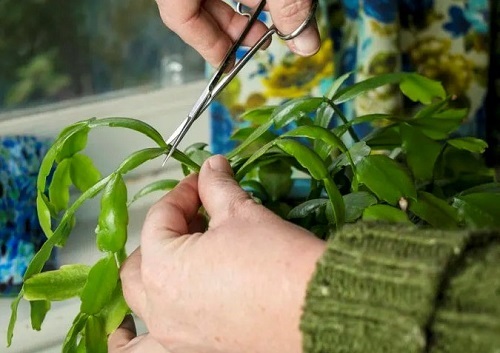
2. Pruning Shears
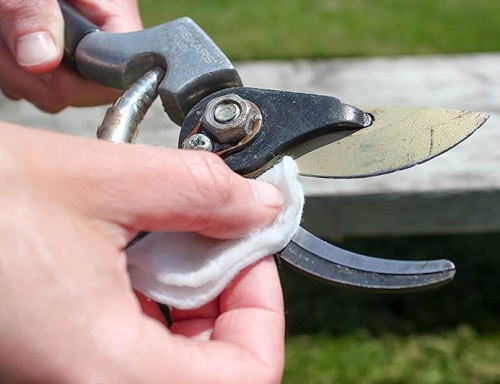
The tiniest mistakes and you will lose your new Christmas cactus. Gardening tools often have residue or contaminants that can pose a problem while severing plant tissues. Sterilize your pruning shears or scissors by rubbing them with 70% alcohol; this will prevent infections.
3. Optimal Potting Mix
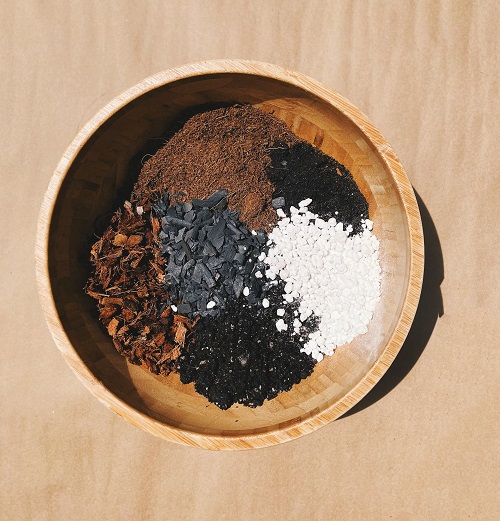
Your Christmas cactus will be planted in soil, but if the substrate is not favorable, the tender plant will die either due to a lack of nutrition or stressful soil characteristics. Therefore, a well-draining potting mix formulated for cacti and succulents is the best option.
Along with proper drainage, this type of soil ensures that your young planting has no issue pushing its tender roots or leaves through it.
Pro Tip: You can also add perlite or sand to improve texture and drainage.
4. The Right Cuttings
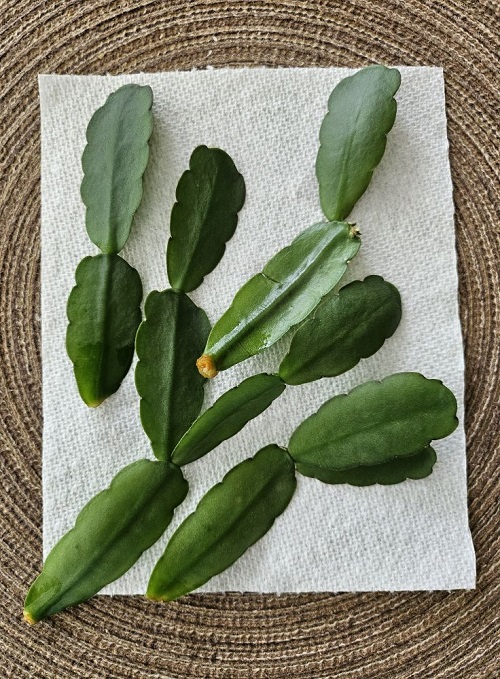
You can’t pick a hairstyle without hair! Similarly, you will need the right cuttings to grow multiple Christmas cacti. Choose disease-free, plump segments from a mature plant (ideally one that’s bloomed before). Twist them off gently or snip with your sterilized shears.
Extra Tip: Young plants often struggle to root, so stick with mature cuttings.
How to Propagate Christmas Cactus from Leaves
Christmas cactus propagation can be started off in 2 different mediums: water and soil.
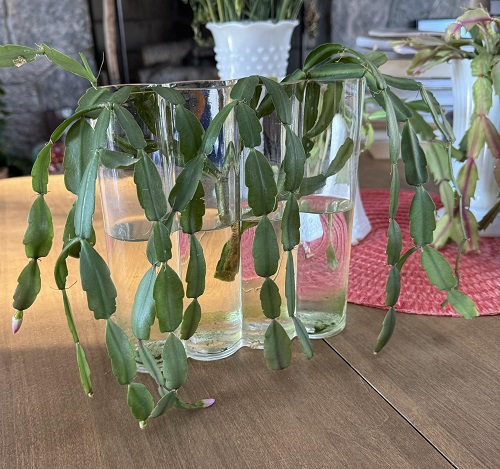
1. In Water
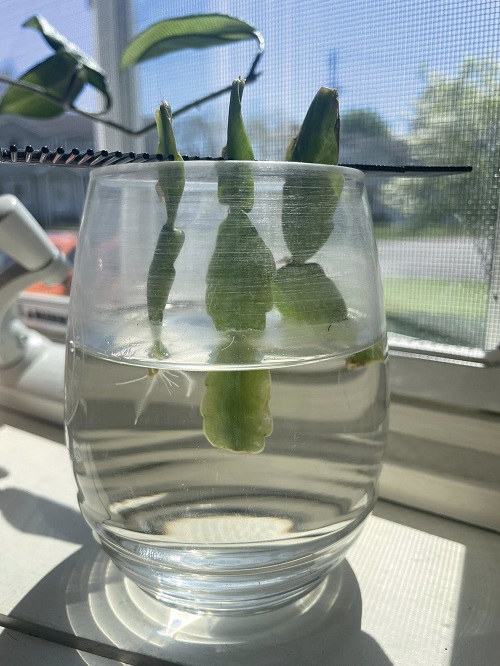
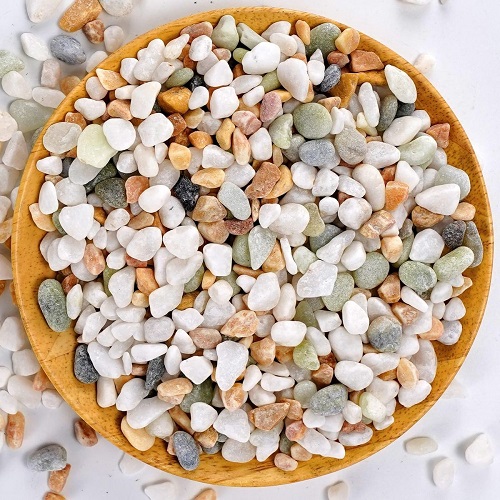
Let cuttings dry for 2 days to form a callus—this protects against rot. Place them upright in a glass jar with just enough water to cover the bottom inch. Use pebbles if they wobble.
- Change the water weekly or when it turns cloudy.
- Roots appear in 1–2 weeks, but wait until they’re 2–3 inches long (around 6 weeks) before moving them to soil.
- Always use filtered or boiled-and-cooled water if your tap water has chlorine.
2. In Soil
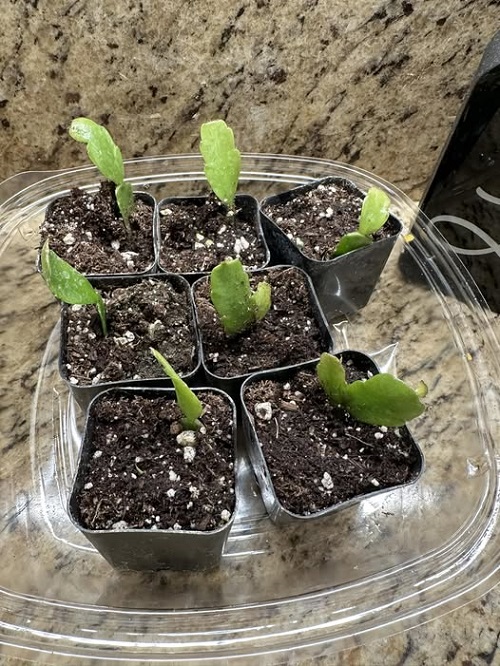
Let cuttings callus as before, then plant them directly in a small pot with cactus mix. Cover the pot with a plastic sheet (poke slits for cuttings) to keep them stable.
- Just keep the soil slightly moist.
- Provide bright, indirect light and warm conditions.
- Roots form in 2–4 weeks, and no transplanting is needed.
- Avoid big pots—extra soil holds too much water, risking rot.
Caring for your New Christmas Cactus Plants
1. Light
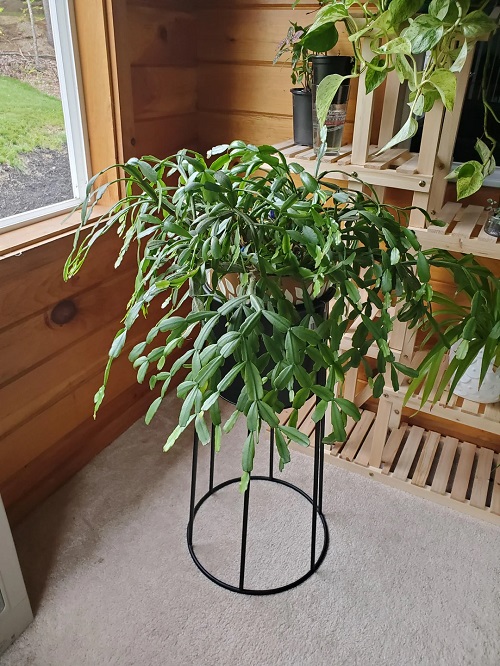
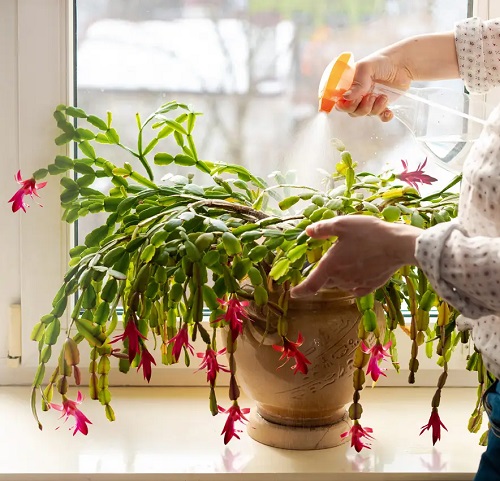
Sunlight is key as it aids in photosynthesis, which will keep your plant alive. Hence, strategically place your plants near an east or west-facing window, where they have access to bright, indirect light. In outdoor conditions, keep them in dappled sunlight but avoid direct sunlight, as it can scorch the leaves.
Pro Tip: When grown on windowsills, rotate your plants to ensure even growth from all sides.
2. Water
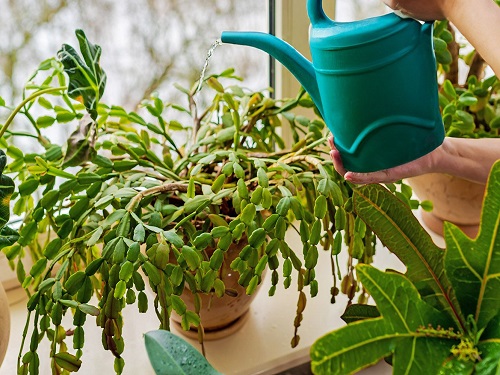
Water when the top inch of soil dries—usually every 1–2 weeks. Don’t drown them, and cut back watering in fall and winter.
If you notice wrinkled, limp segments, it usually means your plant is thirsty. But if the base looks mushy, you’ve gone overboard with watering.
3. Temperature
Christmas cacti are tropical succulents, which means that, along with high humidity, they also prefer a moderate temperature ranging from 70-80 degrees F. Even at night, try stabilizing the warmth between 55-65 degrees F.
Note: Avoid exposing them to cold or sudden temperature fluctuations.
4. Pruning
Once your Christmas cactus has substantially grown, you will have to remove dead, dying, or excess foliage to maintain its health and aesthetics. Examine your plant for yellow leaves, flimsy stems, or clear signs of infections or infestations and remove the affected areas. Always try to prune your Christmas Cactus right before or just after the blooming period to allow the plant to heal.
5. Humidity
Humidity is a deciding factor when it comes to the survival and growth of Christmas cacti. These plants thrive in 50-60% humidity, which is quite unusual for succulents.
You can use various techniques to increase the air moisture levels, such as creating a humidity bubble by grouping it with other houseplants or placing the pot on a pebble tray with water. You can also use a humidifier. Quick fix—place a bowl of water near a heat source in winter.
6. Fertilizer
Sometimes, the potting mix lacks the nutrients required for a thriving Christmas cactus. This is where fertilizers come to the rescue. Use a water-soluble fertilizer with an NPK ratio of 10:10:10 diluted to half its strength once a month.
Note: Skip fertilizer during blooming and in the dormant season, as it can stall flowers and lead to salt buildup and chemical burns.
Common Mistakes to Avoid When Propagating Christmas Cactus
- Don’t take cuttings from a plant when it’s budding.
- To speed up the rooting time, take the cutting when the temperature is warmer in the range of 71-81°F.
- Under the right conditions, flowers appear about 12 weeks, lasting for 5-8 days each. For more flowers, give the cactus 14-16 hours of darkness for about 4 weeks and keep it in a cool spot.
- Once buds appear, avoid moving the plants as temperature fluctuations can cause them to drop.
With the help of this guide, your Christmas cactus will have many babies, and you will be ready for holiday decoration. Let us know in the comments how your Christmas cactus is doing.