If you are growing Aloe vera indoors, here are some year-round care secrets just for you—keep reading to discover them!
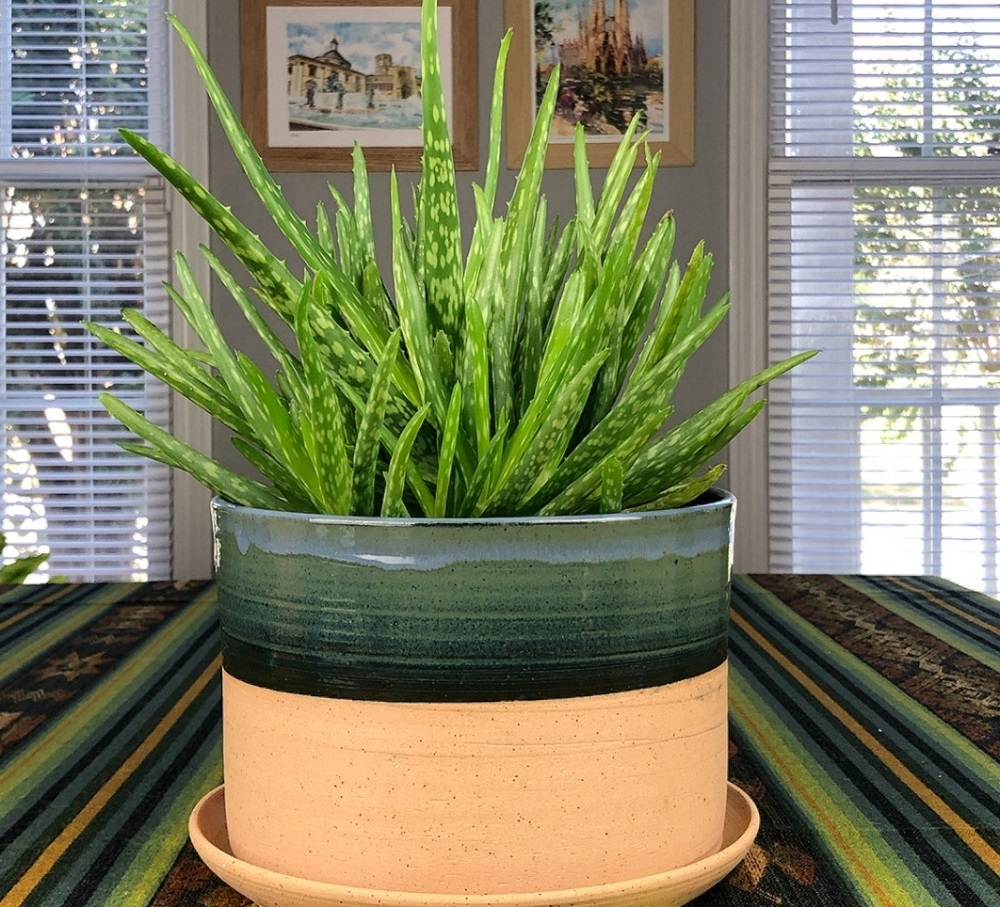
We can all collectively agree that if asked for our top 3 favorite succulents, aloe vera will definitely take a spot. From beauty and resilience to being incredibly useful, aloe vera is a must-have in any collection. But if you are growing it indoors, here’s what to do to keep it thriving all year.
Ways to grow Aloe Vera Indoors and to keep them all year round!
1. Pick the Healthiest Aloe
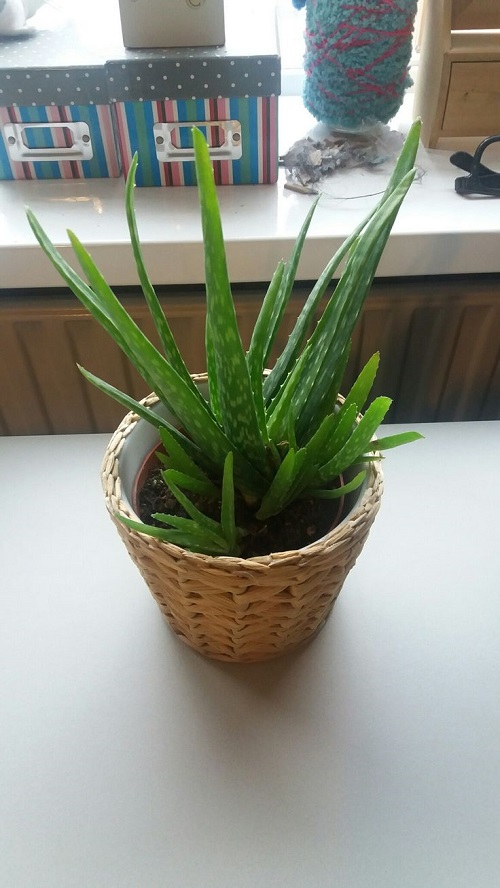
Now this goes without saying. If you are a new plant parent out and about, selecting your first aloe to grow, you must pick the one that sets you up for success.
How to do this? Well, firstly, check out the leaves of the plants displayed in your local garden center or nursery. They should be thick, firm, fleshy, and should not have any brown or yellowing spots. Plus, they should be free of pests. Any discoloration or misshapen leaf could mean a root rot problem. Moreover, you would not want any leggy or stretched-out leaves on aloe vera either!
Remember to check the base of the plant as well. It should be firm. If it feels squishy or soft, walk away! A good sign is little pups growing around the plant because that shows that the plant is healthy enough to produce new growth.
Also, give the pot a gentle lift—if it feels unusually light, the plant might be too dry or undernourished. You want a nice balance, not something that feels hollow.
2. Go with the Good Soil
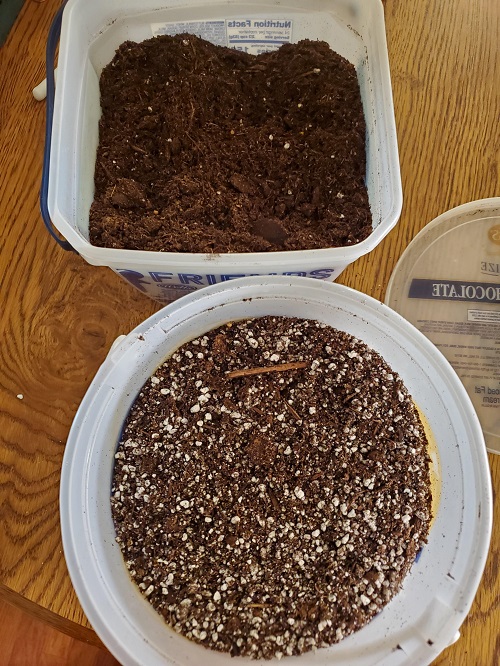
Just like every succulent, aloe vera needs aerated soil with good drainage. This plant will not tolerate sitting in wet soil at all, especially when you are growing it indoors.
Initially, a store-bought cactus or succulent soil mix is a good place to start. However, you can also create your own soil mix for aloe vera using regular potting soil, mixed with perlite, sand, or vermiculite. All of these ingredients improve drainage, which will allow more oxygen supply around the roots.
For your DIY mix, combine equal parts potting soil, coarse sand, and perlite or vermiculite for your aloe vera. And please avoid using garden soil indoors—it’s too heavy and may bring along pests or bacteria that can harm the plant.
3. The Perfect Bright Spot
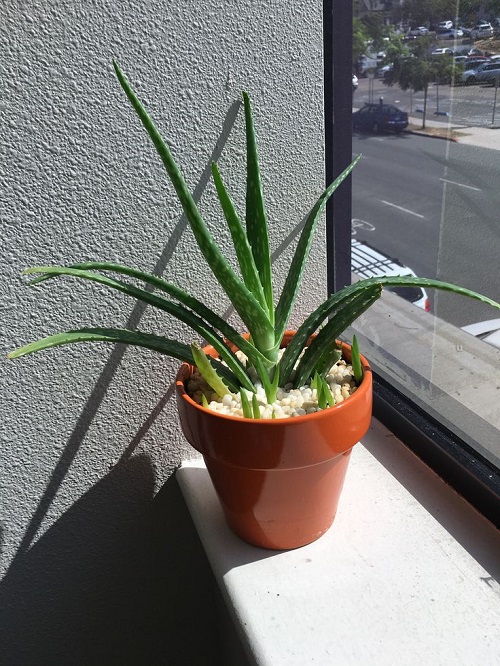
So you got your aloe vera home. Now the hunt for the best spot starts. You want to put your aloe vera in a place that receives bright, indirect sunlight. Think of a south or west-facing window where they receive all the light they need, without the risk of getting burned.
If you see your aloe getting tall or spindly at any time, it is your plant’s way of telling you, “Hey, I need more light”. On the other hand, if you see the leaves getting pale, yellowing, or browning, that’s a sign that it is getting too much light. In the latter case, you should add a sheer curtain to the window or simply move your plant further away.
Also, wipe the leaves gently with a damp cloth once in a while—dust can block light and affect photosynthesis. Your aloe deserves a little spa day, too!
Pro tip: If you don’t have a bright window, aloe vera also does well under grow lights. And don’t forget to rotate your plant weekly so all sides grow evenly.
4. Keep the Mercury Stable
Temperature is very important when it comes to keeping aloe flourishing indoors all year round. One thing to remember is that this plant loves it warm and cozy. You need to maintain average temperatures of 60–85°F or 15–29°C. Also, they’re not fans of the cold, so keep your plant away from drafty windows or hot/cold air vents.
If you live in areas where the winters get very cold and frosty, it’s always smarter to grow aloe vera indoors. And if you’re away during the winter, make sure your indoor temperature stays stable—set a thermostat if needed. Aloe doesn’t enjoy sudden surprises!
5. Just Enough Fertilizer
Being a succulent, aloe vera will usually not need a lot of fertilizer. But for better growth, you should maintain that sweet spot when feeding it. The best strategy for you would be to fertilize it once in the spring and then use half the recommended dosage once a month during the growing season.
When the cooler months roll around, you should pause feeding completely. Be careful with overfeeding as well. You can see the telltale signs of overfertilization, such as browning or burnt-looking tips on the leaves. In such a case, give the soil a good flushing to get rid of excess fertilizer.
You can opt for a balanced, diluted liquid fertilizer with more phosphorus (like 10-40-10) to support root and leaf health. Avoid high-nitrogen ones—they tend to make succulents weak and leggy.
6. Repot Every Couple of Years
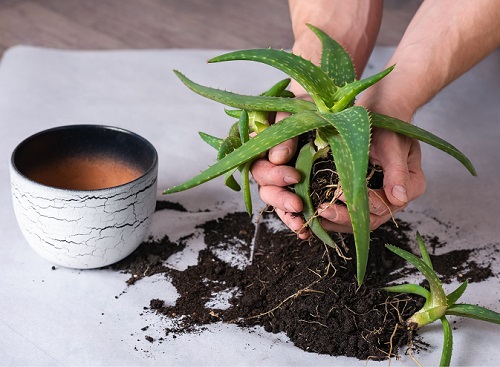
The best way to know that your aloe is thriving is when you see beautiful growth, new pups, and roots starting to peek out of the drainage holes! This is a clear sign that soon your aloe vera might start breaking the existing pot with bigger roots if you don’t repot!
Good part is that aloe vera does not need repotting every year. You only have to repot it every two to three years to keep it flourishing and growing massive. Be sure to always repot in spring. This aligns with the aloe’s natural growth cycle, increasing its chances of thriving.
So, the new pot should only be one or two inches wider in diameter than the one you used before. Also, make sure your new pot has drainage holes. A fancy planter may look good, but your aloe won’t be happy sitting in soggy soil.
Pro tip: Don’t bury it too deep—repot it at the same depth it was growing at before.
And that’s all about the amazing ways to grow aloe vera indoors to keep it all year round. Try out all of these tips and give us a sneak peek into your aloe-growing journey in the comments below!