
As an Amazon Associate, we earn a small commission from qualifying purchases — at no extra cost to you.
Cacti lover? But it turns into a sad story because your 9-to-5 doesn’t give you much time to take care of them? Then let’s crochet a cactus.
Crochet cacti have become a trend these days, and we are all for it. They combine greenery with the warmth of crochet. And they look adorable as decorations for minimalist spaces, creating a boho corner, or simply as a relaxing weekend project.
We’ve compiled all your crochet essentials in our Amazon Crochet Storefront. So, let’s get started without wasting any time!
Crochet a Cactus
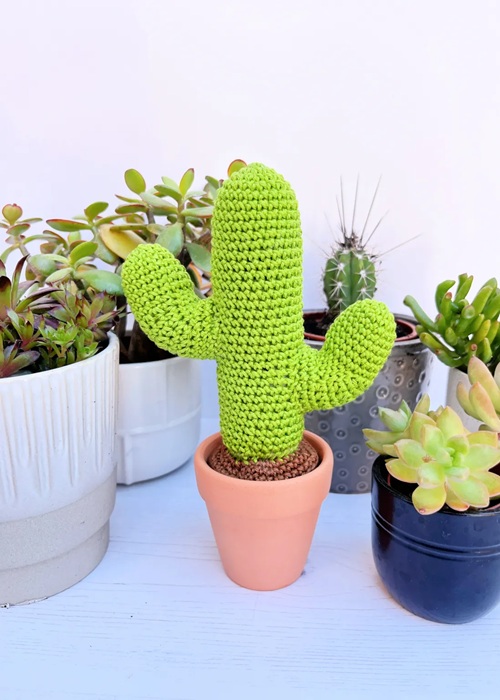
Why do we need to crochet a Cactus?
Real cacti will require real effort and care. But your crocheted cacti won’t require sunlight, a watering schedule, fertilizers, or repotting. Which is why they are perfect for people with allergies, a busy lifestyle, or homes with goofy kids and pets.
And do you know that they are such adorable gifts? Pair one with a cute ceramic pot, and you’ll have a handmade gift that lasts for years.
Another reason people love crocheted cacti is that they fit almost anywhere. You can place them on office desks, study tables, bookshelves, coffee tables, or even tiny apartment corners where real plants may not get enough sunlight. They instantly add a cozy handmade touch to any space.
A creamy white ceramic pot. Yes, we heard you. Add this to your cart right away!
Supplies You’ll Need
Before you begin, grab some essentials like green yarn for the cactus body, brown yarn for the soil, crochet hooks suitable for your yarn weight, some fiberfill stuffing, yarn needles, stitch markers, small flowers for decorations, and mini terracotta or decorative planters.
If you’re new to crocheting, then use medium-weight cotton or acrylic yarn because it’ll make the project easier and give the cactus a sturdy shape.
If you want your cactus to look more realistic, choose different shades of green instead of using just one color. Adding light and dark green sections gives your finished project extra depth and makes it look even more lifelike.
Time to Create
Ready to start crocheting? Then a simple beginner’s crocheting kit is waiting for you!
1. Create the Shape
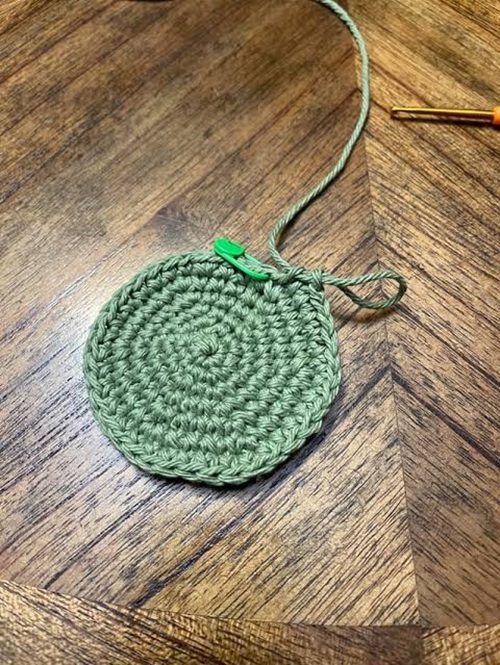
Start with a magic ring and work single crochet stitches in continuous rounds. Increase gradually to create a circular base.
2. Build the Shape
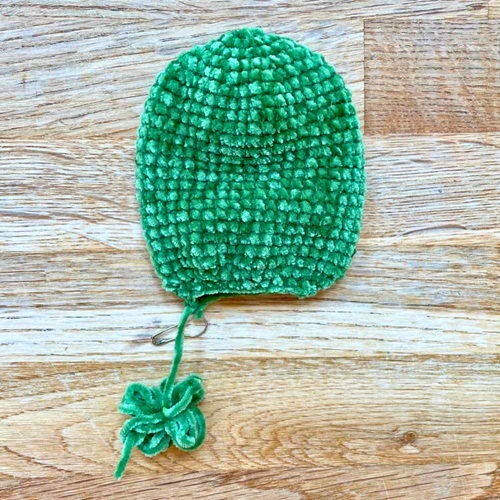
Once the desired width is achieved, stop increasing and continue crocheting evenly. This creates the signature cylindrical cactus shape.
3. Stuff as You Go
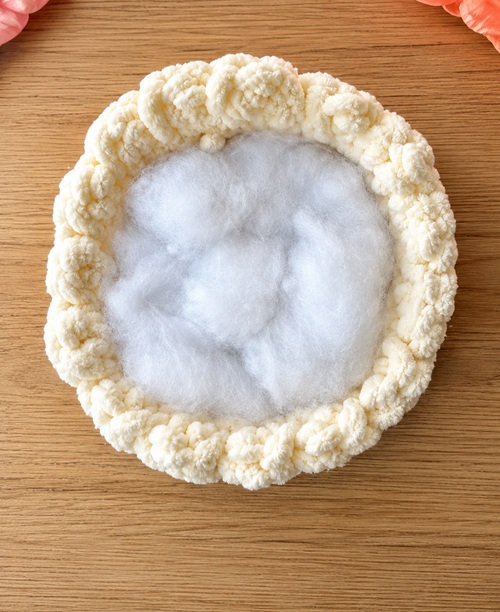
Add fiberfill little by little while crocheting upward. Firm stuffing helps the cactus stand upright and maintain its shape.
4. Shape the Top
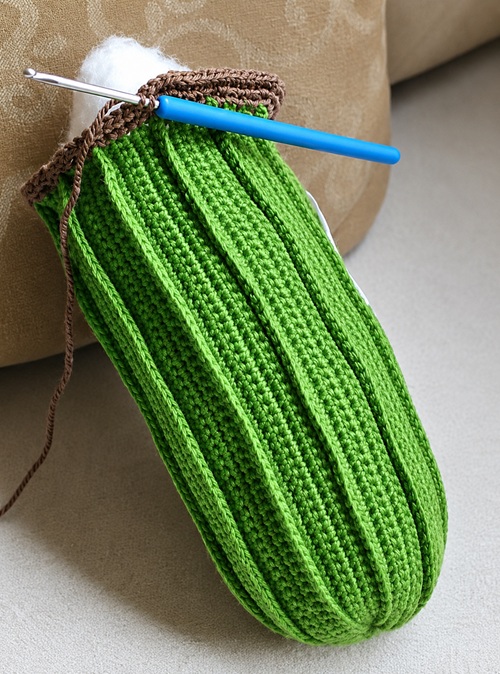
Decrease your stitches near the end to close the top neatly. Sew the opening through a yarn needle.
5. Decor Time
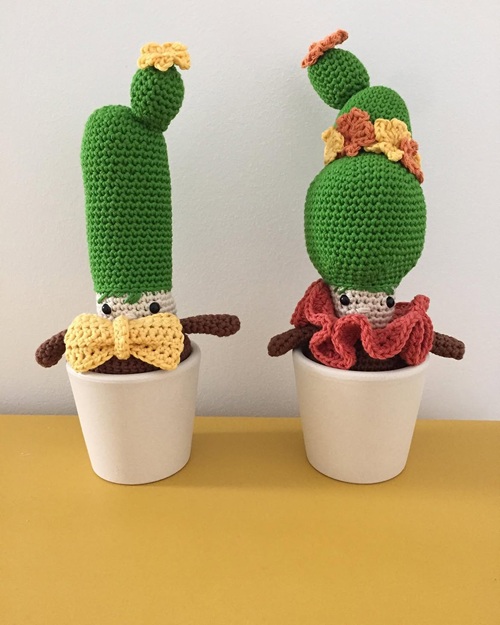
Create tiny crocheted flowers, blushing cheeks, or multiple cactus arms to give your plant your unique touch. And this is how you create a zero-maintenance plant that is ready to bring sparkle to your life.
You can also personalize your cactus by adding tiny bows, smiley faces, colorful flowers, or even creating a small family of cacti in different sizes. It’s a fun way to make every project unique.
For so many dainty additions on our little crocheted cactus, you need multicolored yarns that just add to their beauty. Make sure to grab them as soon as possible!
6. Friendly Tips
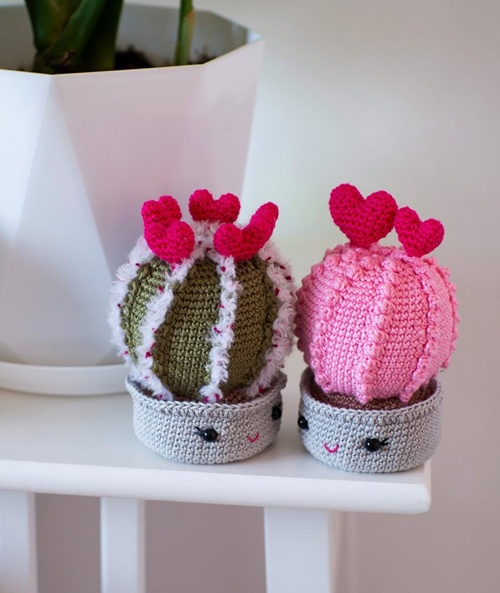
For an elegant look, use stitch markers to avoid losing count. Choose cotton yarn for a crisp definition and stuff firmly to prevent sagging. You can also add a weighted base if using a taller design.
If you’re making this cactus as a gift, consider placing it in a decorative ceramic pot with a little layer of brown felt or crochet “soil” on top. It gives the finished piece a polished, store-bought look while still keeping its handmade charm.
Amidst all these stitches, you might get confused. And for those moments, a crochet stitch dictionary is all you need.
If you love cacti, then we would love to know you more. Let us know how this crocheting journey was in the comments below; we are waiting!