Want more of those gorgeous Kalanchoe blooms? Here’s how to divide the Elephant’s Ear Tubers the right way for more plants.
Whether you know the Kalanchoe beharensis as the “Elephant’s ear kalanchoe”, “Felt Bush”, “Maltese Cross”, or even the “Velvet Elephant Ear”, nothing can beat the fact that you would want more of this beauty! So, here’s how to divide the Elephant’s Ear Tubers right way to get many more to fill your collection.
Steps to Divide Elephant’s Ear Tubers for More Plants
1. Pick the Right Time and Type of Growth
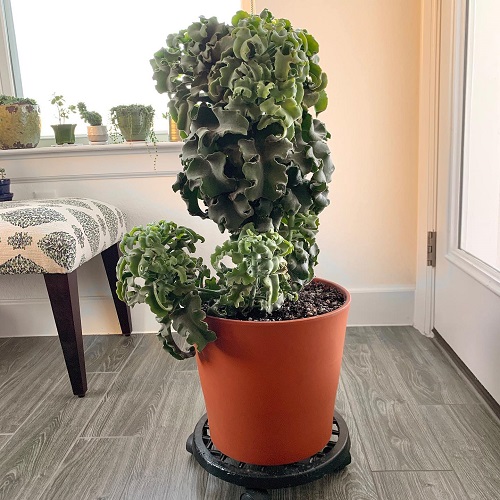
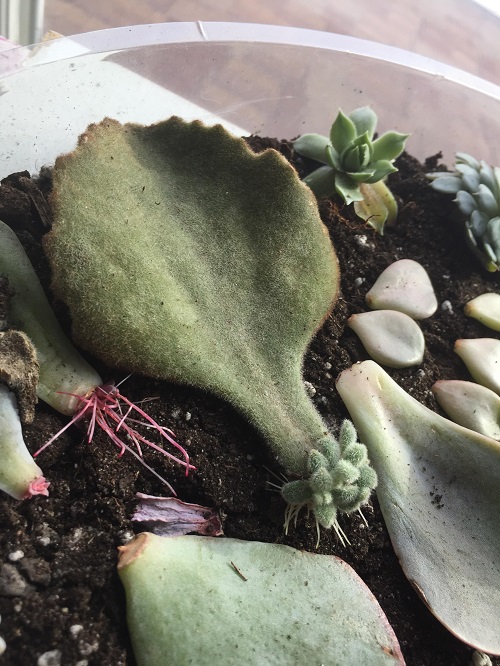
When you think about dividing a Kalanchoe, there are two important things to keep in mind. Firstly, the Velvet Elephant Ear doesn’t really have “tubers”. They are actually called offsets, and they are super easy to propagate by division.
Do this in spring or summer, when the plant isn’t blooming but is focused on new growth. That’s when it has the most energy to grow roots.
2. Start with a Healthy, Bushy Mother Plant
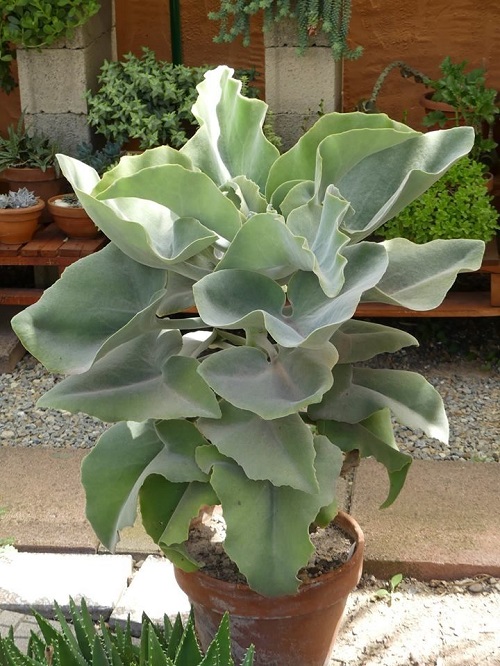
Coming to the most crucial point—before you even start dividing, ensure that the mother plant is quite robust and healthy. Avoid dividing when it’s flowering. Also, water the plant a day before dividing—it softens the soil and reduces stress on the roots when you remove it from the pot.
3. Gently Separate the Offsets From the Base

After you have selected your mother plant, get cracking with the division! Gently remove the plant from the pot and start separating all the dirt from the roots of the mother plant. When you can see the individual offsets, you can start dividing!
Usually, you can separate them by hand. If they come with roots, that’s great. If not, no worries—Kalanchoes are resilient and will root soon.
Don’t forget to remove dried leaves clinging to the base of the offsets—it helps your new offset direct its energy to better growth.
4. Use Sharp Tools for Clean Cuts and Pruning
In case you feel afraid of damaging your plant trying to separate the offset by hand, you can get a pair of sharp, clean pruning shears. Just like you would take stem cuttings on any other plant, you can cut an offset at the place where it joins the main plant.
With the same shears, go ahead and prune leggy growth or dry, dead leaves around the plant. (Hint: Make a clean cut just above a stem node or a leaf).
Always sanitize your shears before and after use to avoid infections.
5. Make Sure the Soil Mix Is Just Right
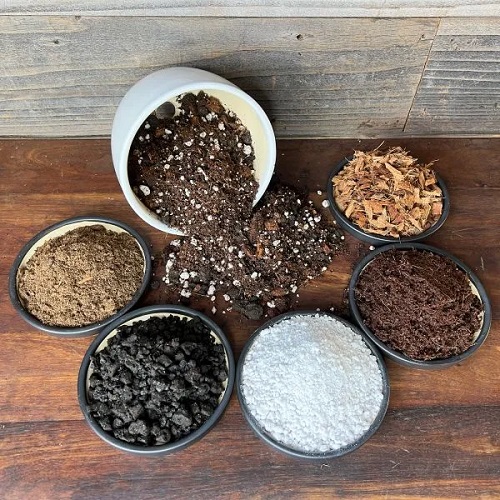
Now that you have your Kalanchoe babies (offsets), get your soil ready before potting. Of course, being a succulent, Kalanchoe will hate sitting in water. In fact, they are known to get root rot symptoms quite easily.
Opt for specialty succulent and cactus soil, or DIY your own 2:1 mix with sand and peat moss. Coconut coir and perlite also work well. Just make sure the soil drains water easily and doesn’t stay soggy.
6. Pot the Offsets and Let Them Rest
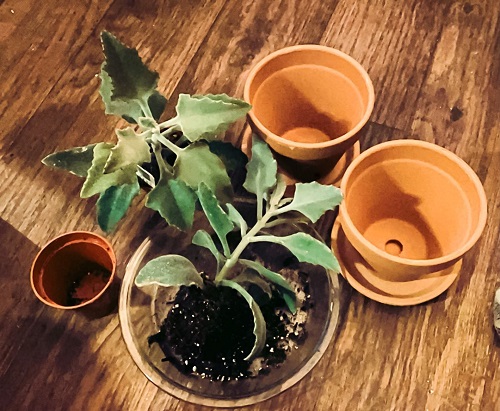
Fill the pots halfway with the soil and center your offsets. Add more soil and lightly pat down, keeping your plant straight.
Once potted, let the offset sit in the dry soil without watering for 24–48 hours. This gives the wounds time to callus and reduces chances of rot once you water.
After potting, place your offsets in a spot where they get bright but indirect sunlight. Avoid harsh afternoon rays for the first week or two. Once they settle in, gradually move them to brighter spots.
Pro tip: Cover the container with a clear plastic bag with a few holes to create humidity. Once you see active growth, remove the bag.
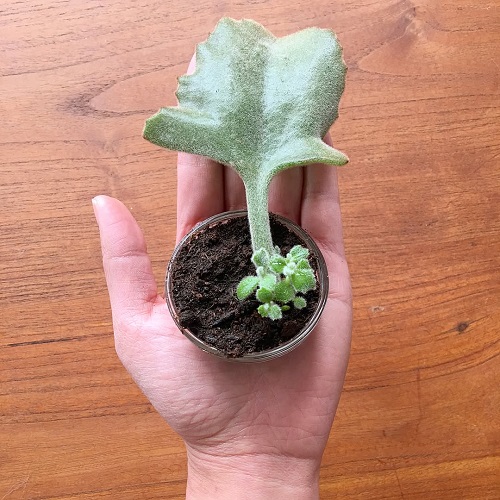
7. Bonus—Try Propagating Leaves!
After a couple of weeks, when your baby plants get established, you could also try propagating kalanchoe through its leaves. Didn’t know you could do this? Well, it’s time to try it out!
Heads up, leaf cuttings do need some additional steps! Let the leaf cutting dry or “callus” for a day or two before planting. You could dip the end in rooting hormone (optional). Choose thicker, healthier leaves—they often root better.
8. Care for the Leaf Cuttings the Same Way
Finally, pot the leaf in the same soil mix and place it in bright, indirect light. Only mist when the soil feels completely dry. Continue this routine until the leaf establishes itself. After that, treat it like a mature kalanchoe.
Try the division method described here on your Kalanchoe and let us know how it goes in the comments below!