Do you want to learn how to Fix a Leggy or Stretched Succulent? Here is a simple guide—just scroll down!
Succulents are known for their love of sunlight, thriving in bright conditions that keep them compact and healthy. However, when they don’t get enough light, these resilient plants can become leggy and stretched, reaching out desperately for the sun. This phenomenon, common among indoor plants, can leave your succulents looking less than their best.
Why Do Succulents Get Leggy or Stretched?
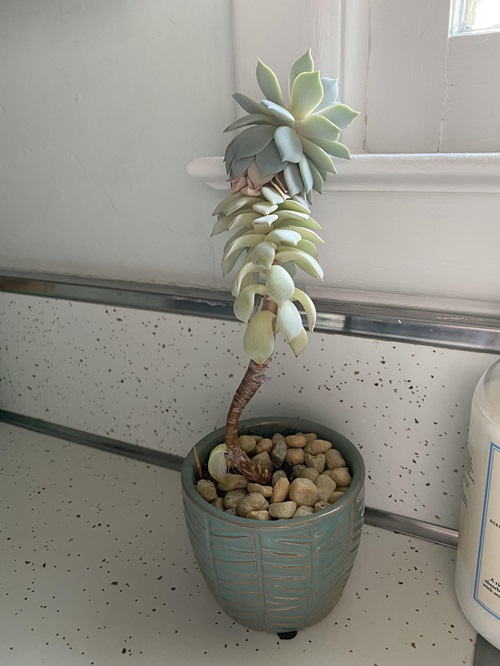
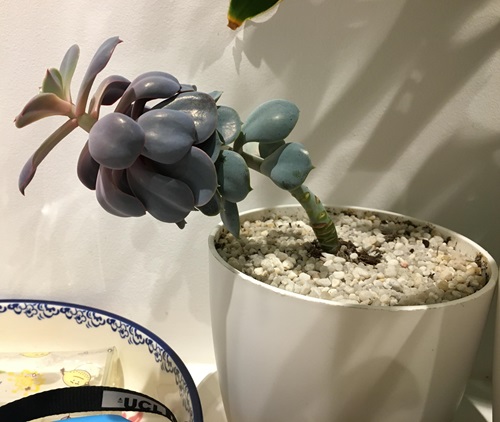
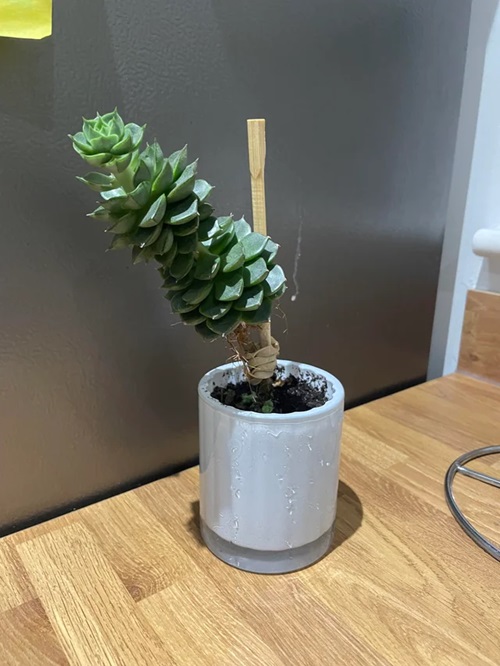
So, you’ve noticed your succulent isn’t as compact as it used to be. Instead, it’s grown tall, with gaps between its leaves, and is leaning awkwardly toward the nearest light source. This stretching, known as etiolation, is your succulent’s way of telling you it needs more light.
Etiolation happens when succulents don’t receive enough light. They start to stretch out, trying to move closer to any available light source. The spaces between the leaves widen, and the plant loses its close-packed, tidy appearance. This is a common issue for succulents grown indoors, especially during the darker months when natural light is limited.
But don’t worry—while you can’t reverse the stretching, you can certainly help your plant regain its beauty and even multiply your collection in the process.
How to Fix a Leggy or Stretched Succulent
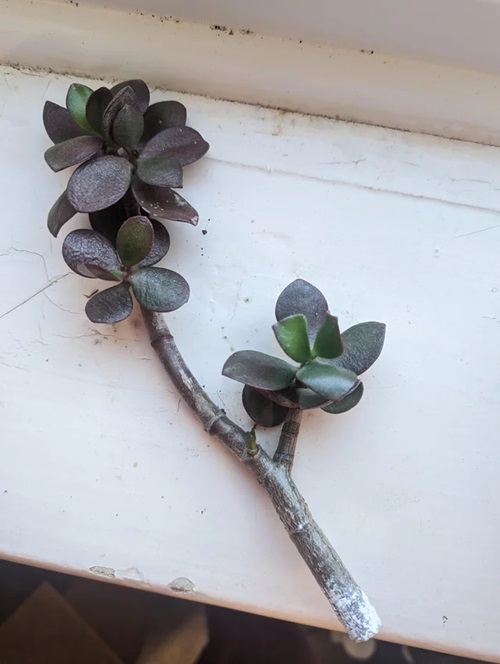
1. Give Your Succulent a Haircut
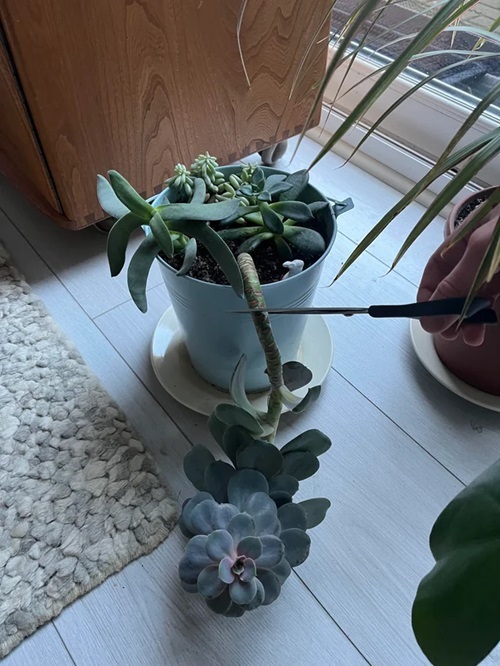
First things first—you’ll have to trim your succulents. Yes, it sounds drastic, but it’s the best way to manage a leggy plant. Use a clean pair of pruners or snap off the lower leaves, making sure to get as clean a break as possible. If a leaf tears, it’s best to discard it, as it won’t propagate well.
Continue removing leaves until you’re left with a compact top section. If your succulent has grown a long stem, you might want to trim it down to a more manageable length—1-2 inches above the soil is ideal.
2. Let the Leaves Dry
Once you’ve removed the leaves, set them aside in a dry, shaded area. Allow them to dry out for a few days, which will help the raw ends callous over. This step is crucial because it prevents the leaves from rotting when you plant them later.
Fact: Callusing is the process where the plant forms a protective layer over the cut surface. This process can take anywhere from a few days to a week, depending on the humidity and temperature.
3. Repot the Stem
Now that your succulent has been trimmed, you can repot the remaining stem. If the stem is too long, you can trim it down to a more manageable size, about 1-2 inches from the base of the plant. If there’s no stem left, don’t worry—just nestle the rosette (the top part of the plant) into the soil.
Its good if you use a well-draining soil mix designed for succulents and cacti. You can even add a bit of sand or perlite to improve drainage. Succulents hate sitting in soggy soil!
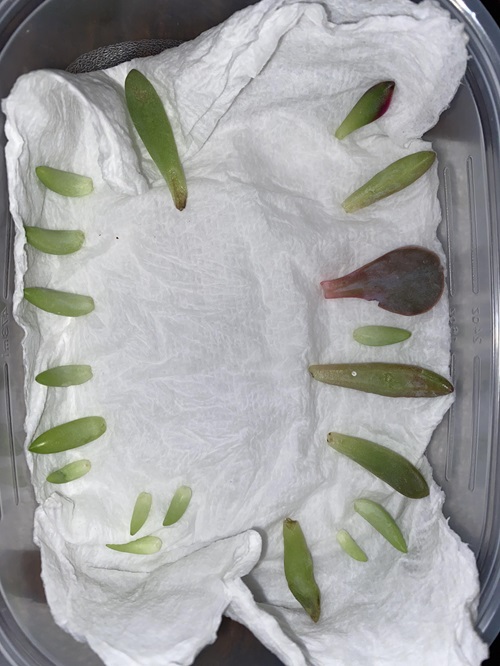
4. Prepare the Leaves for Propagation
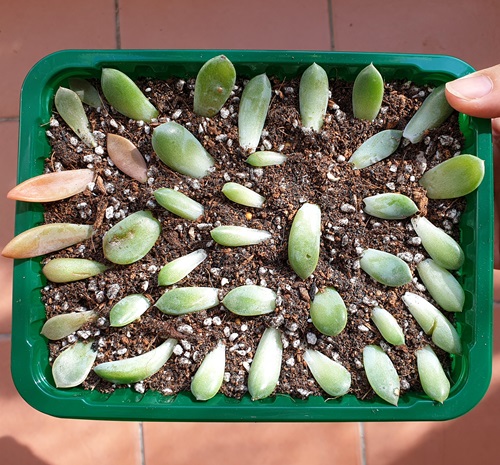
With your trimmed leaves, it’s time to start propagation. Place the dried leaves on top of a tray, saucer, or container filled with a succulent-friendly soil mix. Do not bury the leaves—simply place them on top of the soil.
Then, put the container in a spot with bright, indirect light, away from direct sunlight. Keep the leaves spaced out so they’re not touching. This helps prevent mold and gives each leaf space to grow.
5. Water Sparingly and Wait
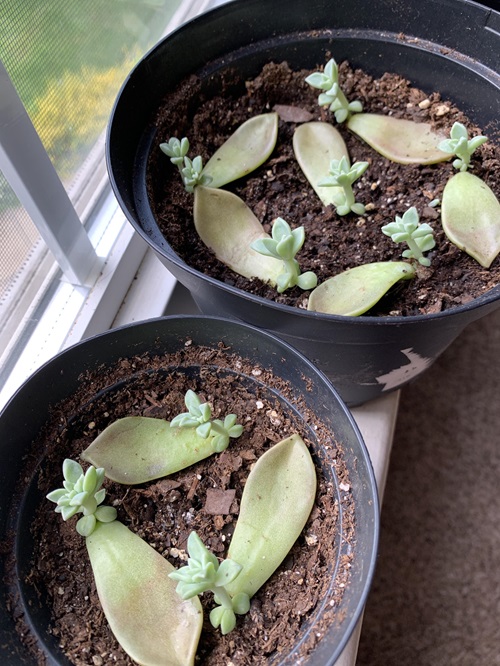
This is where your patience comes in. Lightly mist the soil to keep it moist but not soaking wet. Too much water can cause the leaves to rot before they have a chance to root. Water again only when the soil feels dry to the touch.
In about a month, you should start to see tiny roots or even new baby succulents growing from the ends of the leaves. This is the exciting part, but it requires patience—propagation can take time, so don’t rush it!
Fact: Succulents typically take 2-4 weeks to start rooting, but it can take several months for them to grow into a new, fully-formed plant.
6. Replant and Show Off
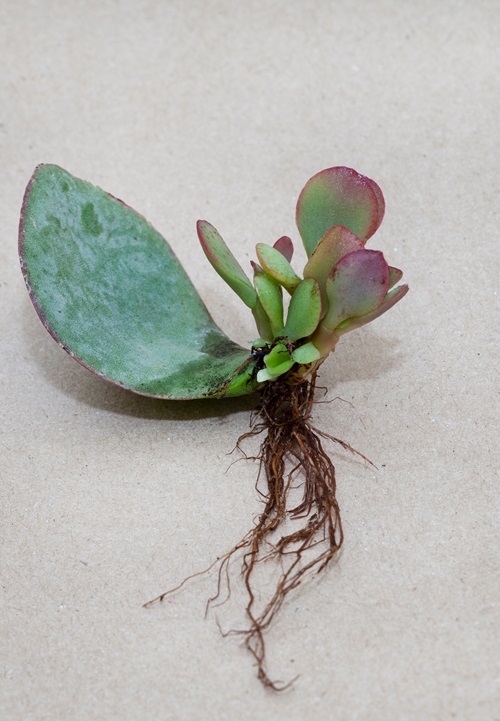
Once your new succulents have rooted and grown a bit, they’re ready to be replanted. Gently transfer them to individual pots and give them a place of honor in your home. Remember to rotate them regularly so they receive equal light on all sides, preventing future stretching.
Ongoing Care
To keep your succulents looking their best, check the roots every six months or so. If they’ve outgrown their pot, move them to a bigger one. Regular feeding with a cactus-specific fertilizer will also help them thrive. Plus, succulents need at least six hours of bright, indirect sunlight daily. If natural light is limited, consider using a grow light to give them the boost they need.
Fixing leggy succulents is a fulfilling process that not only revives your plant but can also expand your succulent collection with the new cuttings you propagate. Have you tried fixing a leggy succulent? Share your experiences, tips, or any questions in the comments—we would love to hear how your succulents are doing and what’s worked for you!