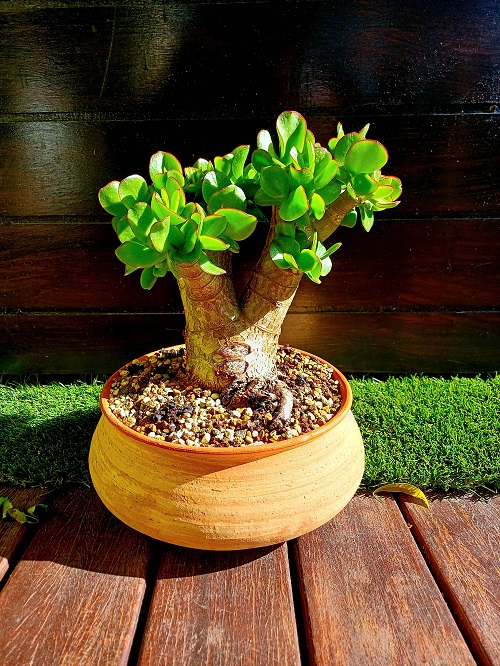
Why not give some a stylish twist to your Crassula ovata? Here is how to make a Jade Plant grow in a circular Bonsai Shape!
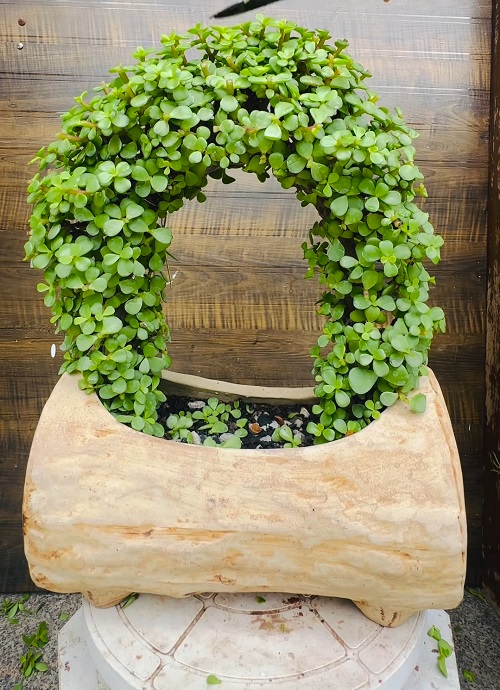
The Jade plant is already an instant head-turner with its thick, branched stems and adorable, plump, egg-shaped foliage. But you can increase its visual wow factor by training it to grow in a circular shape. This unique form will be perfect for display as a bonsai plant. Read on to learn how!
How to Make a Jade Plant Grow in a Circular Bonsai Shape
1. Choosing the Right Jade Plant
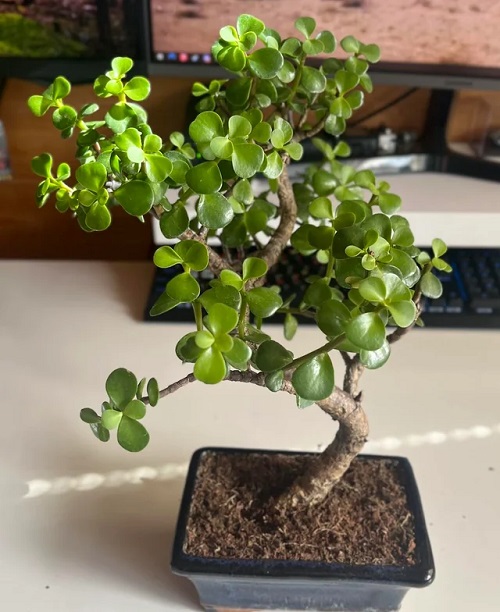
It is a common misconception that all jade plants form similar types of topiaries. But in reality, jade plants with smaller foliage are easier to train into the desired form, in our case, a circular bonsai. Also, certain jade plant varieties do better than others when it comes to bonsai display.
For example, “Botany Bay” and “Crosby’s Compact” are known for their compact yet bushy form that easily fills in to give a spherical look. Avoid varieties that grow leggy quickly, as they may require frequent trimming to keep the shape intact.
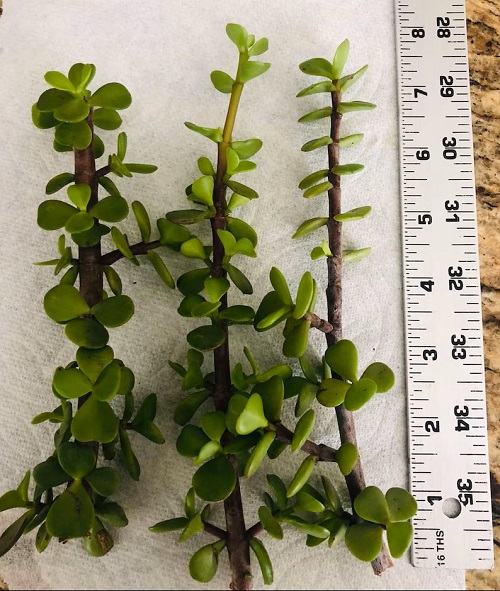
2. Take Healthy Cuttings
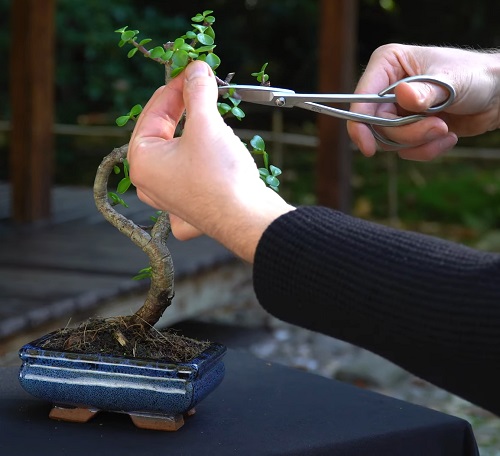
This process is simple but foundational to your result! All you have to do is snip away medium to long cuttings with the help of scissors from your chosen jade plant, irrespective of its original form.
Allow the cuttings to callus to prevent infections and promote root growth. Don’t worry if they include a few branched stems, as this will only help increase the density of the circular bonsai shape.
3. Choosing the Right Container
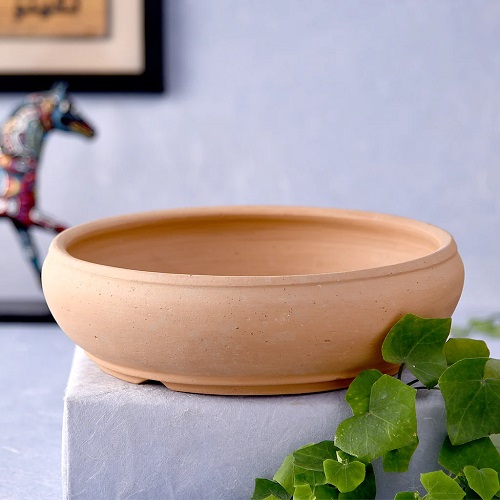
Just like how any building needs a foundation, our jade plant bonsai will require a shallow terracotta pot. Ensure that the pot depth remains between 6 and 8 inches for the best results. Also, make a hole at the bottom of the container to allow easy seepage of excess water to prevent wet feet issues or root rot.
Note: You can also use ceramic pots, but remember that the jade plant hates stagnant or pooled water; therefore, proper drainage is a must.
4. Making the Best Potting Mix
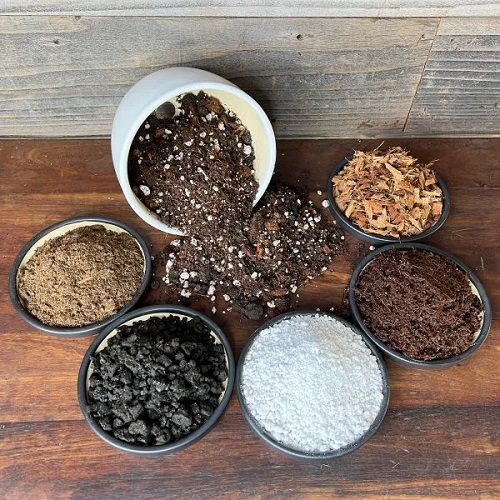
The right potting mix is of utmost importance when it comes to bonsai plants. You need to pay extra attention to the composition to ensure the survival of the individual cuttings that will form the bonsai.
In most cases, a potting mix that incorporates garden soil, river sand, cocopeat, and compost in a 1:1:1:1 ratio will do best. Cocopeat is necessary to give a soft texture to the soil, allowing the root system to develop easily.
Pro tip: You can also add 1 teaspoon of perlite to help the soil retain more moisture to meet the needs of the young cuttings.
5. Skeleton of the Topiary
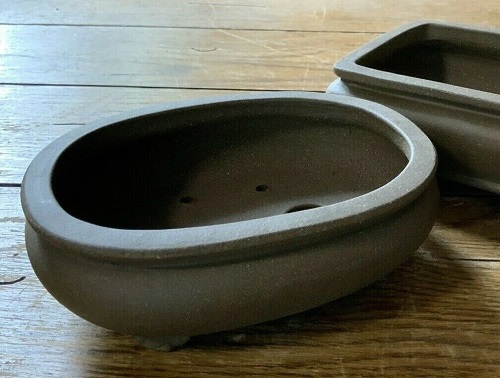
This is where the magic lies! To give your bonsai the round shape, you will need a dome-shaped pot that you will inversely erect into the main container. Ensure the dome-shaped pot is smaller in diameter than the foundational container, allowing space for the cuttings to be planted.
The dome-shaped pot acts as the framework upon which the cuttings will be trained.
Pro Tip: You can even poke a few holes in the structure to increase airflow. If you don’t have a dome-shaped pot, you can make a DIY frame using flexible wire or a metal basket turned upside down.
6. Planting and Training the Cuttings
Place the dome-shaped pot in the center of the main container, and begin planting the cuttings. The reason why you needed long cuttings is to allow them to cover the support apparatus completely. Carefully arrange the cuttings all around the pot.
Make sure that you remove the leaves at the bottom-most portion of the cuttings to prevent rotting. Once all the cuttings have formed a perimeter around the dome, use a regular thin thread to hold all of them in place and create the iconic spherical shape.
Note: Do not use a heavy thread or tie it tightly, as this will stress out or damage the cuttings, which will eventually spoil the topiary.
7. Aftercare
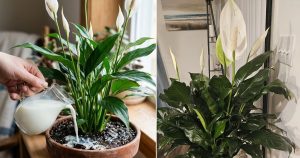
Give your jade bonsai plenty of bright, indirect light — an east-facing window works wonders. Water it gently from the top whenever the top inch of soil feels dry, and keep the air moving so humidity stays low. Snip away any new shoots that dare to ruin its shape, as this will help it branch out and look fuller.
If a gap shows up, simply tuck in a few small cuttings to keep the circle complete. During the growing season, treat it to a monthly dose of balanced liquid fertilizer (19:19:19 NPK).
Most topiaries take years to form, but with this hack, you can make one yourself within a month. Let us know which other succulents you would like to train into a unique shape?