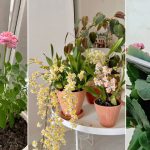
Looking for flowers in your Hens and Chicks? Here’s how to make Echeveria bloom from the center, and what most people miss.
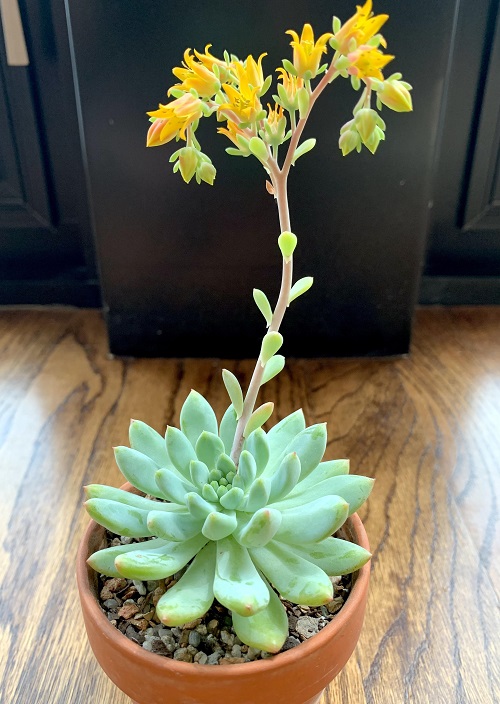
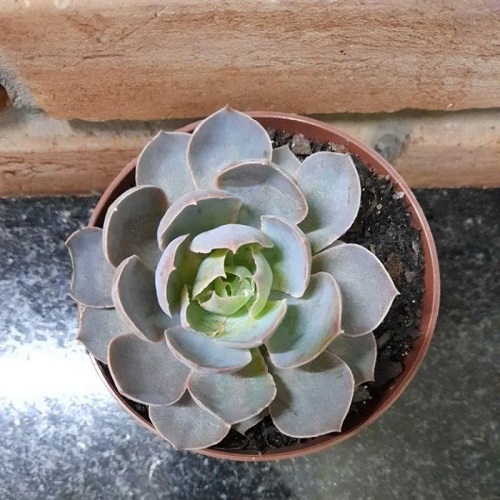
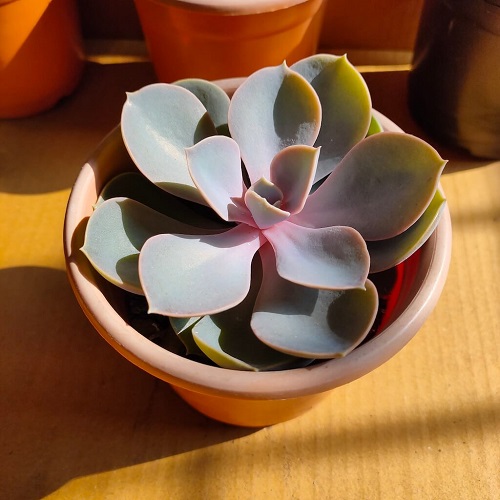
A favorite in succulent collections, Echeverias are native to South and Central America, and Mexico. But if you want more than just pretty rosettes, it’s time to bring those blooms out—and right from the center! Here’s how to make that happen.
How to Make Echeveria Bloom From the Center
1. Never Over-Prune Your Succulent
While pruning is quite an essential step when growing an Echeveria (it helps keep your plant compact, beautiful, and also helps your plant grow more rosettes), use the right technique to avoid damaging the plant.
Often, beginners tend to unknowingly pinch off the central rosette. Doing this while grooming your Echeveria will result in your plant never blooming from the center!
This is why you must keep in mind never to prune or disturb the central growth point—it’s where you want the bloom stalks to emerge.
2. Rotate the Plant Weekly
Sometimes, the reason your Echeveria may not be blooming at all, let alone just from the central rosette, is that it may not be getting enough light. In this case, you will notice your Echeveria stretching or leaning towards the available light source.
This process is called “etiolation,” and as you know very well, lighting is one of the most crucial things for your succulent to be healthy and produce buds.
Even with good lighting, make sure to rotate the pot weekly to help the rosette stay compact and encourage blooming from the center.
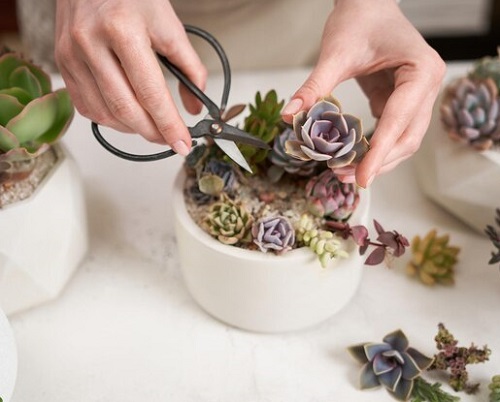
3. Separate the Pups
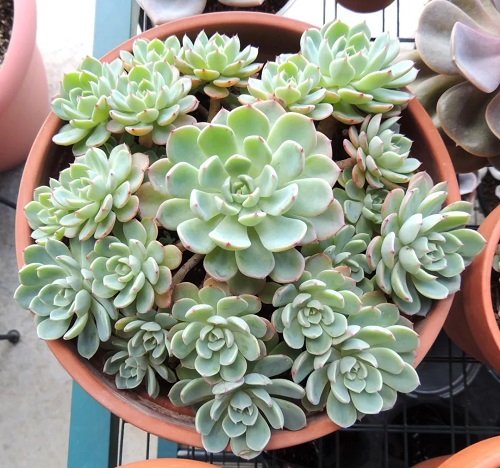
Now this is certainly one of the most important things that beginners tend to miss— do not overcrowd your Echeveria! Confused? Well, if your echeveria is surrounded by offsets (pups), the mother plant might divert energy to them instead of producing a central bloom.
Gently separate the pups in early spring to redirect the plant’s energy back to the main rosette and promote flowering.
4. Winter Dormancy is Crucial
You simply cannot miss out on this step if you want your Echeveria to bloom. This succulent goes dormant in the winter months to restore its energy to bloom in the upcoming season. Now, during this time, you don’t really need to do much if your succulent is already quite happy in its spot by the south or west-facing window.
It will naturally experience shorter daylight hours according to the natural seasons and also experience nights that are 5–7°C cooler than daytime, in its spot.
Pro tip: Reduce watering and stop fertilizing during this time to gently “stress” the plant and trigger blooming later.
5. Gradually Increase Lighting and Temperatures
After the dormancy period is over and the temperatures are starting to warm up slightly, you can start resuming the normal care to make your plant bloom after the normal stress. As days get warmer, start giving your plant more sunlight—about 4 to 6 hours of bright light daily.
If you continue to keep your watering schedule infrequent, this can perfectly trigger the natural survival instinct of your plant and result in a flower spike from the center.
6. Resume Watering
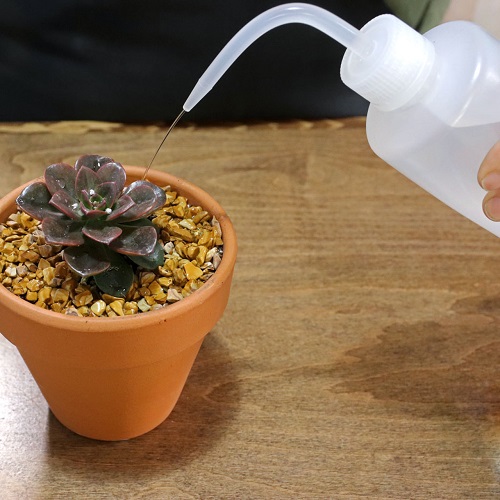
So you see your Echeveria producing buds on top of the flowering stalks (preferably from the center if you have followed all the steps). This is when you should increase watering for your plant. But don’t go overboard—succulents store water in their thick leaves and can tolerate drought better than soggy soil.
In summer, water your Echeveria once a week, depending on how quickly the soil dries out.
Pro tip: Touch the leaves! Wrinkly, curling leaves mean your Echeveria is thirsty. Limp or see-through leaves? That’s a sign of overwatering.
7. Fertilize for Blooms
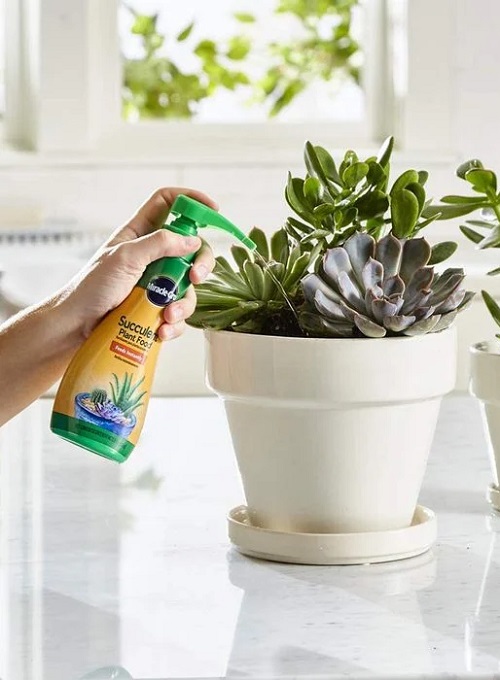
To give your Echeveria an extra push towards blooming, fertilize! Between April to September, you’ll want to use a fertilizer that is high in phosphorus, that is, one with an NPK ratio of 5–10–5. Dilute it to half-strength and apply it once per month during the growing season.
Keep nitrogen low—it’s great for leaves but not so much for flowers. Phosphorus and potassium are the nutrients your plant needs to bud and bloom.
8. Pay Attention to the Soil Mix
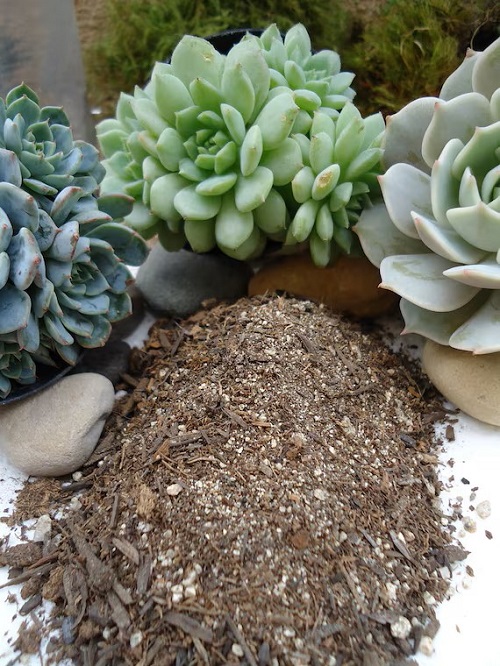
Now you may be doing everything right, but missing out on this point will render all your efforts useless! To get a healthy, flowering Echeveria, you need a well-draining, loose, airy soil mix to keep the plant roots free of excessive moisture.
Choose standard potting mixes or DIY one with three parts of regular potting soil with two parts of coarse sand, and one part of perlite.
You can have the Echeveria of your dreams with the right soil mix that is slightly acidic, with a pH of 6.0.
So these were all the ways that you can get your Echeveria to bloom and bloom well! Have you missed any of these steps before? Let us know which one in the comments below!