Do you want to learn a fun way to multiply your plants? Read on to become a pro at how to plant a succulent clipping!

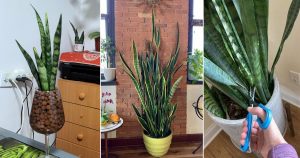
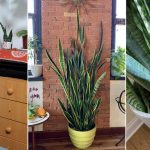
Some of the most popular succulents are Echeveria, Sedums, Crassula, Agave, and so on. They can be easily propagated from their leaves, offsets, and stems. Plus, propagation through their leaves and stems is cost-effective and simple. There are a few essential steps and procedures to follow. Let’s discuss how to plant a succulent clipping in detail.
When to Take Succulent Clippings?
The crucial thing to keep in mind is figuring out the best and most favorable season or time to take succulent cuttings or clippings. Plus, the best time to take cuttings from your succulents is during the spring and summer seasons. Although succulent clippings can be taken anytime, taking them during the active growing season helps to ensure that the mother plant recovers from pruning and the clippings also survive easily.
How to Find a Good Clipping?
After being familiar with succulents you will observe that there are pups or offsets, that grow from the sides of the base. These offsets can be cut off and planted in a different pot. They are very easy to grow and propagate. And propagation with offsets has a high survival rate.
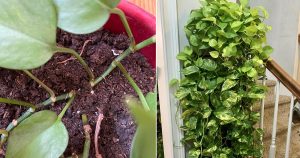
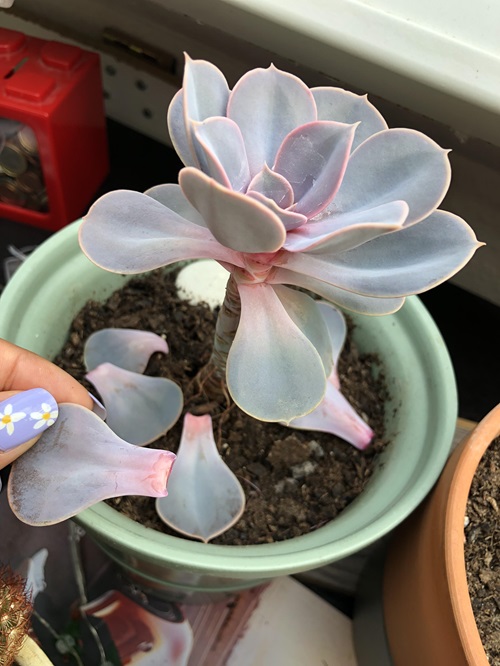
Similarly, the matured leaves of succulents are great for producing many succulents at a time. Just see and select the matured leaves from the base area. To make this method more efficient you can take clippings from the areas that need pruning or shaping.
You can use these types of equipment and tools like, gardening gloves, sterile pruning shears, trowel, succulent soil mix, planters, succulents, water, and fertilizer.
Easy Peasy Step-by-Step Process
1. Potting Mix Preparation
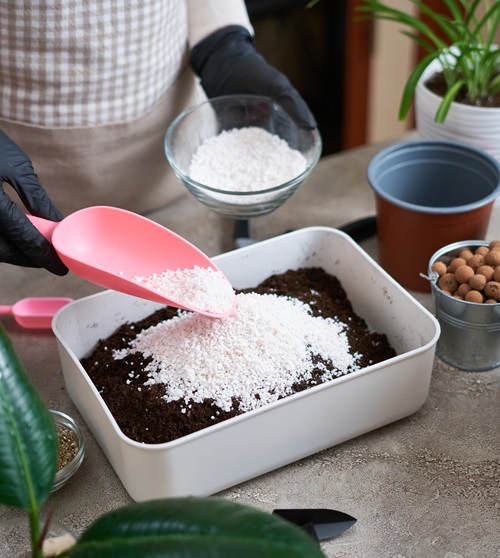
Prepare a suitable potting mixture before starting anything. This will help you a lot! Start with the ratio of 1:1:1 of grainy soil, husk + garden soil, and perlite. Then add some organic fertilizer or any other one of your choice and mix everything well.
Lastly, fill this mixture in your preferred pots and planters. Additionally, water them and leave the mixture to sit and drain the water for a while until you complete the other steps.
2. Take the Clippings (Leaf/ Stem)
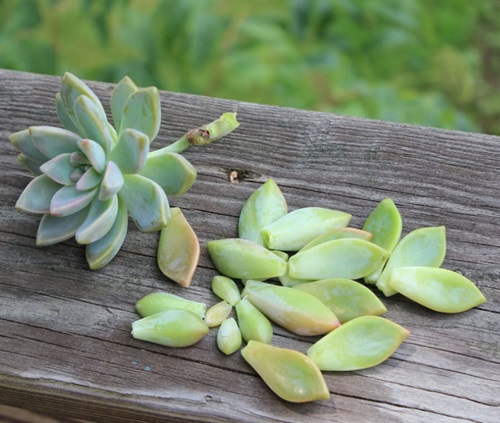
After gathering all the sterile tools, select the spot carefully from where you want to take the cuttings on the succulent! With the help of pruning shears, make a swift and clean cut through the stem and ensure that your stem clippings are at least about one inch long. Afterward, remove the leaves if present.
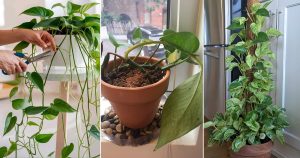
Again, in the case of leaf clippings, just gently twist the choice of your leaf and it will separate from the plant easily.
3. Planting of Clippings

Now it’s time to bring your clippings for their debut! Lay down the leaf clippings over the soil and spray some water. Again if you have stem clippings then just plant them carefully into the soil. Spray water and place it under an indirect sunlight area or even a place with early morning sunshine is also fine.
Keep a close watch over the pots for a few weeks and keep spraying water whenever you see that the top soil is dry.
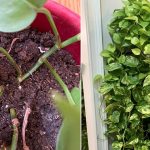
4. Appearance of Callus and Roots

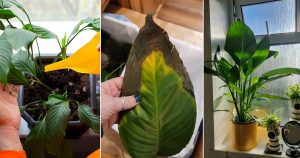
After 2-3 weeks you will see that the leaf clippings have developed tiny fragile red or white roots and calluses from one end of the edges. You can now turn them over or leave them be so that the roots can touch the soil to grow further. Just forget about them for a few more weeks and continue to spray water whenever there is a need.
5. The Wait!

Have some patience because if you have reached here then this means you are doing great! Just wait for a few weeks and do all the necessary things for them to grow gracefully. And within 5-6 weeks you can see that the calluses have started to form some structure of the leaves and the roots have anchored in the soil.
Congratulations! You have your succulent babies ready for transplanting to separate planters for growth and development. Follow the same procedure but in different planters with good drainage holes.
Did you like the above process? When you do it you will feel more productive and happy! Try and let us know about your story after completing the whole process.