Want to keep your plant happy and thriving? Follow these simple steps to learn how to repot succulents correctly and safely!
Succulents are the superstars of the plant world, with their quirky shapes and easygoing nature. But just like outgrowing your favorite pair of shoes, succulents can outgrow their pots. When that happens, it’s time to give them a little more space to stretch their roots. If you’re feeling a bit nervous about the whole repotting thing, don’t worry—let’s walk through the process together!
When to Repot Succulents
The best time to repot succulents is at the start of their growing season. For most succulents, this means early spring or early fall. It’s like moving house during the best weather—everything goes smoother! Avoid repotting during their dormant phase; they’re not in the mood for change and might not handle the move well. For instance, succulents like sedum, echeveria, and kalanchoe love a springtime refresh, while others like aloe and haworthia prefer an autumn update.
Pro tip—If your succulent is showing off with some beautiful blooms, let it finish its show before repotting. Moving them mid-bloom can be like pulling the rug out from under them, causing flowers to drop prematurely.
Signs a Succulent Needs Repotting
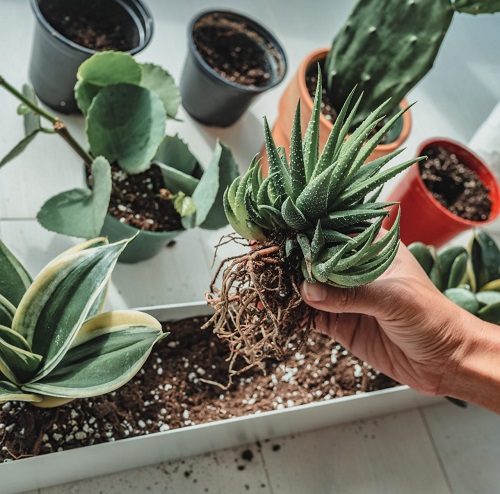
How do you know it’s time for your succulent to pack up and move? Here are some telltale signs like if growth has slowed or stopped, despite providing adequate sunlight and water, the plant may be root-bound in a too-small pot. Another sign is water draining too quickly, which can indicate that the soil has been displaced by roots, leaving little room for moisture retention.
Plus, visible roots on the soil’s surface or poking out of the pot’s drainage holes also signal that the succulent has outgrown its container. Additionally, newly purchased succulents often come in small pots with inadequate soil, necessitating a prompt repotting into a larger container with high-quality, well-draining soil.
Note: Even if your succulent seems content, it’s a good idea to repot every two to three years. This refreshes the soil and gives your plant a nutrient boost, keeping it healthy and happy.
Steps for Repotting Succulents
1. Choose the Right Pot
You can pick a new pot that’s about 1-2 inches wider and 2-3 inches deeper than the current one. And remember, drainage holes are a must! They’re like air conditioning for your plant’s roots, preventing water from sitting around and causing rot.
2. Prepare the Soil
Just, fill the new pot about three-quarters full with a well-draining soil mix. You can buy a succulent or cactus mix or make your own by mixing equal parts compost, coir, and perlite. This mix gives your succulent the perfect balance of nutrients and drainage.
3. Remove the Succulent
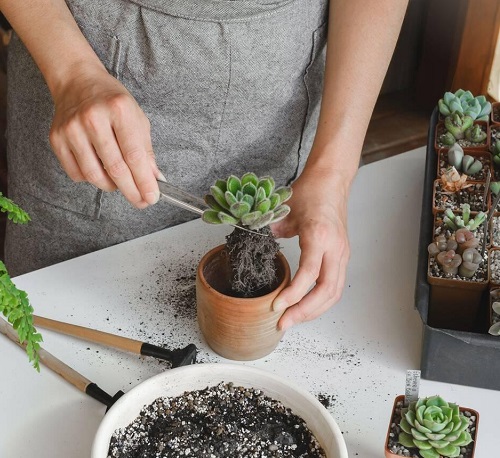
Gently coax your succulent out of its old pot. Plus, if it’s a bit stuck, a gentle tap or a little nudge with a tool can help. Be careful not to damage the roots—think of them as the lifeline of your plant.
4. Clean the Roots
You can shake off the old soil and give the roots a good look-over. Also, trim any dead or excessively long roots, and gently untangle any that are bunched up. This step is like giving your plant a little spa treatment.
5. Place in New Pot
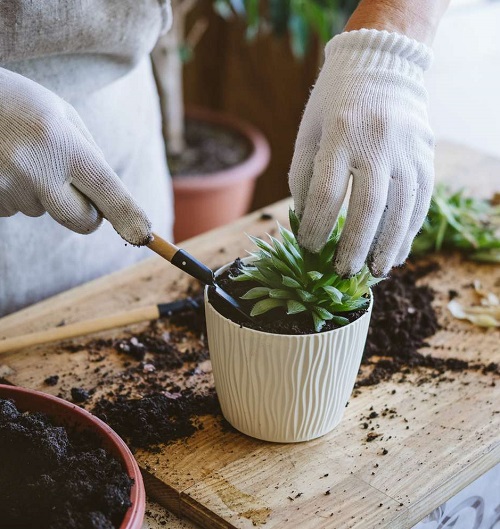
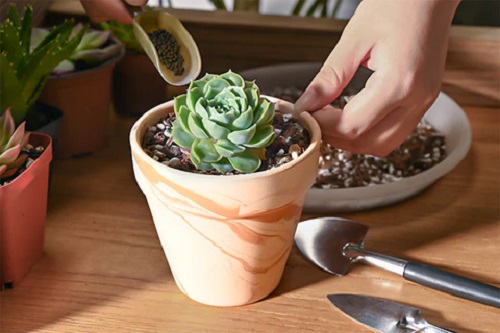
Position your succulent in the center of the new pot and fill in around the roots with fresh soil. And, make sure the base of the leaves is above the soil line to prevent rot.
6. Settle the Soil
You should lightly press down the soil to secure your plant, but don’t pack it too tightly. Succulents prefer a bit of breathing room around their roots. Simple!
Caring for Succulents After Repotting
After the big move, give your succulent a day or two to settle in before watering. Place it in a shady spot to help it adjust, and hold off on fertilizing for a few weeks. Just, think of it as giving your plant a little vacation to recover from the move before jumping back into the daily grind.
Conclusion
Repotting succulents might seem like a big task, but it’s really just a matter of giving your plant a little more care. By choosing the right time and following these simple steps, you can make the transition smooth and stress-free for your succulent. So, grab your gloves and get ready to give your succulents the fresh start they deserve. And, don’t forget to share your experience in the comments below!

