Worried about how to split a Christmas Cactus? Well, it sounds tricky but quite simple with the right steps—Learn how!
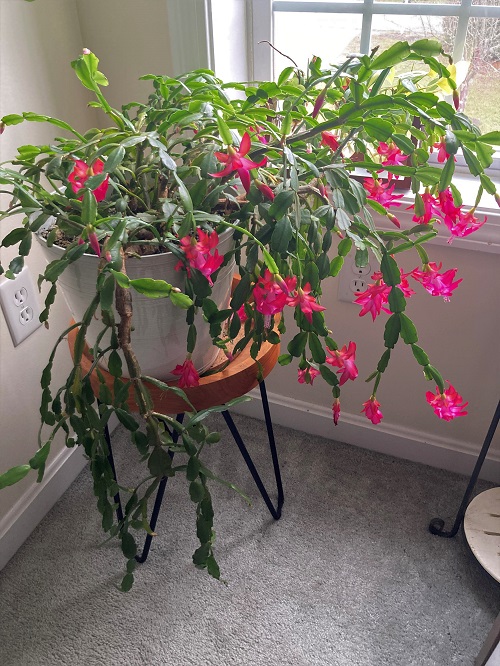
If your cactus is getting a bit too big for its pot, or you want to share it with friends. Splitting a Christmas cactus is a great way to manage its size and multiply your plants without buying new ones. Here, we will show you exactly how to split a Christmas cactus and keep both parts healthy and happy.
Can I Split a Christmas Cactus?
Absolutely! You can split a Christmas cactus, but the key is to be gentle with its roots and stems. These plants might look delicate, but they’re surprisingly hardy once you know what you’re doing.
When Should You Split It?
The best time to split a Christmas cactus is after it finishes blooming, typically in late spring or early summer. However, if it’s becoming overcrowded in its pot or if you notice the plant struggling, you can split it earlier. Just remember that splitting a cactus while it’s blooming may result in fewer or delayed flowers, so it’s best to wait until after its flowering season.
How to Split Your Christmas Cactus
1. Water Your Plant First
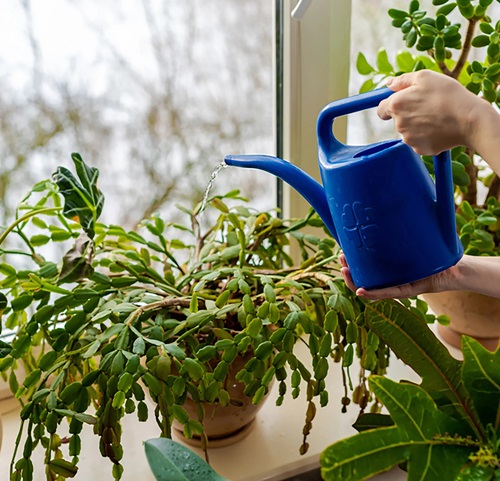
A couple of days before splitting, water your Christmas cactus thoroughly. This helps loosen the soil, making it easier to remove the plant from its pot without damaging the roots.
2. Carefully Remove It from the Pot
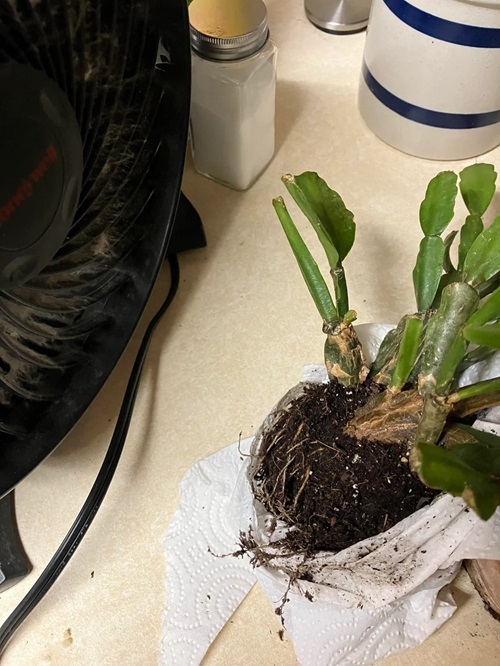
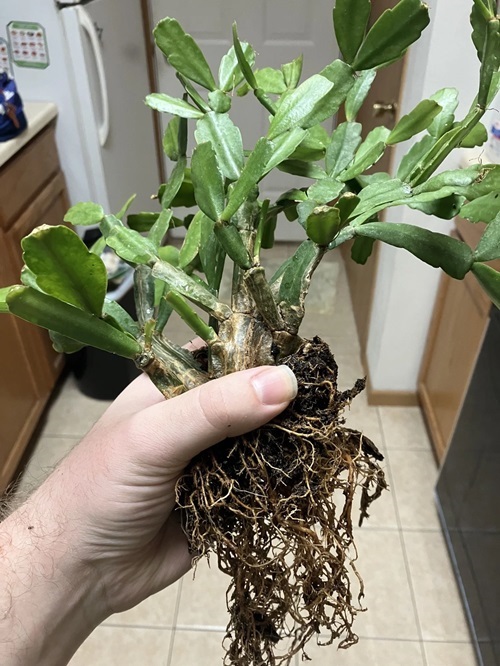
Gently hold the base of the cactus and tip the pot over. Lightly tap the sides of the pot if the plant is stuck. Once it’s out, shake off excess soil to expose the roots, but be careful not to tear them.
3. Divide the Plant
Look at the root system and find natural sections where the plant can be split. You can usually see where clusters of stems grow from the base. Gently pull these sections apart with your hands. If the roots are tangled, use a clean, sharp knife to carefully cut through them. Each section should have a healthy portion of both roots and stems.
4. Cut Stems if Necessary
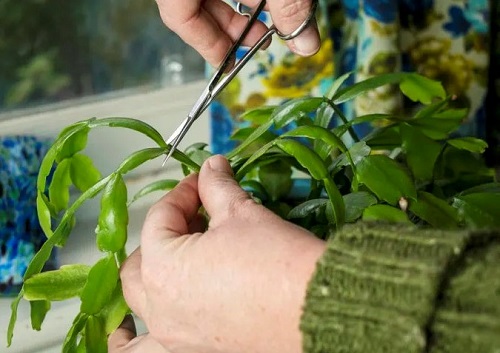
If your cactus is too large, or if you prefer not to disturb the roots too much, you can also take cuttings. These cuttings should be around 3 to 5 segments long. Let the cut ends dry out for a day or two before planting them in fresh soil. This helps prevent rot.
5. Re-pot the Divided Sections
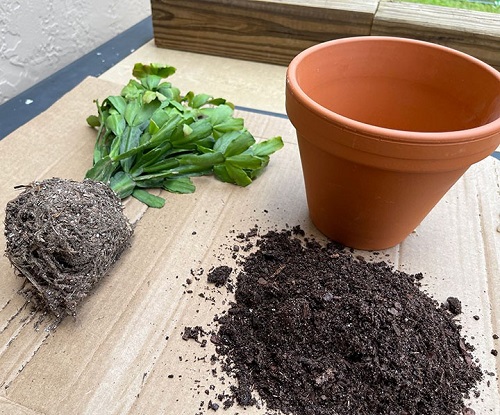
Prepare new pots with a well-draining cactus or succulent soil mix. Re-pot the separated sections, making sure they are placed at the same soil depth as before. Christmas cacti don’t like too much space, so choose pots that are slightly larger than the root ball.
6. Water and Care for Your Plants
After re-potting, give the plants a light watering. Don’t overdo it—the soil should be slightly moist but not soggy. Place the newly potted plants in a spot with bright, indirect light, and allow them to adjust to their new pots.
How to Help Your Christmas Cactus Settle In?
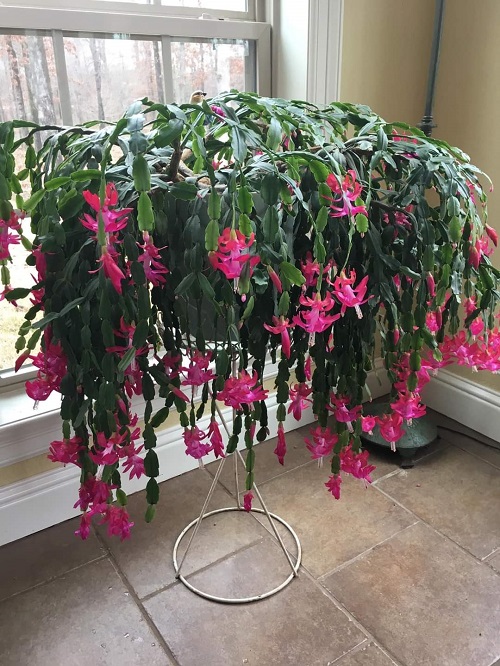
After the splitting process, your newly divided plants will need a little extra care to get settled. Christmas cacti are resilient, but they can take a little time to adjust to their new homes. Continue to monitor them for any signs of stress, such as wilting or yellowing leaves.
You should make sure they’re in a warm environment with temperatures around 60-70°F (16-21°C) and away from drafts. Humidity also plays a role in the health of these cacti, so a room with moderate humidity is ideal. If your cactus starts looking a little limp, it could be a sign that it needs more moisture in the air.
Don’t worry if your plant looks a little off for the first couple of weeks after splitting—it’s normal for it to go through a bit of shock. With proper care, it should bounce back and continue to grow.
Splitting a Christmas cactus is a simple way to manage its size and create new plants. With a little care and patience, both your original cactus and the new divisions will thrive. Have you tried to split your Christmas cactus before? Share your tips or stories in the comments below!

