If your aloe plant is constantly dying and seems so soggy, here’s how to spot an overwatered aloe vera and save it before it dies.
It might sound counterintuitive but aloe vera benefits from less love! If you show it too much love and reach for the watering can all the time, don’t be surprised if your plant dies on you. When growing an aloe, it’s better to be forgetful and miss a watering or two. So before you leave your aloe in soggy soil yet again, here’s how you can spot an overwatered aloe and save it before it dies.
What Does an Overwatered Aloe Vera Plant Look Like

The most common reason why aloe vera dies is because of overwatering. So here are the signs of how you can spot an overwatered aloe.
Soggy, Wilting Leaves With Water Spots
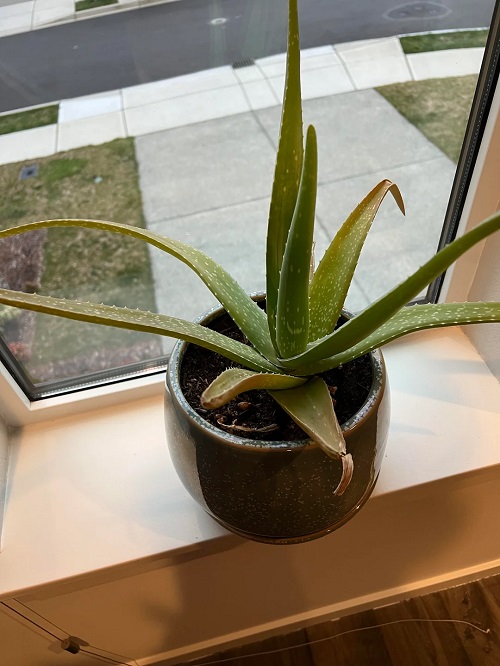
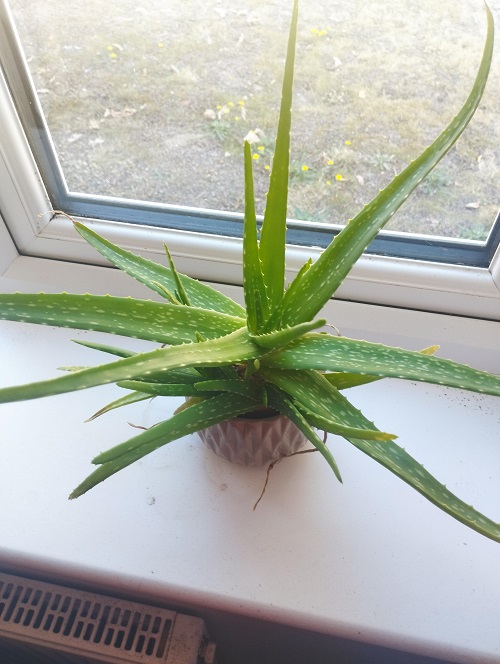
Since succulents like aloe vera store water in their leaves, observing these alone can give you an idea about their health status. A healthy aloe has upright, vibrant, plump leaves that feel firm to the touch. In an overwatered one, first, you might notice water-soaked spots on leaves which are soft and soggy. The next stage shows mushy, and wilting leaves that are yellow, brown, or worse, black.
In fact, black almost a hundred percent spells root rot caused by poor drainage.
Water Pooling on Topsoil
You have now gauged that your aloe is probably in so much water. To be completely sure, stick your index finger down in the soil of the plant. If water seems to be pooling at the soil surface or if you feel it is too moist, you can conclude that your aloe is overwatered.
Mushy, Brown Roots and Soil Odor
Sometimes, insufficient or too much light can also lead to yellowed or brown leaves. To confirm that your plant may be dying due to overwatering, you should gently remove the plant from the soil and check the roots. While healthy roots would be firm and white, mushy, brown roots that contribute to soil odor are undoubtedly a sign of root rot.
How To Revive An Overwatered Aloe Vera Plant
1. Relocate The Plant and Let It Dry Out
If your aloe is not too far gone, that is, its roots are still healthy but the leaves have been showing signs of overwatering, you can simply relocate the plant. Choose a spot with brighter but indirect sunlight (direct sunlight will burn the leaves) and hide the watering can for a bit. Remove the dead, wilting leaves and let the plant completely dry out for the better part of a month before you start watering again.
To know when to water again, you can either do the finger test in the soil or simply observe the leaves. If they look healthy, plump, and firm, you can start watering again and ensure excess water drains out.
2. Choose A Slightly Bigger Pot

After removing your plant from the soil, assess the damage in case of root rot. If there are little to no healthy roots left and you only see brown mush in place of healthy roots, bad luck! It’s time to bid adieu to your plant and propagate anew with some offshoots that may be growing from the plant base. However, your plant may still be salvageable if you do see some healthy roots.
Cut out all the brown mushy roots, and gently separate any soil from the root ball. Get rid of the potting soil and choose another pot with drainage holes, that is one-third bigger than the root system. Fill it with the right potting mix and repot your plant again. Place it in a spot with bright, indirect sunlight such as near a south- or west-facing window.
Pro Tip: If you’re using a pot without drainage holes, make it the outer decorative pot while having an inner pot with drainage holes. Keep the inner one slightly above the outer one with pea gravel or pebbles for better drainage.
3. Use Cactus or Succulent Potting Soil Mixes

This is one aspect of planting aloe that people often tend to overlook. Normal garden potting soil mixes will not work for aloe vera. These soil mixes facilitate more water retention than drainage which is a big no for succulents. You need a sandy potting mix with great drainage for which store-bought cactus or succulent mixes can be perfect.
You could also add some perlite or pumice to these soil mixes to provide more aeration and better drainage abilities. Experiment and find the best soil mix that works for your aloe!
Pro tip: Avoid fine-grain sand in soil mixes, like play sand.
4. Modify Your Watering Schedule
Fix your watering schedule before your aloe gives up on you again. First rule—do not have a watering schedule! That’s right. Aloe vera needs to be watered according to its needs, rather than like clockwork. Generally, aloe vera plants growing outdoors do not need watering for 3 to 4 weeks; indoors, they need it every week or two.
During the warmer months, your plant will need more water than in the colder ones like fall or winter. Another rule of thumb to follow is to ensure that water never sits on top of the soil surface. Let it dry out completely between waterings and err on the dry side.
Following all of these steps will enable you to bring your dying aloe vera back to life! Let us know in the comments below the story of how you salvaged your dying plant.