To make your succulent growing journey super smooth, here’s one trick no one really talks about—but it should be free!
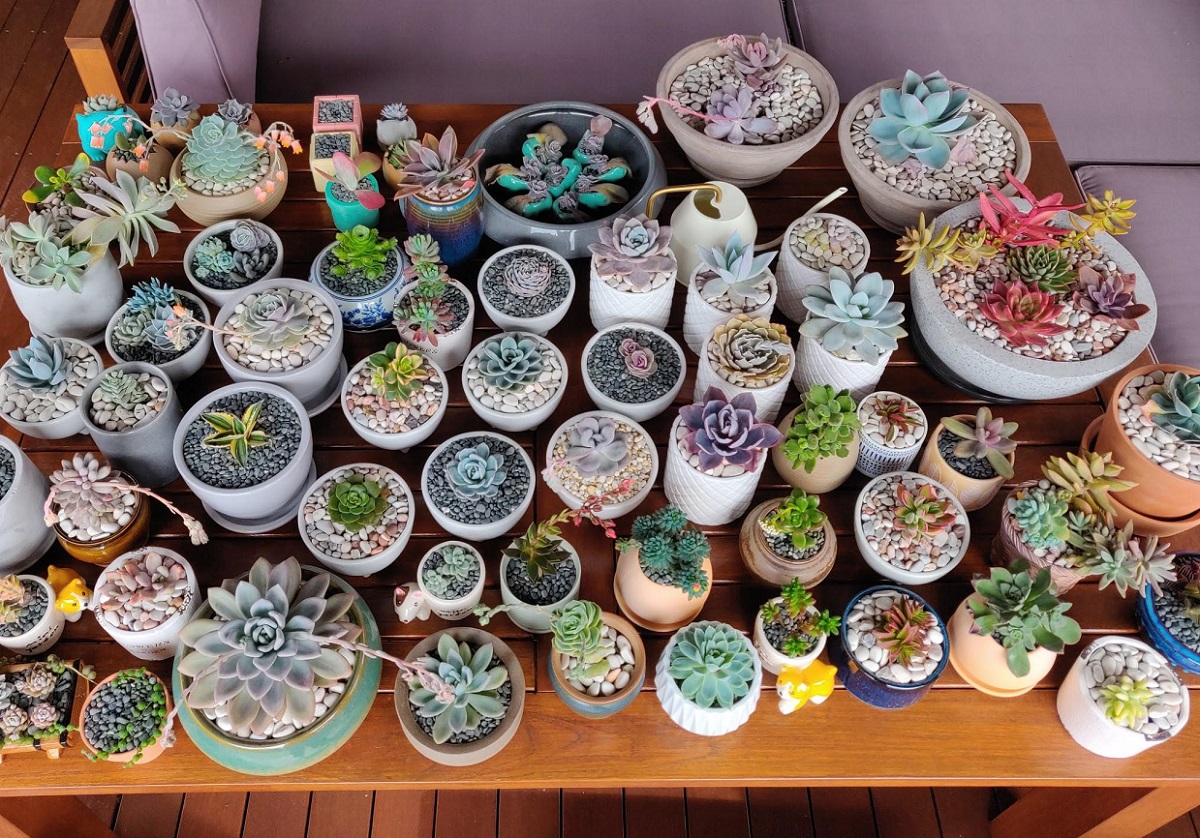
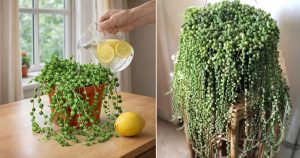
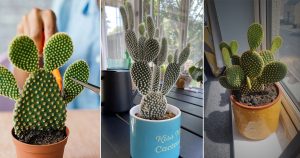
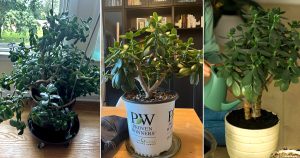
Ever met a plant lover who didn’t love succulents? We sure haven’t! With their endless shapes, sizes, colors, and easy-care nature, succulents are a must-have in every plant collection. But growing them comes with a few sneaky tips. Here’s one trick they teach you in a succulent masterclass—but we’re spilling the beans for free!
The One Succulent Trick You Must Know About
Have you ever been in a situation where your succulents grow fine, but you just can’t get them to propagate properly? Somehow, each cutting fails to root—or if it does, it ends up dying anyway. If that sounds familiar, we know you’ve probably spent hours figuring out what went wrong. But not anymore! We’re here to tell you what most people won’t—and this is where things usually go off track.
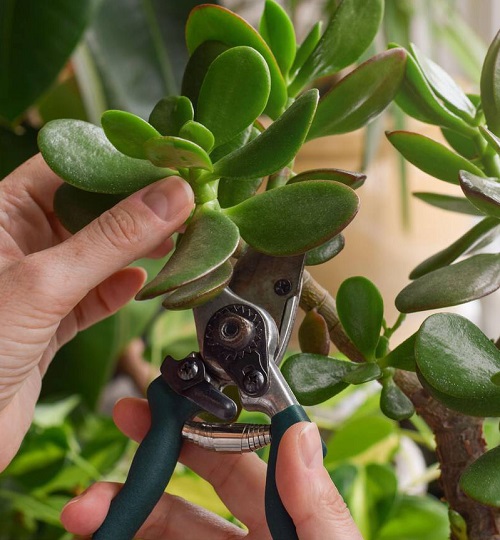
So, you go the usual route and take leaf cuttings from your succulents. Of course, you do it carefully—gently twisting the leaves off without damaging them. But if your next step is to pop them straight into soil, well, that’s where things fall apart.
The key to succulent propagation is letting your cuttings (leaf or stem) dry off or “callus over”. Essentially, this process gives the cuttings time to heal and for the wound to develop newer tissue. An open wound allows bacteria or fungi to enter the plant parts, increasing the risk of infection further along the propagation process.
Also, don’t forget to remove any mushy or damaged leaves before setting them out to dry. Damaged parts can spread rot to the healthy sections faster than you’d think!
How to Let Your Cuttings “Callus”?
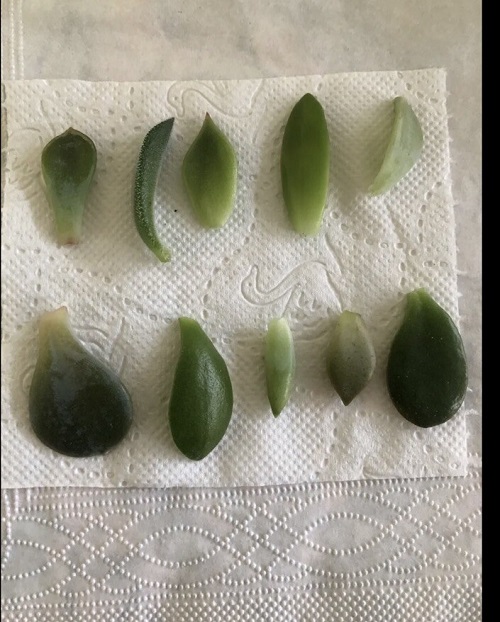
This step’s actually a breeze. All you need to do is place your cuttings on a dry paper towel and set them by a bright windowsill—ideally one that gets indirect sunlight, like a south-facing window. No south-facing window? An east- or west-facing one works too. Just steer clear of north-facing windows—they simply don’t get enough light to dry the cuttings properly.
Most cuttings will callus over in a day or two. But if you’re unsure, waiting a little longer won’t hurt. It’s always better to let them dry more than less—too much moisture is a fast track to rot.
A good way to check is to gently touch the cut end—it should feel dry and slightly rough, not sticky or soft. If it’s still soft, give it another day.
Rooting Time—What to Do After Callusing?
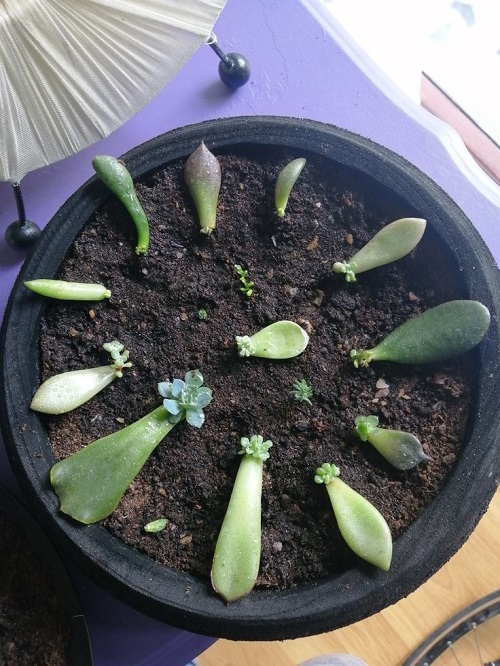
Once you’re confident your clippings have dried, lay them gently into a shallow pot filled with an inch or two of cactus or succulent soil mix. Make sure the soil feels just slightly moist—a quick spritz from a spray bottle does the job. And here’s a pro tip—no need to bury the callused ends. As long as they’re touching the soil, they’ll sprout roots just fine
Another thing to watch out for—don’t overwater once you’ve planted your callused cuttings. Less is more in the beginning. Let the soil dry out completely before misting again. Now you sit back and relax! You will start to see tiny roots growing within a week or two.
And remember—patience is key! Some succulents, like echeverias or ghost plants, root faster, while others take their sweet time. Don’t rush them; good things take root slowly!
So, that you know what the issue was with your propagation techniques, which succulent are you planning to grow next? Let us know in the comments below!