Believe it or not, you can propagate succulents on cotton pads with just a few simple steps and a bit of patience!
Propagating plants is a super fun and inexpensive way to multiply your succulent collection. Whether you do it by cuttings to save time or by seeds for experimentation, it is definitely rewarding. But isn’t it a bit odd when we talk about how you can propagate succulents on cotton pads without soil? Well, you must check out this article!
Ways to Propagate Succulents on Cotton Pads Without Soil
There are two things that you must know when you are propagating succulents without soil. The first is that you can generally only propagate succulent seeds with cotton pads and without using soil. Secondly, this is quite a long process that will test your patience, so make sure you bring some to this experiment!
Also, keep in mind that not all succulents are suited for this method—it works best with species that produce viable seeds easily.
1. Pollinating Succulent Flowers
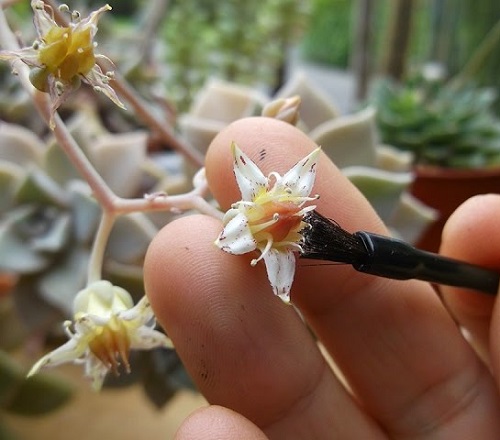
If you’re not buying succulent seeds, you’ll need to collect your own—and that starts with pollination. Only sexually reproducing succulents with both male and female flower parts will work.
Pollination is simple: use a cotton swab, small paintbrush, or even a toothpick to transfer pollen from the stamen (male) to the stigma (female). Gently dab, and don’t rush—these flowers are delicate!
Tip: Pollinate early in the morning when the flowers are fresh and the pollen is most viable.
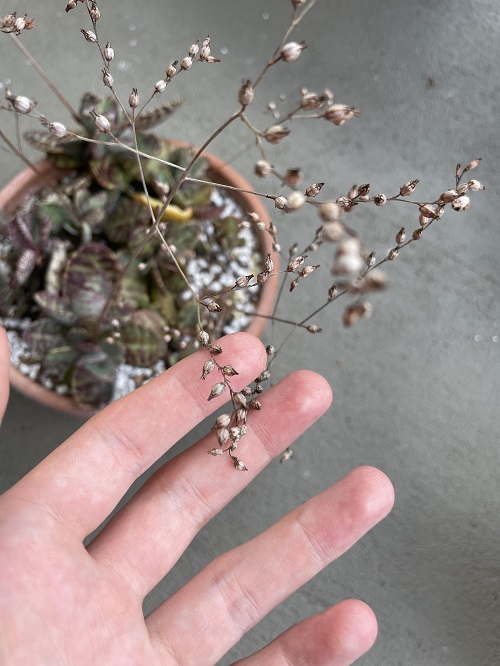
Once pollinated, give the plant time to form seeds. As flowers fade over a few days or weeks, seed pods will begin to form. Harvest them once they’re dry and ready.
2. Preparing for Germination
Once your seeds are ready, it’s time to prep the setup. This method works great for seeds of succulents like Lithops, Baby Toes, Sedum, Echeveria, and Aeoniums.
Keep different species separate and label everything clearly—name tags will help you track their progress.
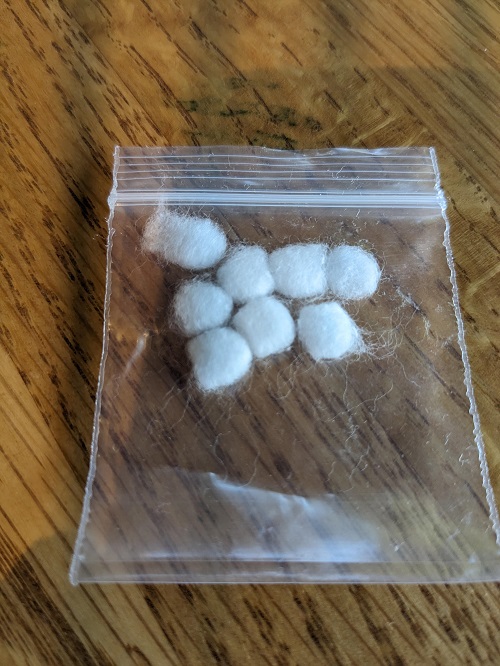
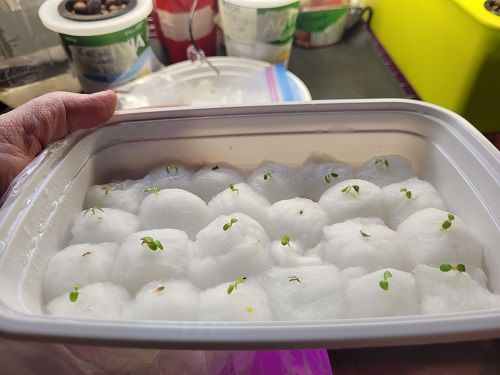
You can use clear plastic containers (ramekin-sized works well). Sterilize them with rubbing alcohol to keep things clean. Then, place a slightly damp cotton pad inside. One mist of distilled water is enough.
3. Sowing the Seeds
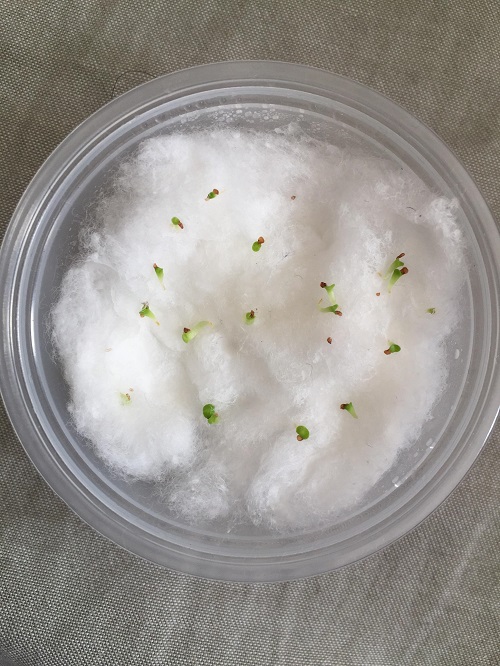
Now comes the fiddly part—planting the seeds. Use a toothpick to gently place each tiny seed onto the cotton pad. Don’t rush—these seeds are tiny and love to stick to everything! Give each one a little space so they don’t crowd each other out.
4. Creating a Mini Greenhouse
Time to turn up the humidity! Place your seed containers inside a large ziplock bag or plastic container with a lid. Mist the inside lightly before sealing it.
Now, place your mini greenhouse in a bright spot with indirect light—think near a sunny window but not right under it. Too much sun can cook the seeds!
Keep an eye on condensation. If the bag gets too foggy, unzip it for a few minutes to let it breathe and avoid mold.
5. Watering & Waiting
The waiting game begins!
Keep the cotton pads lightly moist—not soaking. Mist them every couple of days just to keep them from drying out.
If everything goes well, you’ll see little sprouts popping up in a few weeks. When at least half of them have sprouted, it’s time to move them to soil.
Handle them like fragile treasures—use tweezers or the tip of a spoon to move them into succulent potting mix in small pots or trays.
Once you see that even half of the seeds have sprouted, it’s time to transfer them gently to the soil. If this process sounds interesting to you, it’s time to try it out, and let us know how it goes in the comments below!