Learn how and when to repot a Christmas cactus for healthy growth and beautiful blooms, because it is almost time for its pretty show!
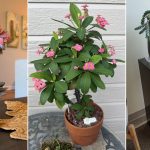
The Christmas cactus (Schlumbergera) is a beloved houseplant known for its gorgeous blooms during the winter months and its carefree nature. This tropical plant requires a slightly humid environment to thrive and blooms in cascading flowers in hues of pink, red, white, or purple.
One essential, yet often overlooked, part of caring for a Christmas cactus is repotting. Knowing when and how to repot your Christmas cactus can significantly impact its overall health and blooming potential. Let us show you how!
When to Repot a Christmas Cactus
The best time to repot a Christmas cactus is from late winter to early spring, basically a couple of days after its flowering. The plant, at this point, goes into a rest period, so it is less stressful for it to get used to a new pot.
Repotting during this resting phase helps the plant focus on root recovery instead of flower production.
In general, Christmas cacti like to be a little root-bound; hence, they do not have to be repotted very often. Usually, repotting is needed only once every 2–3 years. If you are repotting a plant whose buds are forming or that is in an active blooming phase, you’ll see the buds dropping and a decreasing number of flowers produced.
However, if you see roots coming out of the drainage holes, if water is flowing too quickly through the pot, if the growth is stunted and the number of flowers is decreasing, and the soil is getting compact, dry, or hardened, then it is definitely time to repot your plant.
How to Repot a Christmas Cactus
We highly advise you to choose a pot with a diameter that is 1–2 inches bigger than the current one, and that has proper drainage holes. A potting mix that drains well (perfect for succulents or cacti) is always the safest option. You can also consider perlite or coarse sand for extra drainage.
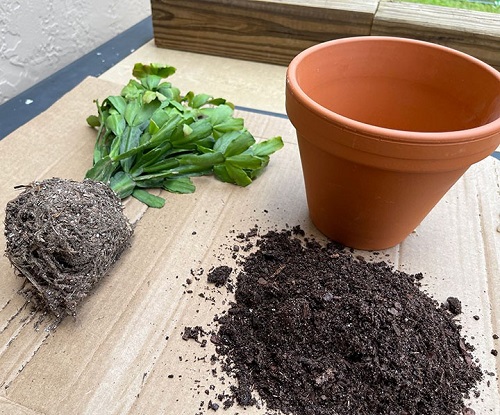
1. Prepare the New Pot
Choose a slightly larger pot and ensure it has drainage holes. Add a layer of fresh, well-draining soil at the bottom. Clay or terracotta pots work especially well because they allow excess moisture to evaporate.
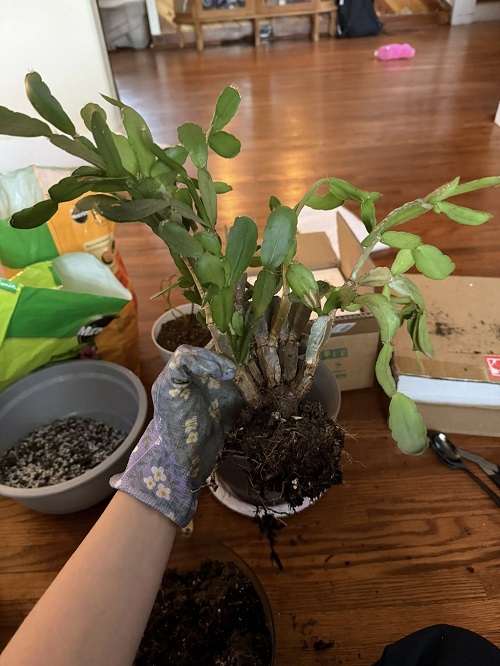
2. Remove the Plant Gently
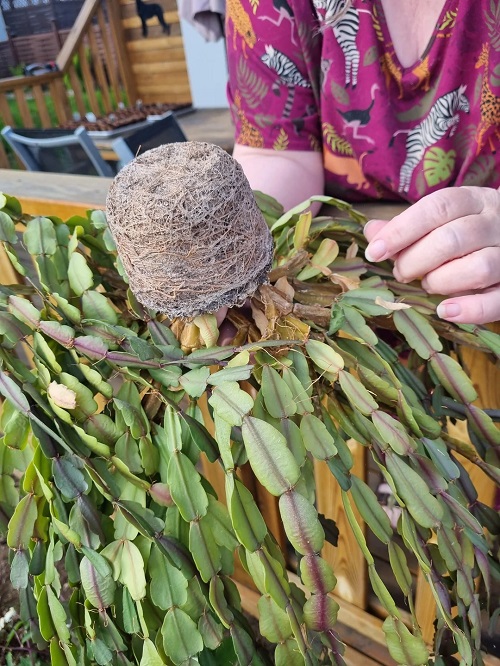
Lightly water the plant a day or some time before repotting to loosen the soil. Hold the base of the plant and gently slide it out. Avoid pulling the stems.
If the plant feels stuck, gently tap the sides of the pot instead of forcing it out.
3. Inspect the Roots
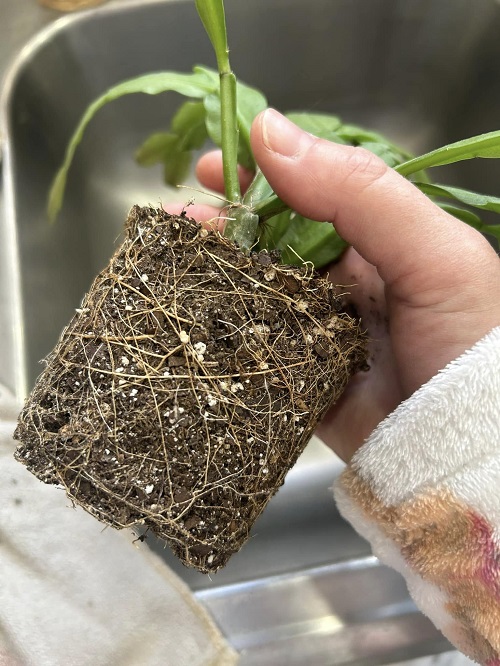
Check for any dead, mushy, or rotting roots. Trim these off using clean scissors. Healthy roots should be firm and white or light brown.
Always sanitize your scissors to prevent spreading infections.
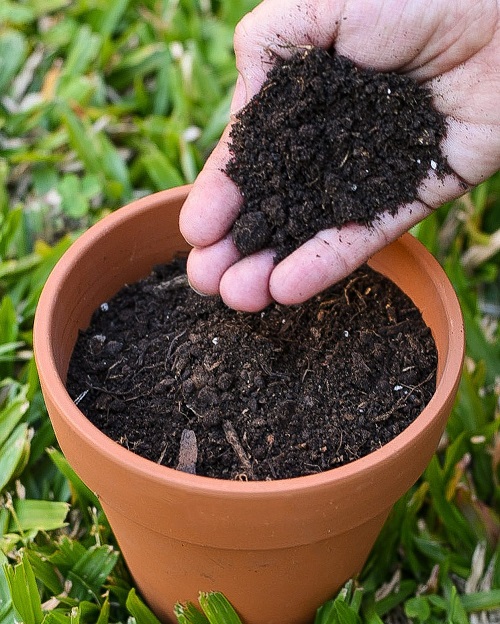
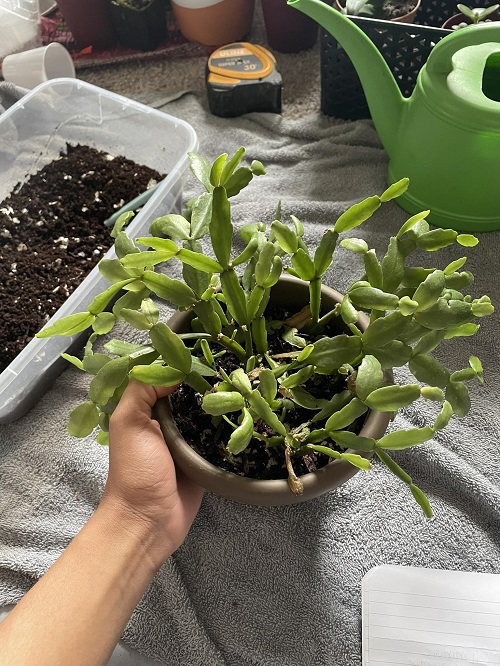
4. Place in the New Pot
Position the cactus in the center of the new pot, keeping it at the same depth as before. Fill around the roots with fresh soil, gently pressing it down to remove air pockets.
Planting it deeper than before can stress the stems and slow recovery.
5. Let It Settle
Do not water immediately after you have repotted. Wait 2–3 days to allow any damaged roots to heal and reduce the risk of rot. This short dry period helps prevent shock and fungal problems.
6. Aftercare Tips

After a few days, you can continue watering the cactus that has been repotted, but only sparingly. Keep it out of direct sun but in a bright place. Don’t feed the plant for at least 4–6 weeks, and keep the air neither too dry nor too humid, with the temperature kept stable. It may take your plant a few weeks to acclimatize, and this is totally fine.
Repotting a plant in itself might seem a huge task, unless you have the right tips and tricks. The Christmas Cactus deserves all your time and care after being so low-maintenance. For beautiful blooms and healthy growth, follow this routine, and you’re almost done! How has your Christmas Cactus been? Let us know in the comments below.