Ever thought those tiny succulent pups could turn into stunning garlands? Here’s a fun project to flex your creative side and dress up your garden.
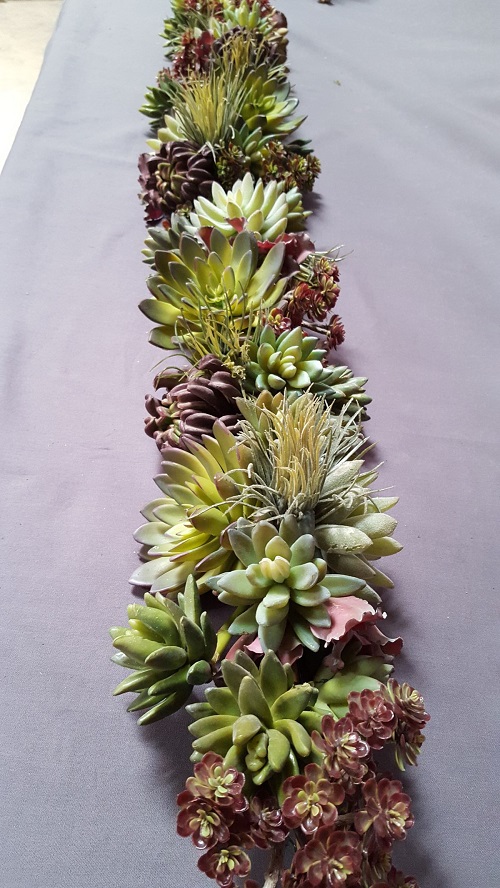
We know you love succulents too. And if you want a unique and creative way to showcase your succulents, consider making a succulent garland with pups. This DIY idea is a fun and cute way to propagate your favorite succulents and add color to your home.
Succulent Garland With Pups
1. Pick the Right Succulent
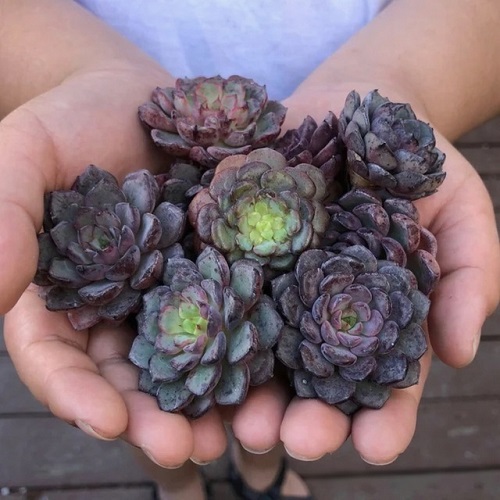
No two varieties of succulents produce the exact kind of pups. In fact, pups of the same mother plant may also have differences. Therefore, you must be very picky while choosing the ones to create your garland. Your choice must be based on factors such as size, hardiness, tolerance to unusual growth environments, and suitability to company.
Pick those that are either one-third or half the size of the mother plant because the tiny ones are fragile and may struggle on their own. Varieties like Sedum, Graptopetalum, or trailing succulents tend to adapt well for garlands, while delicate rosette succulents may be trickier to keep intact.
2. Preparing the Pups
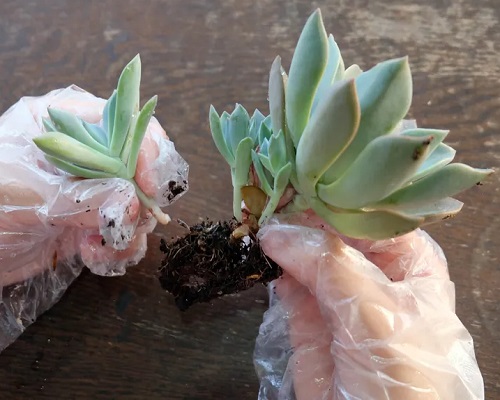
Now that you have chosen the right kind of offsets, you can go ahead and commence the garland-making process. Carefully separate the pup from the main plant. Use sharp scissors, pruning snips, or even a small spoon if you don’t want to risk damaging the roots. Try to keep as many little roots in place as possible.
Once snipped away, place the individual pups in a shady spot with indirect light for anywhere from one to seven days, to let the cut ends heal. This waiting period allows the wound to callus over, which helps prevent rot.
Note: Don’t skip the callusing step—jumping straight into planting is like sending them out in the rain without an umbrella; rot will set in quickly.
3. Building the Garland Base
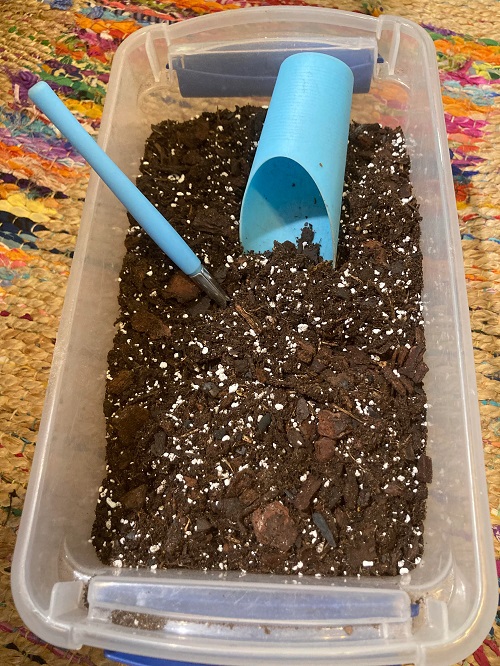
Your garland base is where the magic happens! It consists of two major aspects – the moss base and the wiring that’ll keep the garland in shape. Some people use wire, while others prefer rope or even try fishing line for a lighter look. All you have to keep in mind is that you’ll need something to hold moisture and roots in place.
Once your base is ready, secure the moss with floral wire or greening pins so it stays in place. Sphagnum moss works great, or you can mix moss with a bit of succulent potting soil. This will be the comfy bed your pups grow into.
If you’re planning to hang the garland outdoors, make sure the base is sturdy enough to handle wind and weight over time. A double layer of wire can save you from mid-season sagging.
4. Arrange the Pups
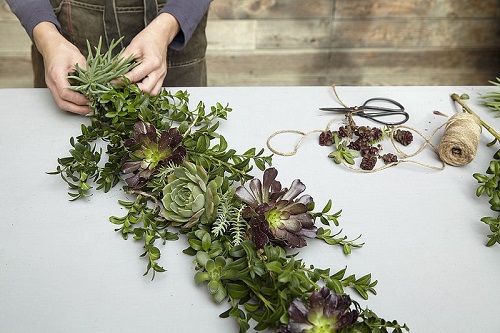
Form a mental image of what you want. A neat, uniform garland, or something more wild, free, and textured, because hey, both can look stunning! Then, lay out the actual plan.
Ensure each pup is given enough space to breathe, as crowding can cause airflow issues and increase the risk of infection and rot. When you press them into the moss, ensure the roots are in direct contact with the substrate. Use floral wire or pins to gently secure them in place.
A little trick for you, start with the bigger pups first as anchors and then tuck the smaller ones around them to fill in gaps—this gives a fuller, more balanced look.
5. Aftercare Routine
Your garland may look unusual, but the care thing goes the same. Light, water, and airflow are its best friends. Mist the moss lightly in the beginning—keep it damp, not soggy. Once roots appear, you can water a little deeper, but sparingly.
You can place it in bright light, but just avoid harsh sun until it’s well settled. Slowly introduce more sun so they don’t get shocked.
If the moss dries out too fast, wrap the back with burlap. It holds in just enough moisture without suffocating the roots.
Key Points to Remember
- Ensure a good airflow and drainage for your succulent garland and avoid excessive moisture. Introduce your pups or live cuttings to brighter lights slowly to avoid shocking them.
- Choose your species wisely, as some may not easily hang, such as delicate rosette succulents.
- Your pups will need plenty of space to grow and breathe. Consider having backup plants in pots just in case.
- Keep an eye out for rot, pests, or dry spots.
- As the pups grow, they’ll become heavier and heftier, hence be ready to provide extra support to keep them secure in place.
- Also remember: these garlands are temporary arrangements. Over months, the pups may outgrow the base, so treat them as a living decoration that you can later replant in pots.
Why Make One?
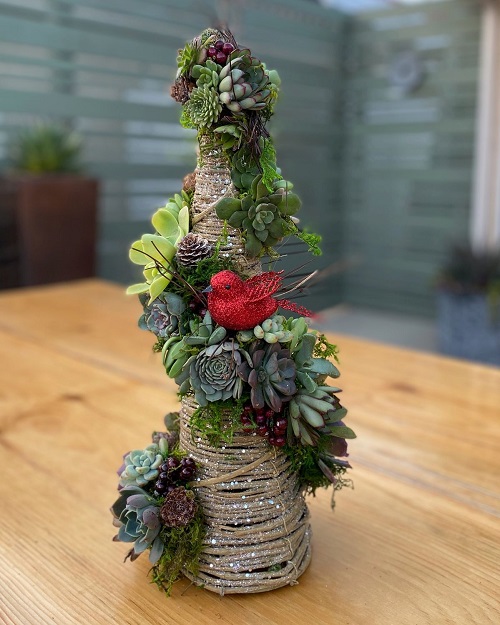
If you think, why go through the hassle of creating a succulent garland, then just have a look at the image above!
So, their cuteness aside, a garland is a living artwork. They bring texture, color, and a little bit of nature inside. Truly, it’s a super clever way to give those pups a use instead of wasting them. And you know the best part? No two garlands are the same. You get to mix and match colors, shapes, and arrangements, allowing the Picasso hidden within you to come to life!
So the next time you are staring at your collection of pups, wondering what to do with them, try this DIY idea. Some patience will yield a gorgeous succulent garland that keeps growing and changing over time. Tell us in the comment section how yours came out!