
As an Amazon Associate, we earn a small commission from qualifying purchases — at no extra cost to you.
Do your plants look dull? Don’t blame the plant when it’s the pot’s fault! Dazzle your garden with this cozy knitted plant pot cover guide!
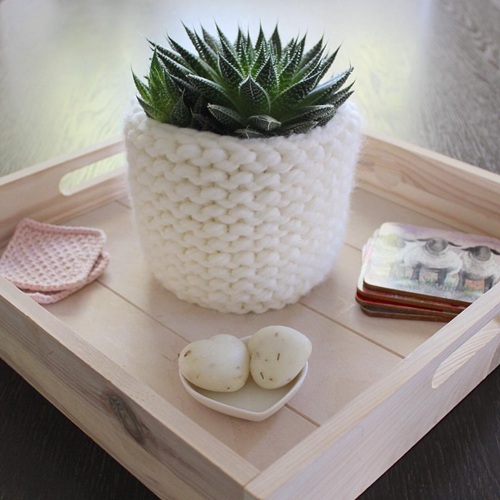
Combine your passions for knitting and gardening with these cool plant pot covers. A knitted plant pot cover is an easy way to make ordinary planters look fancy and more decorative. And the cool part is that it’s not a one-time thing like painted or sculpted pots. You can change or remove the covers easily. So what’s stopping you? Make your plants a fashion icon now!
Benefits of a Plant Pot Cover
1. Increases the Visual Wow Factor
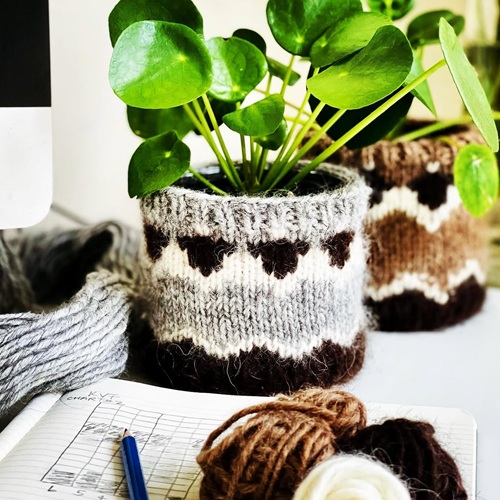
Can you compare a boring terracotta pot with one that is draped in a stylish, colorful, textured knitted cover? You can make creative and customized pieces to suit your needs. From Gothic to vintage and lively, there are so many styles you can choose from that can match your home interiors.
You can even knit different covers for different seasons. Use soft pastel shades for spring, bright colors for summer, warm earthy tones for autumn, or festive designs during the holidays to give your indoor garden a fresh new look throughout the year.
2. Keeps your Home Undamaged
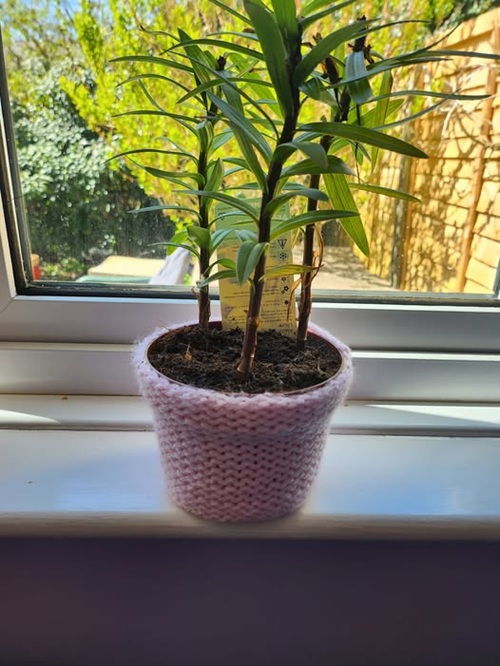
Pots, especially those made out of ceramic materials, are hard and heavy and can damage fragile items around them while relocating. It also helps prevent scratches while sliding the pot.
Also, during hot and humid days, water may condense on the outside of the pot, which trickles down, leaving stains on the floor. The pot cover will take care of that through absorption.
3. Perfect Project for Novice Knitters
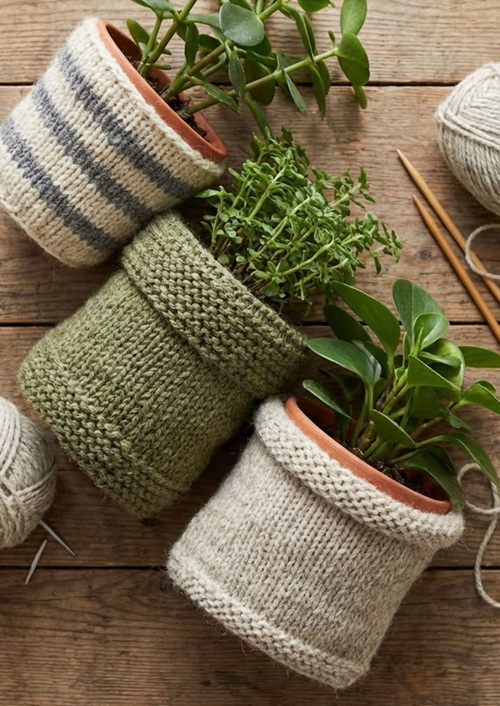
Since most pot covers are made using simple knit and purl stitches, they’re ideal for learning basic shaping techniques without committing to a large project. This builds confidence along with making something practical.
Once you are more advanced, you can display your creativity in the knitting style and designs.
4. No Need for Tons of Material
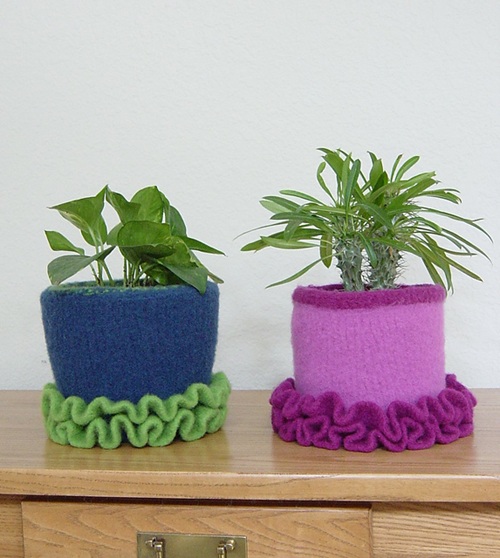
Indoor gardens usually have smaller plants like haworthia and other tiny succulents. Subsequently, the pots are also much smaller in dimensions. This allows you to use limited yarn to wrap the entirety of the container.
In many cases, scrap yarn from leftover skeins is sufficient to complete the project. Therefore, it is efficient and effective.
5. Have Practical Uses
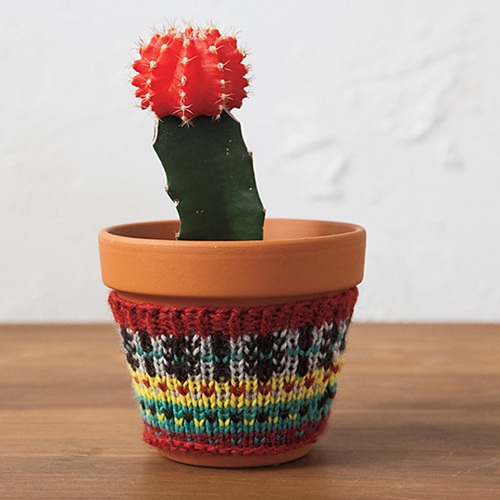
You can knit a label onto the pot cover, like the name of the plant, to help aid your gardening. This is especially helpful for growing plants from seeds or remembering their growing requirements.
You can also use it to make custom gifts for your loved ones on special occasions such as birthdays, Valentine’s Day, anniversaries, or housewarming parties.
Pair your handmade pot cover with a small succulent or indoor plant to create a thoughtful gift that feels both personal and practical. It’s a simple project that leaves a lasting impression.
Materials You’ll Need To Make Your Pot Cover
- Medium-weight (Worsted/Aran #4) cotton or cotton-blend yarn
- 4–5 mm (US 6–8) knitting needles or circular needles
- Measuring tape
- Yarn needle
- Stitch markers (optional)
- Scissors
- Plant pot for sizing
Tip: Cotton yarn is generally better than acrylic because it holds its shape well. It is also much more moisture absorbent than the other options.
Knitting Abbreviations
If you’re new to knitting, don’t worry! These are some of the most common abbreviations you’ll come across in knitting patterns. Keep this list handy while you work.
- CO – Cast On
- BO – Bind Off
- K – Knit
- P – Purl
- K2tog – Knit Two Together
- P2tog – Purl Two Together
- St(s) – Stitch(es)
- RS – Right Side
- WS – Wrong Side
- Rep – Repeat
Step-by-Step Guide to Knit a Cozy Plant Pot Cover
1. Measure your Pot
Always remember to begin by measuring your pot. Although it is not technically the first step but it is crucial to know to create a pot cover of the exact dimensions.
For that:
- Measure the circumference around the widest part of the pot.
- Measure the height from the base to just below the rim.
- Knit a small gauge swatch to determine your stitches per inch (or centimeter).
- Multiply the circumference by your stitch gauge to calculate the number of stitches to cast on.
For a snug fit, reduce the stitch count by about 5–10% to allow the knitted fabric to stretch.
Step 1: Cast On
With the long-tail cast-on method, cast on the number of stitches you need based on your measurements. If you are working in ribbing, make sure the stitch count is divisible by 2
Step 2: Knit the Bottom Ribbing
Work K1, P1 (or K2, P2) ribbing for about 1 in. (2.5 cm). The ribs allow for elasticity to help the cover hold onto the base of the pot.
Step 3: Begin the Main Body
Change to your chosen stitch pattern. Beginners can continue in Stockinette Stitch (knit one row, purl one row) for a smooth finish, while experienced knitters may opt for Seed Stitch, Moss Stitch, Basketweave or simple cable panels for added texture.
Step 4: Repeat Until Desired Height
Continue to knit until the cover reaches just below the edge of the pot. Occasionally slide the work over the pot to check the fit. The fabric should stretch easily but not so much that it becomes loose.
Step 5: Shape the Top (Optional)
This is not a required step for all kinds of containers but there is no harm in going beyond the call of duty! For tapered pots, decrease evenly during the last few rows by working K2tog every 12–16 stitches. Repeat another decrease row if necessary to match the pot’s narrower upper section.
Step 6: Bind Off
Bind off loosely so the top edge remains flexible. Avoid pulling the yarn too tightly, as this can make fitting the cover over the pot difficult.
Step 7: Seam or Join
If knitted flat, align the edges with the right sides together and sew using a mattress stitch for an almost invisible seam. If worked in the round, simply weave in the yarn tails.
Step 8: Block the Cover
Lightly dampen the finished cover and shape it over a towel or directly around the pot until dry. Blocking evens out stitches and improves the overall appearance.
If you’re using cotton yarn, blocking also helps the cover settle into its final shape, giving it a cleaner and more polished finish.
Step 9: Place on the Pot
Slide the finished cover over the clean, dry plant pot. Adjust the ribbing and smooth the fabric for a snug, wrinkle-free fit.
For the best results, use the knitted cover on a decorative outer pot (cachepot) rather than directly on a pot with drainage holes. This helps keep the cover dry and looking beautiful for longer.
Key Points to Remember for a Flawless Result
1. Choosing the Right Yarn is Essential
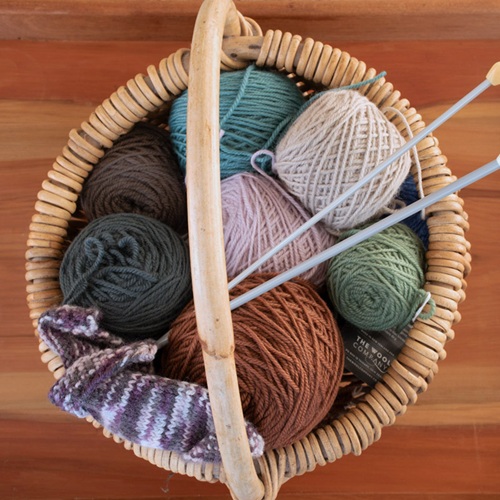
While selecting the yarn, you will need to keep a few things in mind, like stretchability, durability, breathability, and changes in shape under stress and after washing. In most cases, cotton yarn checks all these boxes, but depending on your needs, the yarn type may vary.
2. A Damp Knitted Pot Cover is a Big No
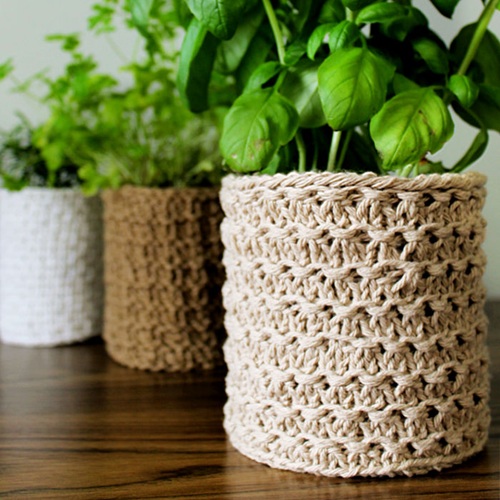
A soaked pot cover does more harm than good! Since cotton yarn retains a lot of moisture, keeping it drenched will keep it wet for a long period of time, inviting bacteria and fungal infections.
It also drops the temperature of the soil, which may interfere with the germination process. Therefore, always allow excess water to drain after watering. The knitted cover should fit around a dry outer pot rather than sit in standing water.
Tip: You can even wipe or pat the pot dry before installing the knitted pot sheath.
3. Ensure the Texture and Design do not Harm the Plant
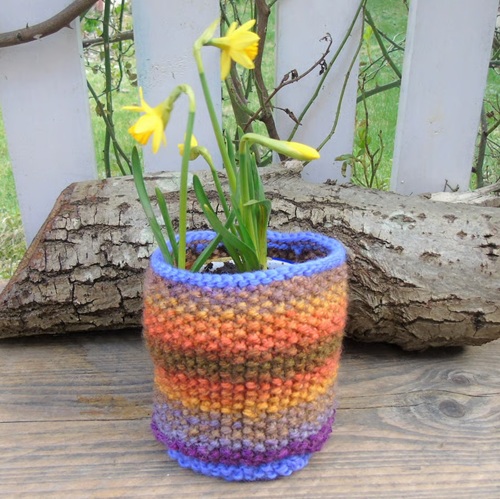
If you create a very tightly knit pot cover, it may cut off air circulation or hamper the pot’s ability to regulate soil temperature or seep out excess water. Therefore, always choose the right pattern that is just the right amount of snug.
Note: Consider removing the pot cover in certain seasons where the plant may need more air or water.
4. Match Your Décor
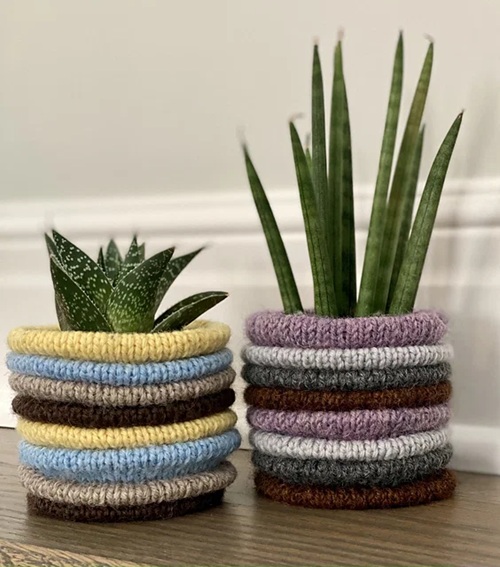
Don’t let your pot cover stick out like a sore thumb. Choose neutral shades or match the color palette to the style of your home to create a timeless look. If you wish to make multiple covers in accordance with the seasons or festivities, stick with the corresponding iconic colors.
If you have several indoor plants, knitting matching pot covers in different sizes can instantly make your plant shelf or windowsill look more organized and coordinated.
Now that you know how and why to make a knitted pot cover, let us know in the comments section what other knitted project you would like to create that would complement your garden!