
As an Amazon Associate, we earn a small commission from qualifying purchases — at no extra cost to you.
Let out your creativity but in an eco-friendly way! Learn how to dye wool with garden plants. Your entire color range grows in your backyard!
It can be a nightmare finding the right color of wool in the right quantity, let alone the hole it burns in your pocket! An easy fix for that is to use Mother Nature’s color supply – garden plants! Whether you’re growing flowers, herbs, or vegetables, this article will teach you everything you need to learn about dyeing wool with your botanical buddies and make the most artistic woolen crafts!
Ready to experiment with natural dyes from your own garden? Explore our Amazon Crafting Storefront for wool yarn, dyeing pots, strainers, kitchen scales, wool-safe detergents, crochet tools, and other essentials for handmade projects.
Best Garden Plants to Dye Wool or Yarn
Did you know that there are infinite shades of colors? That’s why you’ll need a wide variety of plants to produce the ones you like. Depending on the species, growing conditions, and whether a mordant is used, you can select plants that will help you get the colors you want to use to dye your wool.
Here are some of the basic plants that will help you get the primary, secondary, and even other common color dyes.
1. Marigolds
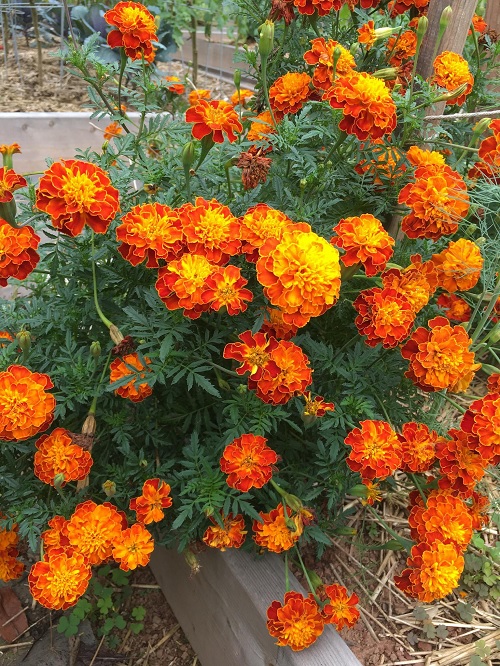
Marigolds are known for their sunny, pom-pom-like blooms, which usually come in bright yellow, vibrant orange, or a hue made from the combination of the two. Regardless of whether they are fresh or dried, marigold flowers are great at extracting the dye pigment you’ll need. The process is quite easy with these blooms; hence, they are perfect for beginners.
2. Onion Skins
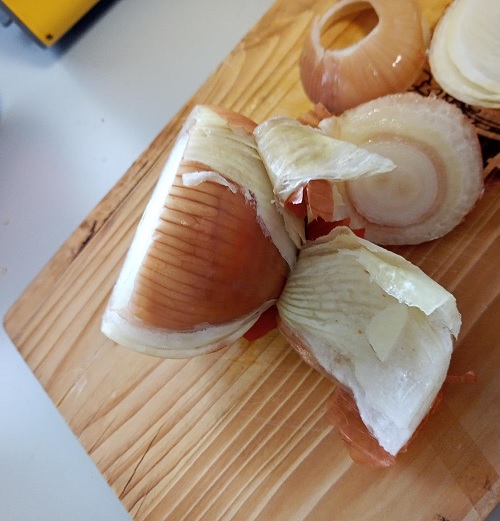
Onions will make you cry, but this time tears of joy! Why? Because the dry outer skins of yellow onions create rich golden and brown shades. If you go for the red onion variant, you will obtain purplish hues, which are also a nice addition to your natural dye inventory.
3. Hibiscus
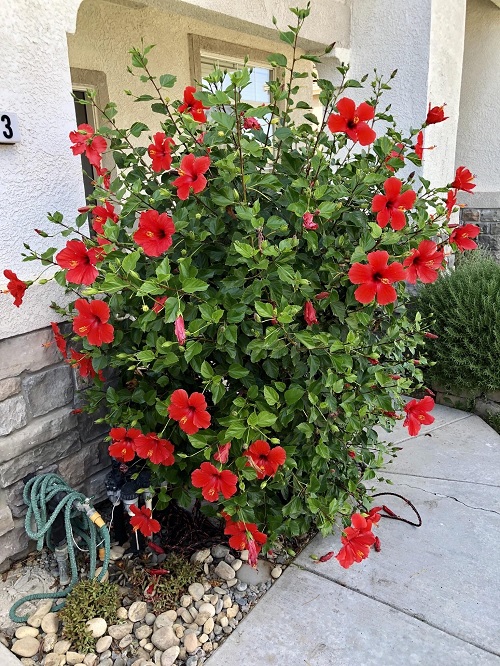
Arguably the most well-recognized blooming plant can also beautify your woolen clothes with the gorgeous pigments it produces! Depending on the species and variety, this common garden plant can help you obtain yellow, red, purple, and other shades to dye your yarn.
An advantageous point is that since the bloom is quite large, it gives out a larger quantity of color!
4. Hollyhock Flowers
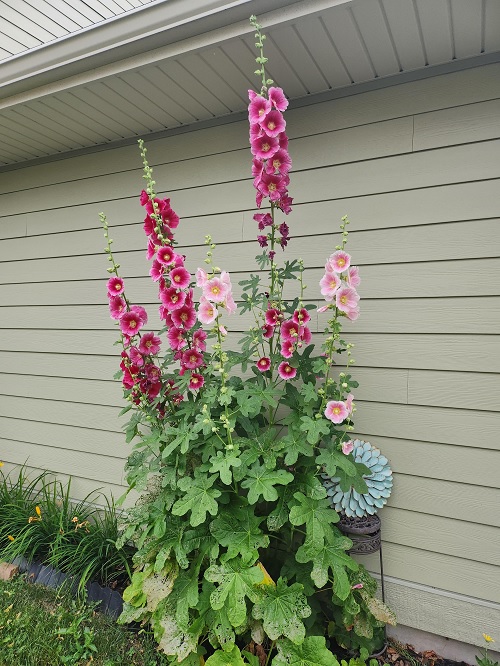
Considered to be one of the best garden plants to help produce purple, blue, and a gothic color palette for natural dyes. Although you will need a modifier to complete the process, the cup-shaped blooms of this plant are a must-have if your goal is to a self sufficient woollen craft station!
5. Red Cabbage
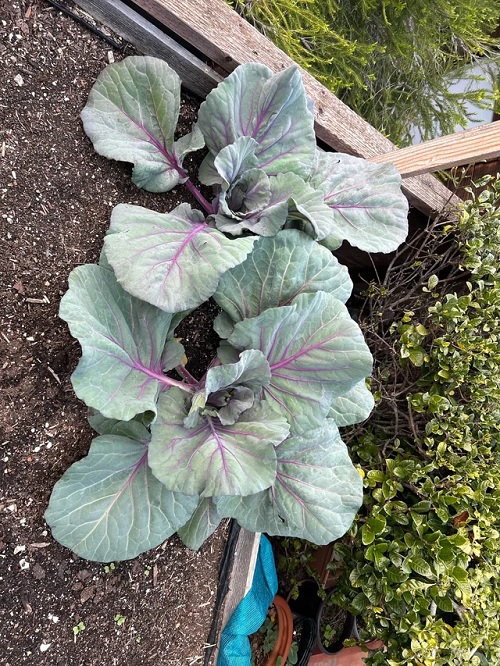
Who said garden plants are limited to just ornamental flowers? You can even grow veggies that double as great sources of dye! Red Cabbage is a great example!
Although technically a vegetable, its leaves can create a beautiful purplish hue, but the cool part is that depending on the pH balance of its liquid medium, it can even transform into blue, lavender, and gray hues!
6. Beetroot
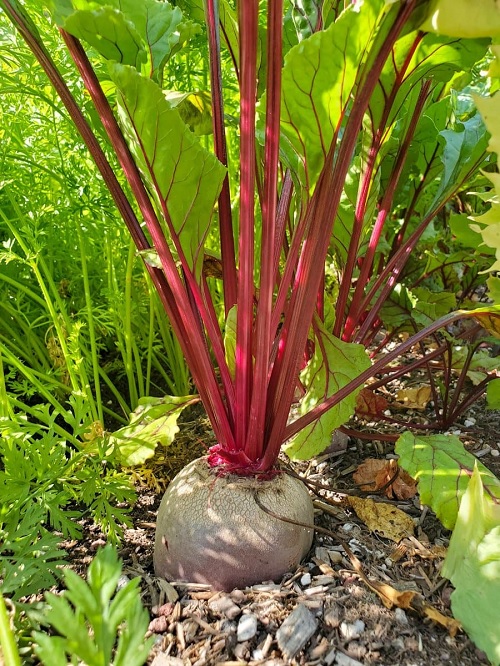
Your children might not like to see beetroot on their plate, but they’ll love it on their clothes and woolen toys! Beets create lovely pink dye baths, although a downside is that the color tends to fade over time. They’re best for those dipping their toes into natural dyeing and experimenting with projects and yarn.
How to Prepare Garden Plants Before Dyeing
You won’t be able to get the right color, if any, from your garden plants if you don’t prep them before the extraction process. It is no magic, but requires you to follow a set of steps which are written in detail below.
Looking for affordable supplies for your natural dyeing experiments? Explore Amazon Haul for budget-friendly yarn, craft tools, strainers, dyeing supplies, scales, and other creative essentials starting at just $2.99.
1. Harvesting at the Right Time
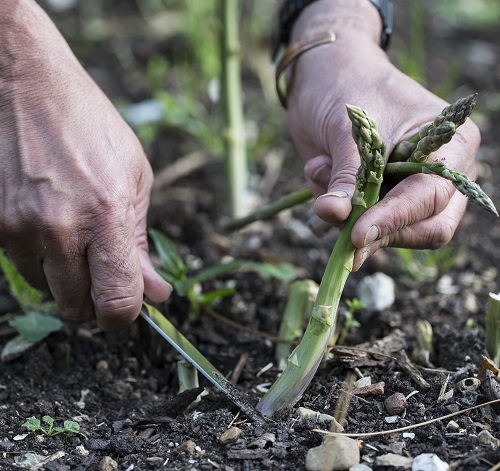
Being too hasty or tardy while picking the flowers can result in either immature blooms or dead or senile ones. In both cases, you will get a poor hue while trying to extract the dye. You must thread the needle at the right time when the flowers are fully open and the leaves are healthy.
Note: Fresh material generally produces brighter colors, although many flowers can also be dried for later use.
2. Clean the Plant Material
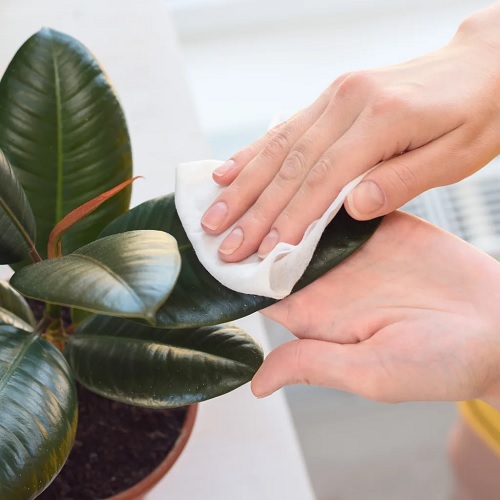
Many blooms, leaves, or fruits need to be cleaned before they can be used, as they carry impurities, contaminants, and other undesirable physical aspects that can affect the final dye. Shake off the insects, rinse away the dirt, and remove damaged leaves or flowers before continuing the process.
Make natural dyeing easier with a fine-mesh strainer that helps separate plant material from the dye bath without leaving small particles behind.
3. Chop Larger Plants
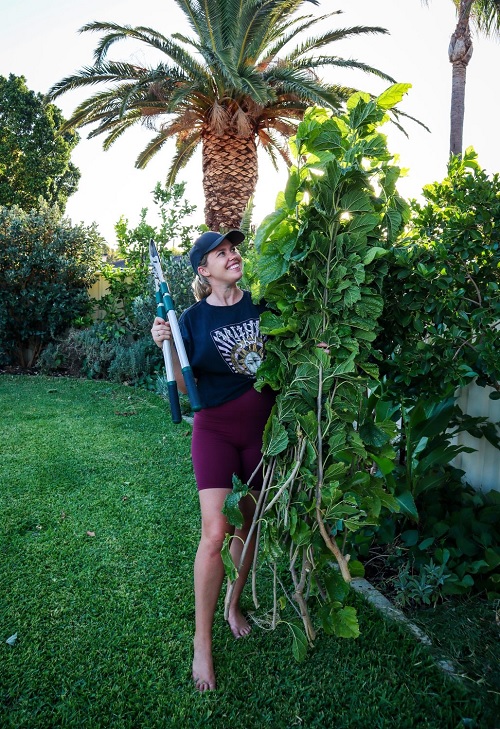
The magical and colorful potion isn’t on the outer surface of the plant but within! Remember to cut the stems, blooms, leaves, or vegetables into smaller pieces to expose more surface area, allowing pigments to release more efficiently.
4. Use Enough Plant Material
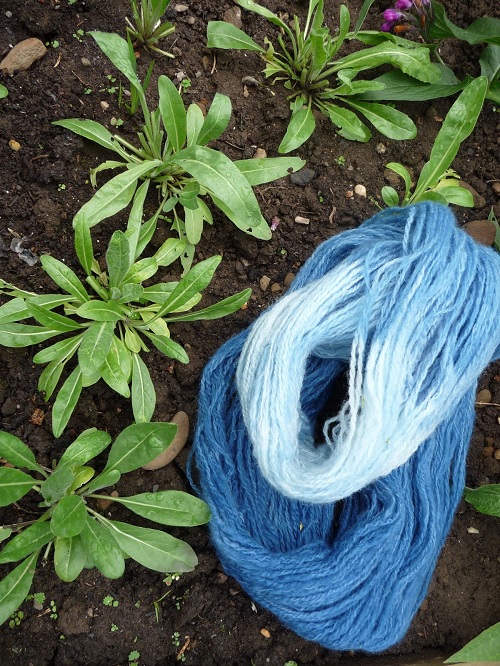
You can’t use a drop of dye for a huge load of wool, can you? Neither would it be efficient to waste all your dye on a single strand of yarn! That’s why you need to balance a good plant material-to-wool ratio. A good starting point is using roughly equal weights of fresh plant material and wool (1:1 by weight).
Note: For dried plants, use a 2:1 ratio where the flowers are twice the weight of the wool.
Want more consistent dye results? A digital kitchen scale makes it easier to weigh your wool and plant material accurately before starting each dye bath.
5. Prepare the Wool
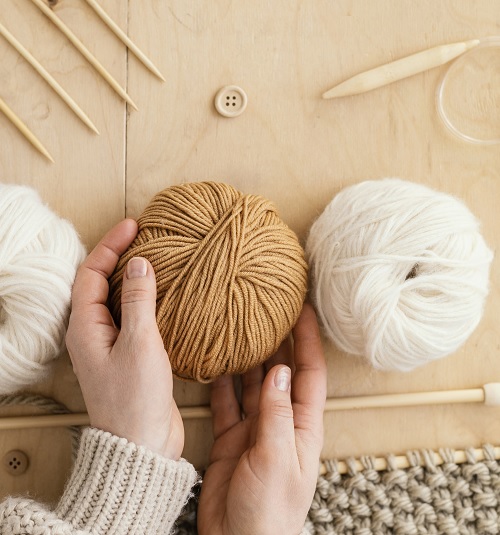
You need to start with a blank canvas, and in our case, the canvas is wool! Before dyeing, wash it gently in warm water with a mild wool detergent to remove oils or any residue.
For long-lasting colors, you may have to use a mordant before dyeing. Alum is one of the safest and most commonly used mordants for protein fibers like wool.
Give your wool a gentle pre-dye wash with a wool-safe detergent to remove oils and residue without being too harsh on delicate fibers.
How to Dye Wool Using Plants from Your Garden
Step 1: Make the Dye Bath
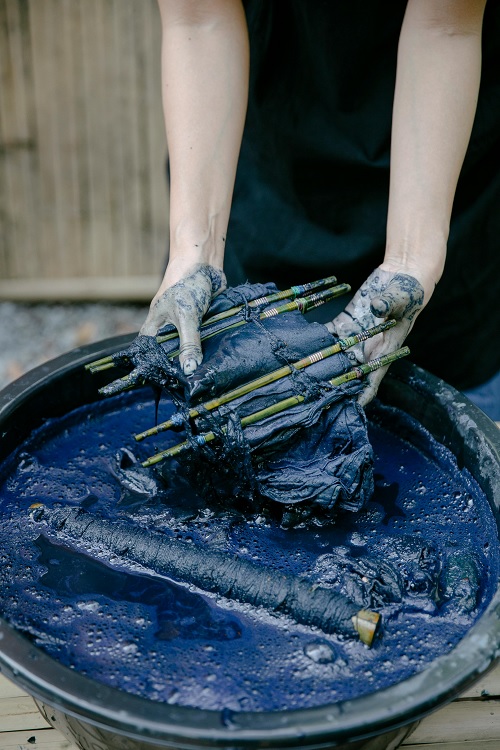
Firstly, you must extract the color from the plants before we can use it to dye our wool. For that, place the prepared plant material into a stainless steel vessel filled half to 3/4ths with water. Simmer gently for about 45–60 minutes (depending on the quantity).
Keep your natural dyeing setup separate from your everyday cookware with a dedicated stainless steel pot that’s easy to clean after each dye bath.
Pro Tip: Avoid boiling vigorously, which may dull the colors.
Note: Stir the contents of the vessel every few minutes to help squeeze the most color out and avoid burning.
Step 2: Strain the Liquid

You can’t have the solid bits of the plant material when you dye the wool, and that’s why you must strain them out. Using a sieve or cheesecloth, remove the chunky pieces of the plant, leaving behind a clear dye bath. This is what will bring your wool to life!
Step 3: Add the Wool
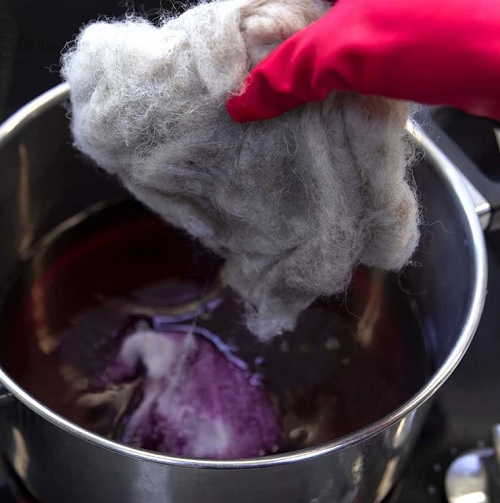
Remember we told you to pre-soak a mordanted batch of wool? Now it is time to dye it! Dip the wool into the warm dye bath. Make sure the yarn can move freely without being packed tightly, as this will ensure even color distribution and keep the color looking natural, textured, and balanced.
Handle wet wool more easily with dedicated dyeing tongs that let you move the yarn through the dye bath without excessive agitation.
Step 4: Heat Gently
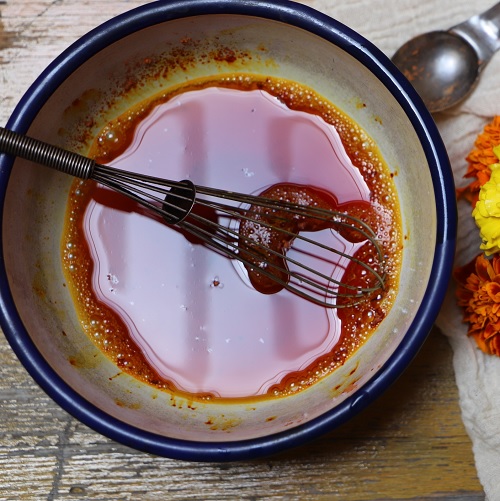
The heating process is not done! You must maintain the dye bath between approximately 70–85°C (160–185°F) for about one hour. Ensure that the temperature does not lead to a boil, as excessive agitation and heat can felt wool fibers.
Step 5: Let the Color Develop
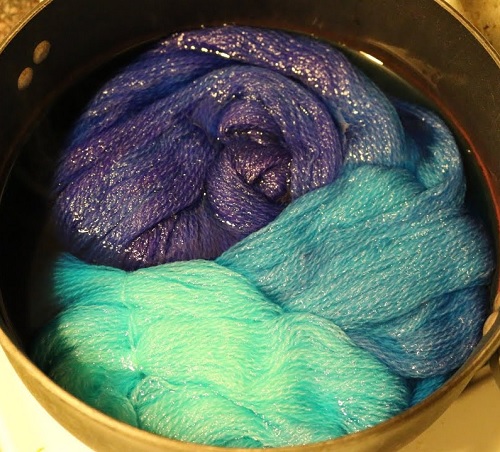
Patience is key! For deeper shades, leave the wool in the cooling dye bath for several hours or even overnight. This allows the wool fibers to soak in as much color as possible to produce a richer appearance.
Step 6: Rinse Carefully
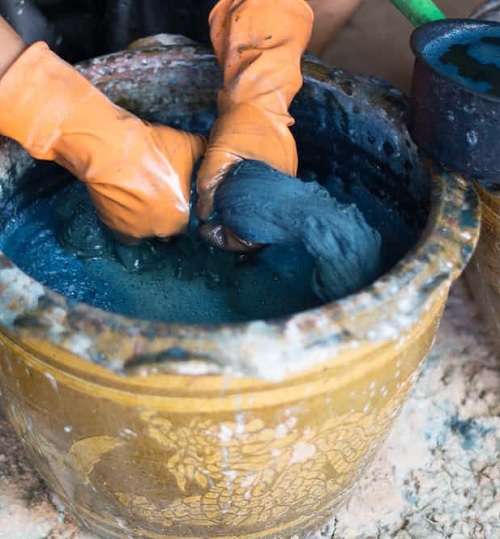
When the wool can’t soak in any more color, it’s time to begin the rinsing process. Gently wash the yarn in water close to the same temperature as the dye bath. The temperature is an important factor, as a sudden change (drop or rise) can cause the material to felt. Continue rinsing until the water runs mostly clear.
Step 7: Dry Naturally
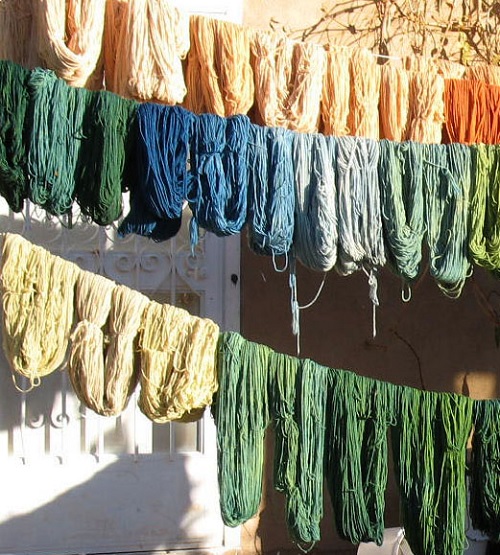
Finally, you are in the last step before you can use your home-dyed wool. Gently squeeze out excess water. Hang or lay the yarn flat to dry away from direct sunlight, as the harsh rays can dilute or fade the fresh pigment.
Once your naturally dyed wool is completely dry, a yarn swift can make it easier to organize, wind, and prepare your yarn for its next crochet or knitting project.
Pro Tip: Do not wring the woolen material, as this may damage the fiber and disturb the settling of the newly soaked dye.
Check out these cute crochet sunflower patterns you can make with your home-dyed wool!
After Care and Results for Naturally Dyed Wool
Natural dyes have their own charm as they produce soft, pastel, rustic/earthy colors rather than bold synthetic shades. Do not worry if you see a slight color variation, as it is completely normal. The dye pigment distribution cannot be completely even, and this “imperfection” actually adds to the handmade appearance.
However, there are a few things to keep in mind to maintain the colors so they look their best:
- Hand wash in cool or lukewarm water using a wool-safe detergent.
- Avoid bleach and harsh cleaning products.
- Dry flat or hang away from direct sunlight.
- Store finished yarn in a cool, dry place.
Some plant dyes naturally fade over time as they break down; however, when properly cared for, they can keep their color for years. Do not stop; let the artistic curiosity within you die, and continue experimenting with different plants and wool!
Now that you know everything about natural dyeing using garden plants, let us know in the comments section which plant dye you liked the most and what you made using the natural pigment!
Want to explore more natural dyeing techniques? Explore natural dyeing and fiber-art books covering botanical dyes, mordants, color extraction, wool preparation, and creative yarn projects.