
As an Amazon Associate, we earn a small commission from qualifying purchases — at no extra cost to you.
Experimenting with snake plants is amusing because our soldiers aren’t scared. So this time, let’s grow a twisted snake plant for ourselves.
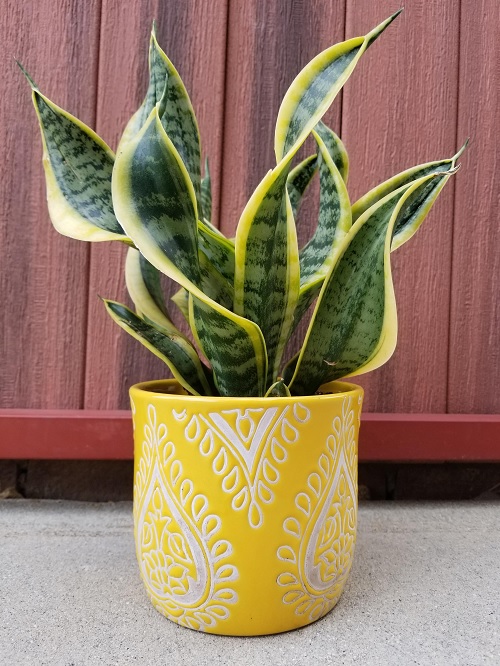
Snake plants are adored for being low-maintenance, but have you seen one with beautifully twisted and spiral leaves? It looks sculpted and unreal, but the catch is that it is so easy to make that you can do it for your home. The trick isn’t complicated because you are training young leaves into shape rather than making it grow in a spiral. Confusing? We’ll help you out!
Thinking of turning one corner into a whole plant experiment? Browse our Amazon Gardening Storefront for pots, potting mixes, plant-care tools, supports, and other gardening essentials to help you try your next idea.
Growing a Twisted Snake Plant
1. Choose the Right Snake Plant
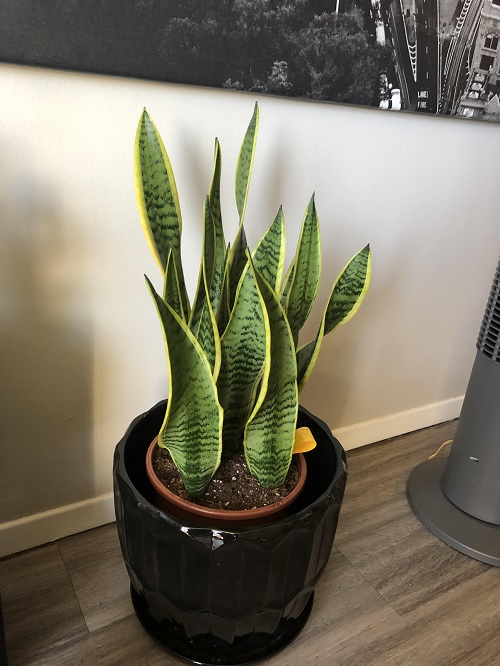
Start with healthy, young snake plants with long, flexible leaves. Plants around 1-2 feet tall are ideal because younger ones are easier to guide.
Look for varieties that already have slightly curved or naturally arching leaves. Perhaps Twisted Sister, Laurentii, and Zeylanica can be good options. You can also experiment with cylindrical varieties, which are naturally more flexible for shaping.
Tip: Don’t choose based on their height. Gently test a few leaves, and if they have some flexibility without feeling brittle, you might have a winner.
2. Create your Temporary Mold
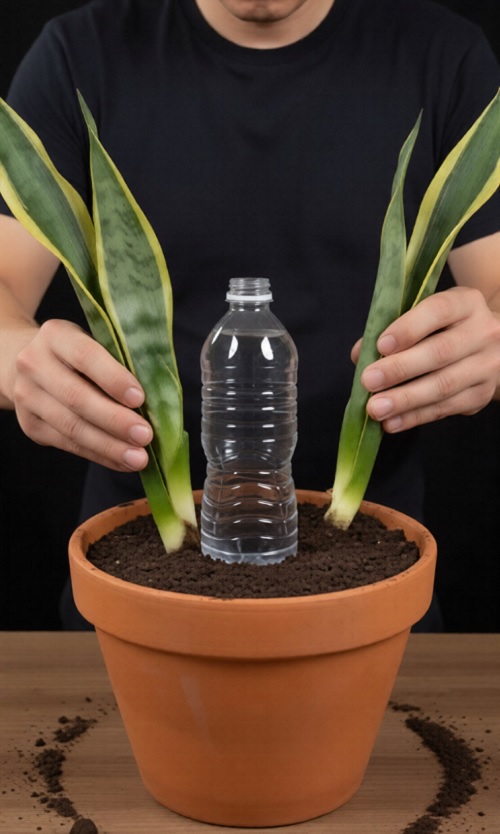
Time to get crafty. Take a clean and sturdy plastic bottle. Place it upright in the centre of your pot and secure it firmly with well-draining potting mix, and then position the young plants around it.
The bottle determines your twist. A narrow bottle creates a tighter spiral, while a wider bottle gives you broader and softer curves. If you already have one mature plant growing as a tight clump, don’t force a bottle into its center. Use separate young plants or healthy offsets instead. And remember, always use pots with drainage holes!
Ready to build the spiral? Pick up a sturdy Plant Pot with Drainage and a well-draining Potting Mix to give your young snake plants a strong foundation before you start shaping.
3. Weave the Leaves
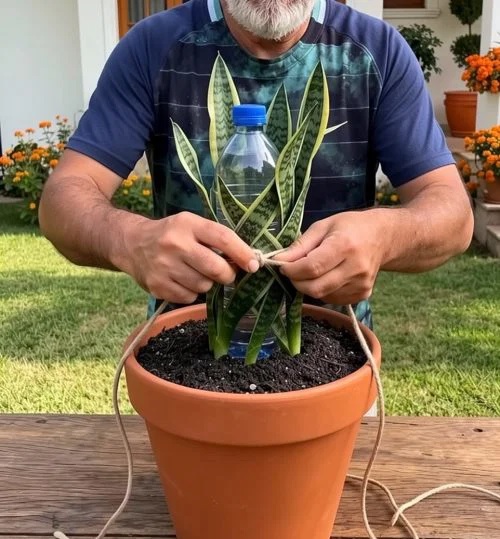
This is when you have to carefully bring the longer leaves around the bottle, working from the outside toward the centre. Instead of wrapping every leaf in the same direction, loosely weave some across each other to create a braided appearance.
Secure them with soft jute twine, cotton cord, or soft plant ties. But keep the ties loose. They should guide the leaves, not put pressure on them. And by all means, do not ever force a stiff leaf. If it resists, leave it alone. A sharp bend can split the foliage or leave a permanent crease.
Gentle hands, soft ties, happy leaves! Keep Soft Plant Ties or Jute Garden Twine nearby so you can guide each leaf without squeezing or damaging it.
4. Light, Time, and Patience
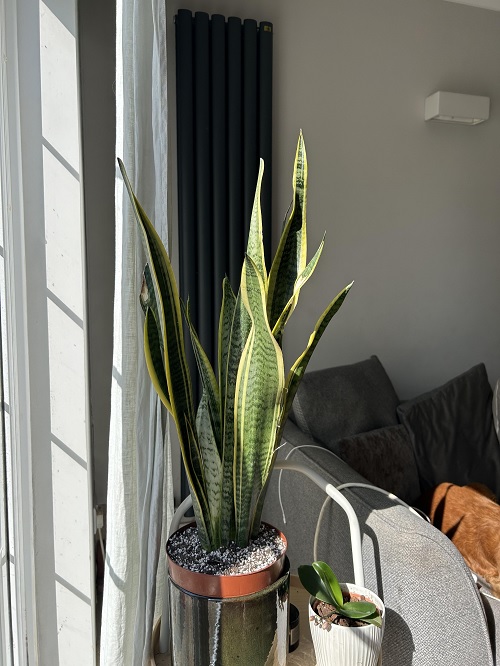
Place your plant somewhere with bright, steady, and indirect light. Snake plants tolerate low light, but brighter conditions encourage stronger growth and help prevent the leaves from leaning toward one side.
Now be patient. And wait.
The shape may take several weeks to a couple of months to settle. Check your ties every couple of weeks to loosen them if they begin pressing into the leaves. Don’t keep reshaping the plant every few days.
The right light can make all the difference while your plant finds its shape. A Plant Stand or Indoor Grow Light can help you create a bright, consistent spot for your snake plant.
5. Remove the Support But Gradually
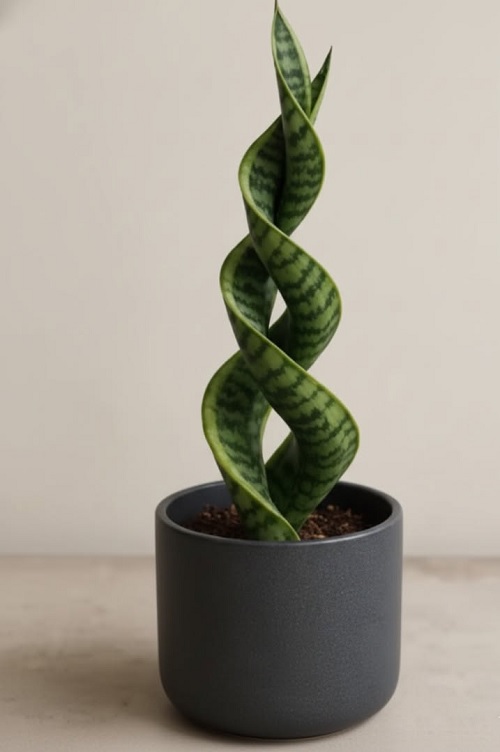
After about a month, loosen one or two ties and see whether the leaves stay in position. If they immediately spring back, give them more time. Once they hold their shape, remove the remaining ties and carefully lift the bottle upward rather than twisting it through the leaves.
There is no deadline and no emergency. Thicker, older leaves may need longer than young, flexible ones, and that is alright.
Time for the big reveal? Keep a pair of Precision Pruning Shears handy for removing damaged leaves or tidying up your plant once the twist has settled.
6. Friendly Tips
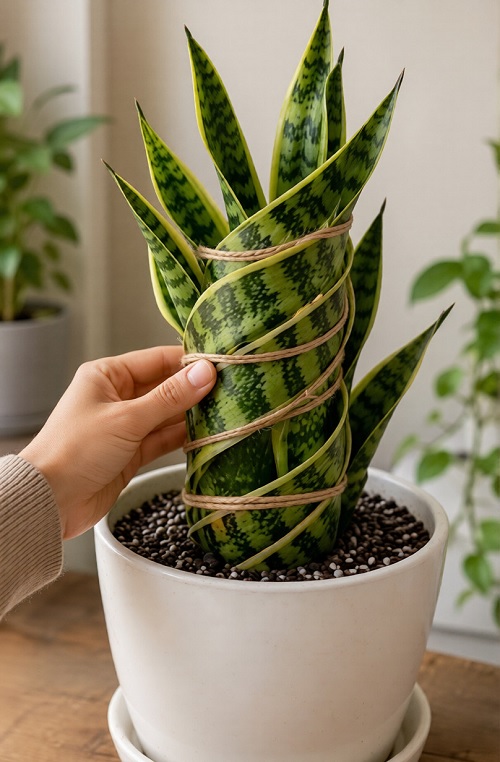
If you want a tighter twist, then try a smaller bottle. For a relaxed and more sculptural look, try a wider one. And if you do not have a bottle, then a smooth cardboard tube can work as a temporary mold. Just keep it dry and don’t water directly onto it.
To make the spiral look natural, do not force every leaf into the same curve. Slight differences make it look more finished and natural.
A tall, twisted plant can become top-heavy, so a heavier pot can prevent it from tipping. And rotating your pot occasionally helps to prevent the plant from leaning towards one light source.
Try doing this with several young plants arranged around the same center to create a fuller spiral effect rather than trying to manipulate one mature plant.
Once the shape has set, return to normal snake plant care. Use fast-draining soul, allow the soil to dry well between waterings and keep the plant in bright, indirect light. Feed lightly during the active growing season and occassionally wipe dust from the leaves. Avoid overwatering because consistently wet soil is much more problematic.
If shaping plants has sparked your curiosity, a Houseplant Care & Propagation Book is worth adding to your gardening shelf for more ideas on growing, training, propagating, and caring for your indoor plants.
Remember you are guiding the shape and not forcing it. Keep it slow and be patient. And once your snake plant is all set in, let us know in the comments below how your corners look now. We are waiting.