
As an Amazon Associate, we earn a small commission from qualifying purchases — at no extra cost to you.
On your way to buy a tissue culture plant? See how it is different from an established houseplant and what you need, to care for it properly.
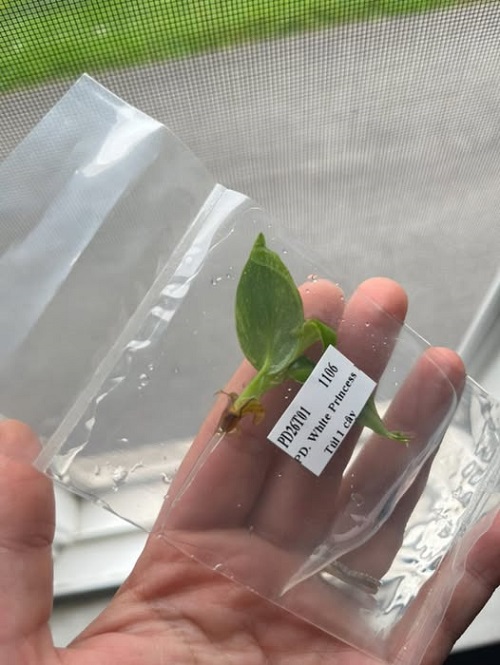
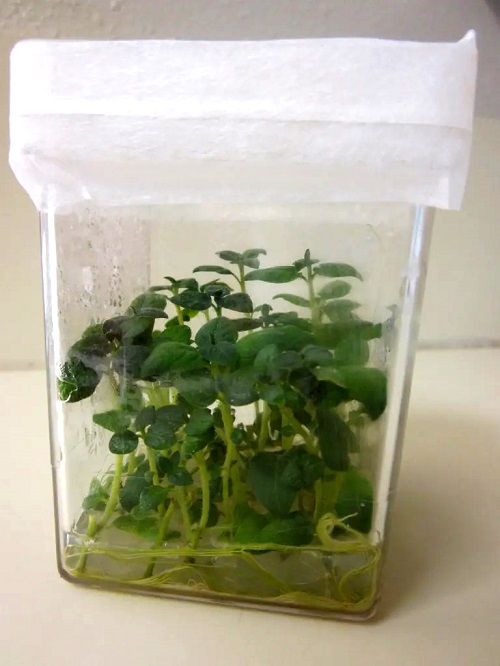
A tissue culture plant is slightly different from an established houseplant. Yes, it may be greener and might look healthier, but it has spent most of its early life in a sealed, highly humid environment with controlled nutrients. So its leaves and roots are not immediately prepared for your home. And the first 30 days are more about making it adapt to the new home rather than making it bloom gigantically.
Getting serious about plant care? Browse our Amazon Gardening Storefront for propagation supplies, pots, potting mixes, grow lights, humidity tools, and other indoor gardening essentials.
The First 30 Days of Tissue Culture Plant Care
Getting ready for your new plant? Try Prime for free, if eligible, and make it easier to order pots, growing media, humidity supplies, and other essentials.
Days 1 to 3: Don’t Rush to Repot
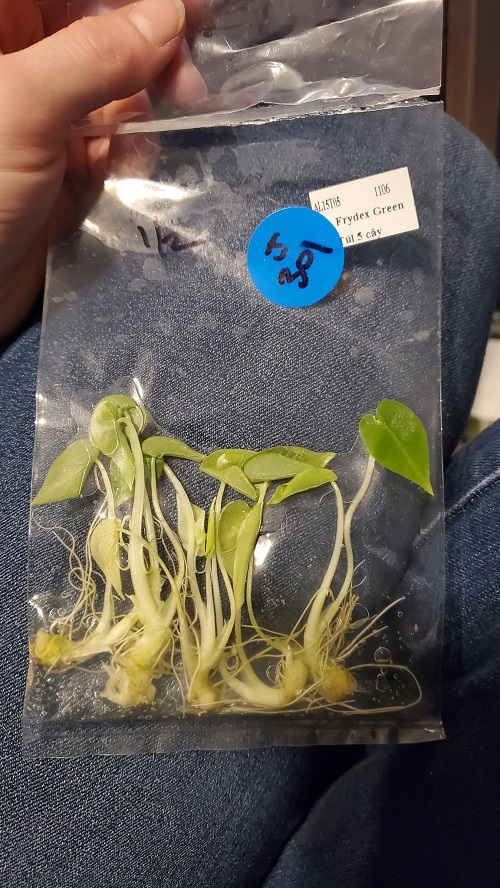
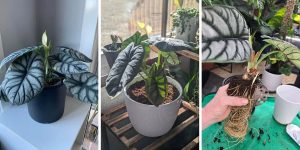
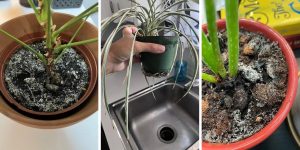
Hold up. Open the package carefully and inspect the plant before you do anything else. Remove the culture medium with clean, lukewarm water. If there is any nutrient-rich gel, that can help encourage microbial growth once exposed to normal air.
Plant it in a small and airy medium that stays lightly moist without becoming soggy. Avoid putting a tiny plant into a large decorative pot because the excess volume can remain wet far longer than its roots can handle.
And by all means, say no to direct harsh sunlight. Tissue-culture leaves commonly have a poorly developed waxy cuticle and immature stomatal control, making sudden exposure to dry air and strong light stressful.
Give your plantlet the right start with small nursery pots, chunky aroid mixes, perlite, pumice, and other well-draining growing mix.
Days 4 to 7: Build a Temporary Microclimate
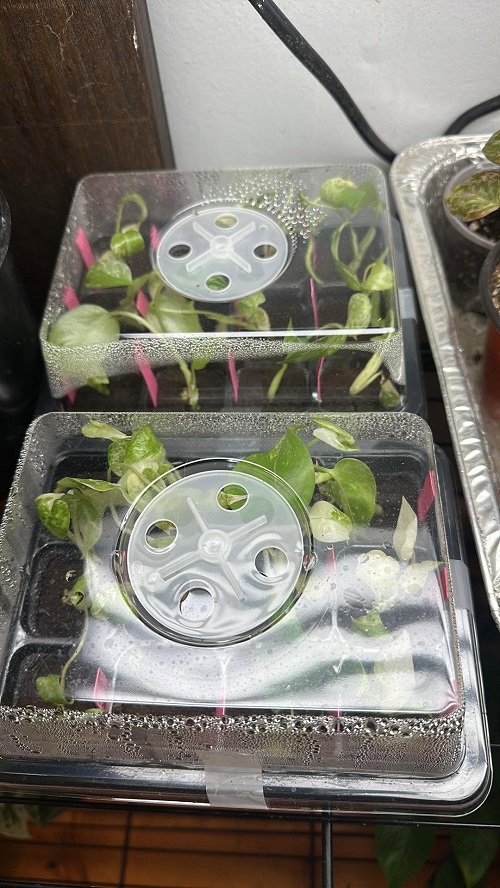
A clear humidity dome, transparent container, or loosely covered setup can act as a transition chamber. The purpose here is not to keep the plant permanently tropical, but to reduce the amount of water the leaves lose.
Always keep the plant under bright but filtered light. Never put a sealed humidity enclosure in direct sun because the temperature inside can rise dramatically.
And if you notice any yellowing of leaves or loss of older leaves, then relax and be patient. What matters right now is for the plant to stay firm and maintain its shape.
Need an easy way to maintain humidity? Browse clear humidity domes, propagation boxes, plant trays, and hygrometers for monitoring your plant’s transition.
Week 2: Start Introducing Different Things to the Plant
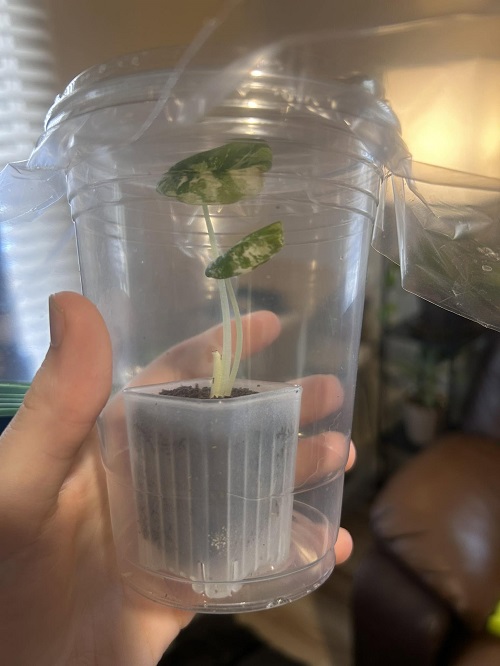
This is where many people make the mistake of removing the humidity cover completely.
Avoid doing this. And instead, ventilate. If your plant begins to wilt within a short time of venting, go back to the lower setting for a few more days.
Remember that acclimatization or gradual exposure to lower humidity and higher light helps plantlets develop the physiological adaptations needed for life outside culture.
Gradual ventilation is easier when you can monitor the environment. Shop digital hygrometers, mini greenhouse covers, and propagation accessories for controlled acclimatization.
Week 3: Watch the New Growth, Not the Old Leaves
Got a new leaf? That is your report card.
The new growth produced under your home’s conditions should gradually become more adapted to air and light. For now, avoid heavy fertilization. A recovering root system is not the right time to test if it can tolerate fertilizer.
Want to keep an eye on new growth and moisture? A soil moisture meter, small pruning scissors, and plant-care tools can make routine monitoring easier.
Week 4: Transition to Normal Plant Care
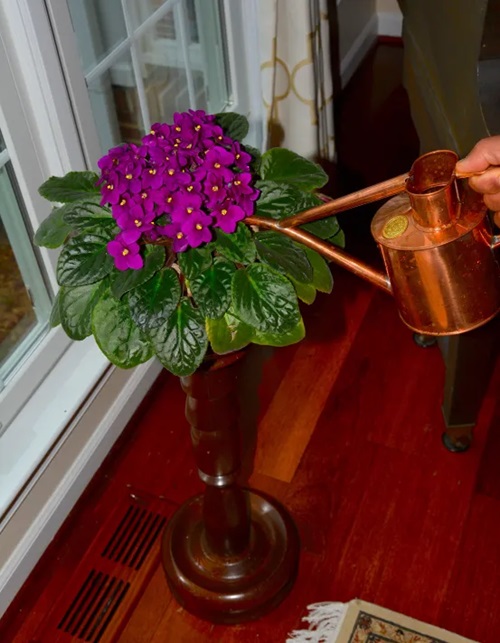
By the fourth week, the goal is no longer “protect the plant at all costs.”
So, freedom? Perhaps.
Remove the humidity cover progressively for longer periods until the plant can be exposed without any evidence of wilting. But water only when needed. And do not think of repotting it into a permanent decorative pot until the plant is quite happily settling in.
Want to understand plant propagation and acclimatization better? Explore houseplant, propagation, and indoor gardening books for practical guidance on growing and caring for young plants.
Do not judge a tissue culture plant by how it looks on arrival. Judge it by how it responds to change. And now you know how it actually should! Let us know when you are starting this journey in the comments below!